
A pool enclosure gate should open the moment someone presses against it. A service-yard gate should let a delivery driver leave without searching for a key, while still resisting entry from the outside. Those two demands create the central challenge with panic hardware for gates: the device must release easily from the egress side, but the gate, posts, hinges, latch, and exterior trim must work together as a secure outdoor assembly.
Door advice only goes so far. Gates sag, flex in wind, collect water inside hollow sections, and often lack a rigid jamb for the strike. The right purchase therefore starts with the whole gate system, not with a panic bar selected from a catalogue by appearance alone.
What Panic Hardware for Gates Actually Does
A panic device is a one-motion exit mechanism. A person pushes the bar or pad, the latch retracts, and the gate opens without a key, twist, or special instruction. California sets a measurable performance threshold: the latch must release with no more than 15 pounds of force applied to the releasing device in the direction of exit travel, and the operating hardware must sit between 30 and 44 inches above the floor. Those limits are set out in California's workplace safety rule for exit doors and gates.
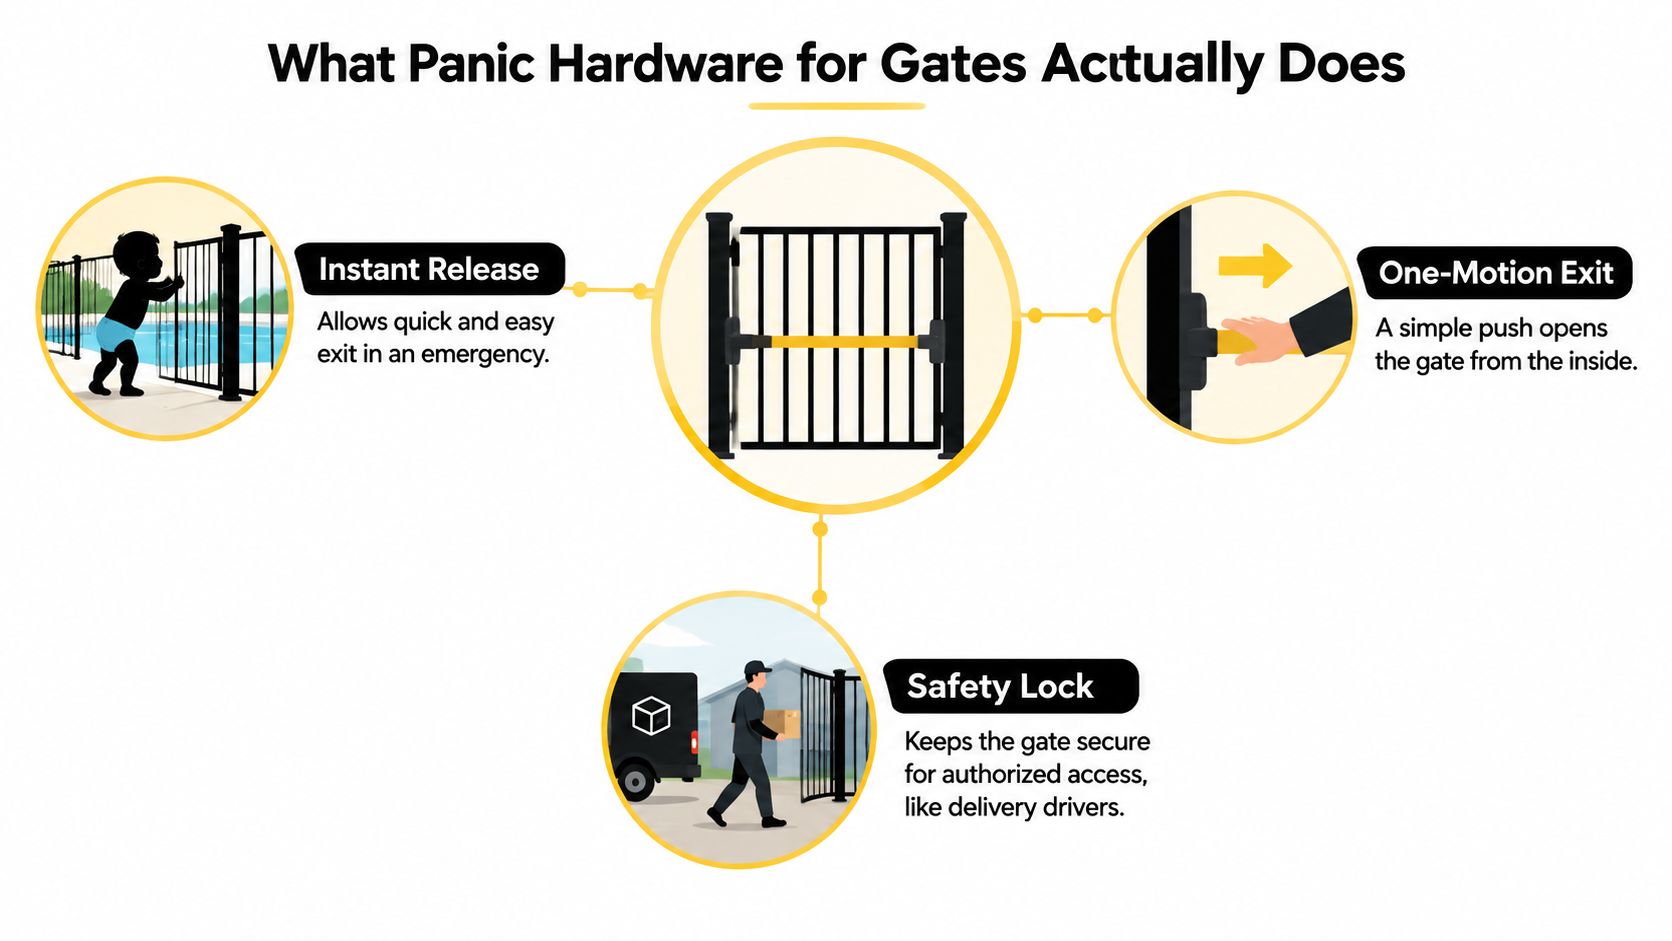
The purpose isn't speed. In a crowded exit, a person may have limited dexterity, may be carrying something, or may be pushing against the gate with other occupants behind them. California's accessible-route provisions extend the same single-effort, low-force principle to hand-activated doors and gates, using lever hardware, panic bars, or push-pull bars that can operate without grasping the hardware. The gate must respond to a straightforward push rather than a sequence of actions.
A gate has two jobs
The first job is controlled egress. Anyone on the protected side must be able to leave without a key or knowledge of a hidden release. The second job is security against unwanted re-entry. Exterior trim, a keyed cylinder, a keypad, or another access-control component may control entry, but it must not interfere with free exit when panic hardware is required.
California also prohibits arrangements that block latch release. Panic hardware can't include locking or dogging devices, set screws, or similar features that prevent the latch from releasing. A padlock, chain, hasp, bar, or other device connected to the door is also unacceptable where it prevents free exit.
Practical rule: If the gate leaf, post, or strike has to flex before the latch releases, the bar may feel light in the shop but fail under real crowd pressure.
Treat the assembly as a chain of load paths. The panic device pushes the latch, the latch meets the strike, the strike transfers force into the post, and the hinges keep the leaf at the correct height. A rim bar that works perfectly on a rigid door can bind on a gate that has dropped or twisted. Specify the leaf, post, hinges, strike, exit device, and outside trim together.
Rim Bars, Vertical Rods, and Surface-Mounted Exit Devices
Gate buyers usually compare four device families. Their differences are less about marketing names than about where the mechanism sits and how the gate carries the load.
A rim device mounts on the inside face of the active leaf and latches into a strike bracket attached to the post. It's the most approachable retrofit for many pedestrian gates, especially hollow-metal and wood leaves. The trade-off is exposure. If the outside design leaves the latch or strike accessible, a determined person may attack the hardware rather than the bar.
A vertical-rod device drives rods into the upper and lower portions of the opening. It presents a cleaner exterior and avoids a single exposed latch point, making it useful for tall ornamental gates and paired leaves. It demands accurate routing, though. A hollow tube post with internal welds, water, or an imperfectly aligned top strike can turn a straightforward installation into repeated binding.
A surface-mounted exit bar sits on the gate face and uses an external receiver. This is often the practical choice for chain-link, welded wire, and tube-frame gates where there isn't enough material for mortising. It may look more industrial, but it avoids cutting a thin frame that was never designed to house a concealed mechanism.
A mortise unit hides the mechanism inside the gate frame. It gives the cleanest appearance and can provide strong protection against tampering, but the frame must have enough wall thickness to machine and reinforce the pocket. Most stock tube gates don't.
| Device Type | Best Gate Use | Mounting Reality | Weakness |
|---|---|---|---|
| Rim device | Single pedestrian gates and retrofit leaves | Mounts on the inside face with a post strike | Strike and latch may be exposed |
| Vertical rod | Tall ornamental gates and double-leaf openings | Requires accurate top and bottom rod alignment | Sensitive to post movement and debris |
| Surface-mounted exit bar | Chain-link, welded wire, and tube-frame gates | Installs over the face where mortising isn't practical | More visible and may need custom brackets |
| Mortise unit | Fabricated architectural or heavy steel gates | Needs a reinforced pocket inside the frame | Poor fit for thin stock tubing |
A conventional gate drop rod can secure a leaf in other applications, but it isn't a substitute for listed panic hardware on a required egress path. For non-egress gate security, review the gate drop rod options alongside the device's actual exit function.
Code and Listing Requirements You Cannot Skip
The first question isn't “Which panic bar looks right?” It's “Does this gate serve an egress condition that requires listed panic hardware?” Assembly, educational, and high-hazard occupancies can trigger panic-hardware requirements, as can gates serving a means-of-egress route from those spaces. The local authority having jurisdiction decides how the occupancy and route apply to a particular property, so a product match alone can't settle the code question.
California provides unusually clear performance limits. The cross-bar must extend across at least half the width of the door or gate, and the unlatching force must not exceed 15 pounds, as described in the California panic and fire-exit hardware standard. The operating hardware height remains 30 to 44 inches above the floor or grade under California's workplace rule.
Map the rule onto the gate
Measure the clear opening with the gate in its actual swing position. The hardware must not reduce the usable exit width below the applicable requirement, and the bar must act across the required portion of the leaf rather than functioning as a small decorative push pad at one corner.
Then verify the listing path. California's referenced emergency-exit standards identify UL 305 as a recognised listing standard for panic devices and require listed devices. In Canada, the applicable product and installation route may involve CAN/ULC-S132. The Canada-specific guidance supplied for this topic identifies testing that includes 100,000 cycles, which is a reminder that outdoor durability and certification matter as much as release force. Use the product's actual label and submittal documents, not a similar-looking unlisted latch.
For a Canadian project, Ontario rules define panic hardware as a listed bar or panel that opens with 90 N or less and older regulation language uses an occupant-load trigger of more than 60 persons for specified occupancies. Check the current provincial rule and the building's occupancy classification before ordering.
Pool and stadium gates need particular care. California stadium provisions allow certain perimeter gates to omit panic hardware only with constant immediate supervision while the public is present and safe dispersal areas of 3 square feet per occupant between the fence and enclosed space, as summarised in California's referenced exits and egress provisions. Pool gates may also involve self-closing, self-latching, and release-from-the-pool-side requirements. A self-closing and self-latching gate guide can help with the mechanical gate portion, but it doesn't replace an AHJ review.
A light residential latch isn't automatically compliant because it feels easy to operate. Listing, occupancy, mounting, clear opening, and gate behaviour must all align.
Gate-Specific Mounting and Material Considerations
Outdoor gate hardware experiences movement that a protected door rarely sees. Posts deflect, leaves sag, hinges wear, and wind pushes the latch into the strike at an angle. A successful installation leaves enough adjustment to handle that movement without making the panic device carry structural loads it wasn't designed to absorb.
Square posts give you a flat strike surface and usually make shimming straightforward. Round posts need a formed bracket, saddle, or fabricated plate that won't rotate around the tube. Hollow metal frames often need a backbox or through-bolted reinforcement, while welded steel gates may accept tapped holes only where the wall thickness supports them. Wood gates need a continuous backing plate behind the device. Screws driven only into cladding or a narrow stile will loosen as the gate cycles.
Double-leaf gates require an active and inactive leaf strategy. Put the panic device on the leaf that opens first, then use an astragal, coordinator, or suitable sequencing arrangement to prevent the second leaf from blocking the rods or strike. Removable mullions are convenient on building doors, but they often become a weak point outdoors because people remove, misplace, or fail to reinstall them.
Wind doesn't need to bend a gate dramatically to create a latch problem. Small movement at the latch side can be enough to drag the bolt across the strike.
| Gate Material / Type | Best Device Match | Key Mounting Note |
|---|---|---|
| Chain-link pedestrian gate | Surface-mounted exit bar | Reinforce the latch-side post and attach through a rigid bracket |
| Hollow steel tube gate | Rim or surface-mounted unit | Use through-bolts and a backbox where the tube wall is thin |
| Ornamental iron gate | Rim, vertical rod, or mortise unit | Field-measure pickets, rails, and post position before drilling |
| Wood pedestrian gate | Rim device with backing plate | Spread fastener load across the stile |
| Double-leaf steel gate | Vertical rod or coordinated active-leaf system | Establish leaf sequence before setting strikes |
| Aluminium gate | Lightweight surface unit with suitable reinforcement | Prevent fasteners from crushing the frame wall |
A self-closing spring kit must overcome wind and gate weight without slamming the leaf into the strike. If the gate flexes, a rim bar may appear aligned while open but bind when the wind loads the frame. Reinforce the latch-side post on chain-link, ornamental iron, and aluminium assemblies before adjusting the device. The selection guide from Overton Security is useful background when the gate is part of a larger controlled-entry property rather than a standalone pedestrian opening.
A Selection Checklist Before You Buy
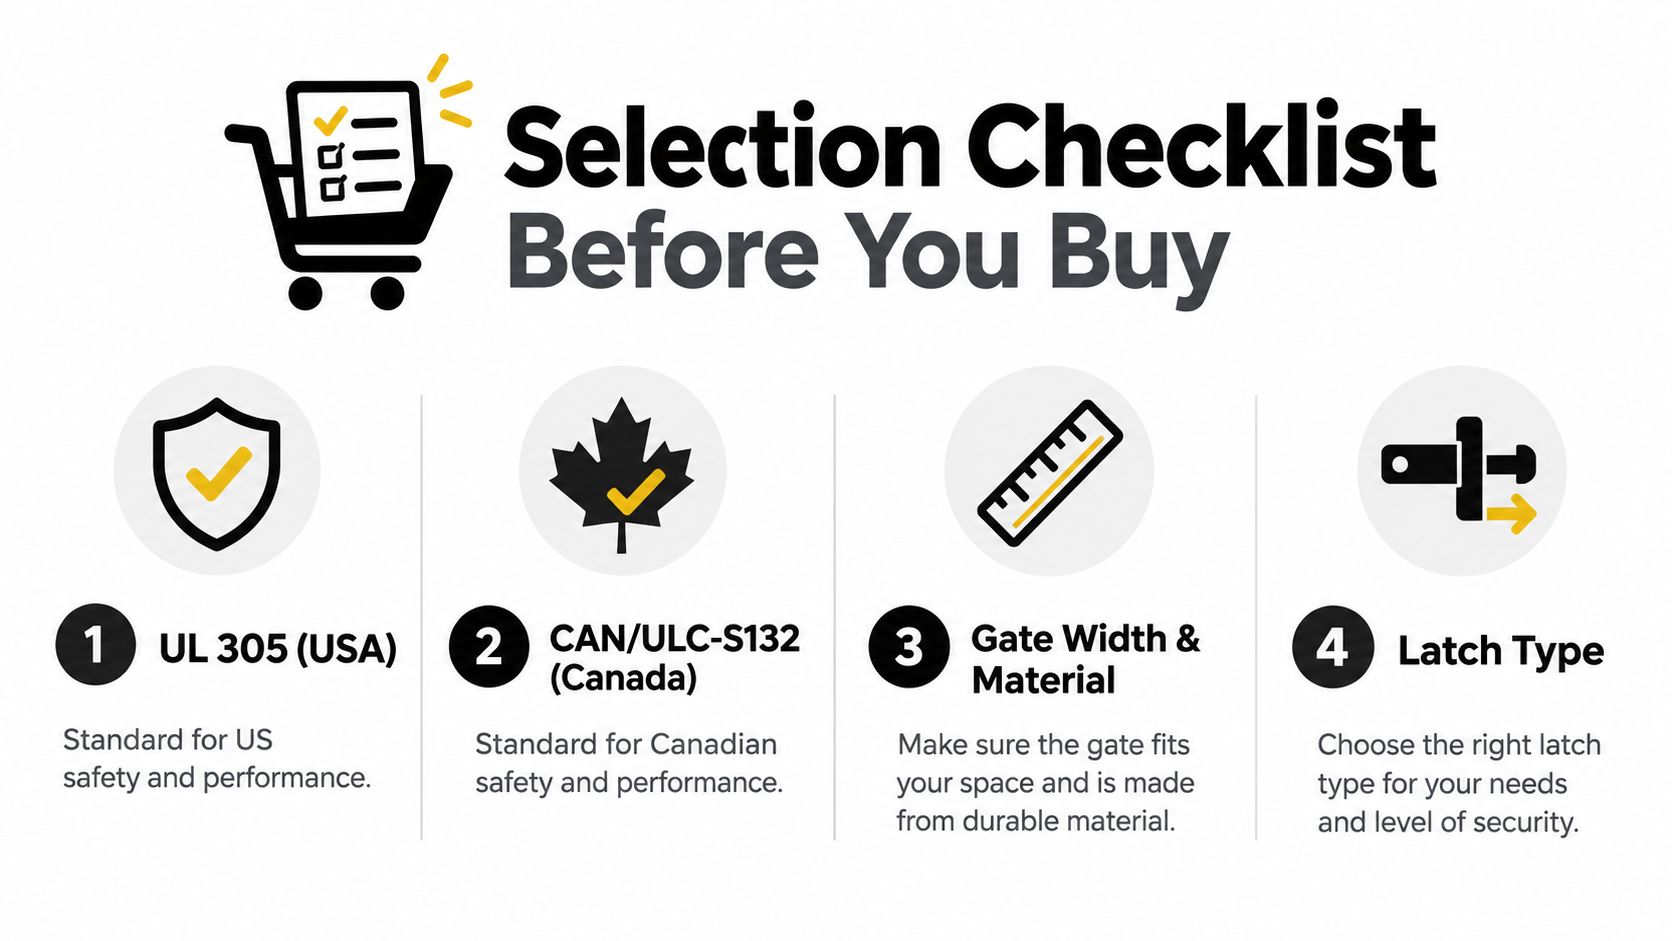
Begin with the listing path, not the finish. For a US egress application, look for the applicable UL 305 listing. For a Canadian project, confirm whether the device and opening require CAN/ULC-S132 or another recognised Canadian certification route. Ask for the manufacturer's listing information and installation instructions before checkout.
Next, identify the occupancy and route. A public assembly, educational, or high-hazard opening deserves a formal code review. A small pool, utility, or residential gate may follow different requirements, but “residential” doesn't remove the need to check local safety rules where children, public access, or a building egress route is involved.
Resolve the physical fit
Record the gate's hand, clear width, frame material, post shape, hinge condition, and swing direction. Confirm whether the device is field-reversible, whether the supplied strike suits the post, and whether the rod length matches the leaf height. A device can be correctly listed and still fail because its chassis is too deep for the tube or its strike has no sound mounting surface.
The ANSI/BHMA Grade 1 versus Grade 2 choice is a durability decision, not a substitute for an egress listing. Select the grade according to traffic, abuse, and maintenance expectations, then verify that the complete device is approved for the gate application.
Finish matters outdoors. Powder coat over zinc can suit many exterior environments, while stainless steel is a stronger choice in salt air. Confirm hand size, accessible reach, and whether a dogging feature is permitted. Dogging that holds the latch retracted can conflict with free egress requirements, so don't assume it belongs on every gate.
Electrified trim, electric latch retraction, request-to-exit monitoring, and alarm outputs can integrate access control, but they must preserve the mechanical exit function. Existing posts and strikes should accept the footprint without improvised drilling that weakens the assembly.
Use the fence and gate hardware selection as a practical reference for related hinges, latches, and fastening components. It won't determine the code path, but it can help you identify the supporting hardware that keeps the gate aligned.
This video can help visualise the basic exit-device arrangement before you compare gate-specific mounting details.
Installation Overview and the Tools You Will Need
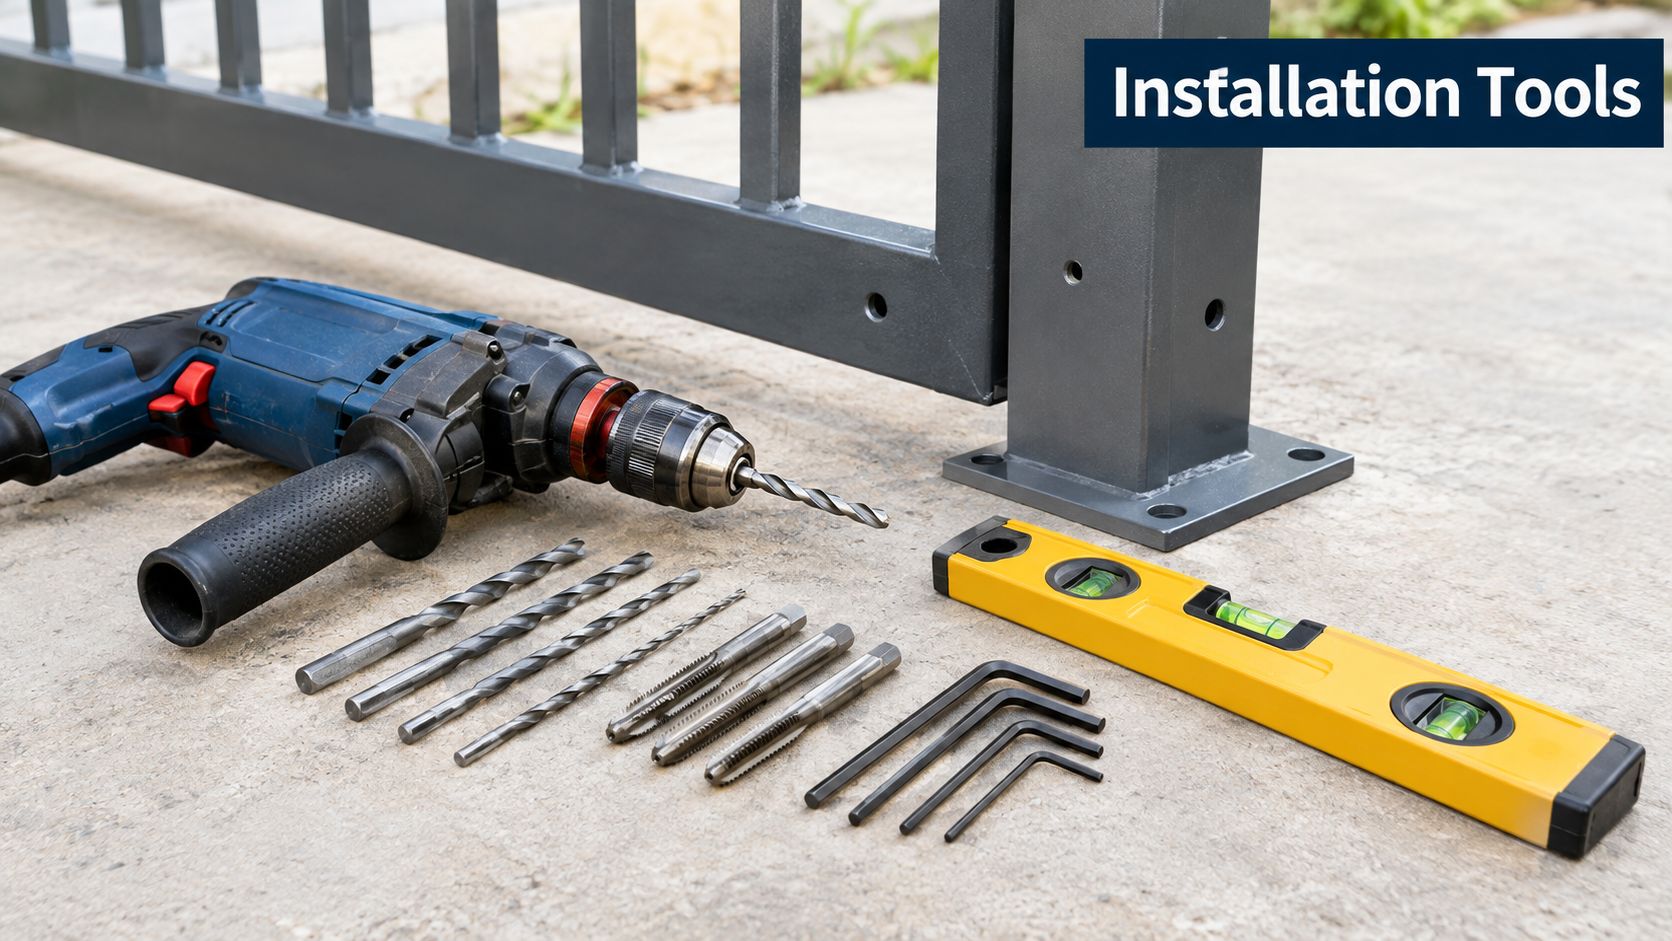
A gate installation is rarely as clean as a door-manual illustration. Bring a drill motor with metal and wood bits, taps, a hex set, a level, a four-foot straightedge, hole saws sized to the device template, chisels, shims, and a second person to hold the active leaf while you mark and adjust it.
Start with the gate hung and moving freely. Hold the device against the inside face, then shim it until the crossbar clears cladding, pickets, weld beads, and trim. Don't set the strike from an unmounted leaf. The hinge side and latch side change position once the gate carries its actual weight, so establish the final strike only after the leaf is plumb and the closing action is stable.
Alignment problems show up early
For vertical rods, use the straightedge and level to establish a true line even if the post isn't plumb. A rod that follows a leaning post may look tidy but bind inside the device. Keep rod paths out of cavities where water can collect, and provide suitable drainage or protection for exposed outdoor components.
Thin-wall frames are easy to damage. Over-tightened through-bolts can crush the tube and distort the chassis. On ornamental iron, compare the template with the actual rail and picket spacing rather than assuming stock dimensions match the printed pattern. Torque fasteners to the manufacturer's specification. Without that value, don't guess and risk either a loose device or a warped frame.
Test the bar with the gate open, then closed, then under light pressure toward the strike. Add anti-rattle pads where the manufacturer allows them. Wind can make an unsupported bar buzz, and that vibration loosens fasteners over time. The final test should confirm one-motion release, positive relatching, exterior security, and smooth self-closing without slamming.
Maintenance and Troubleshooting on Real Gates
Gates fail outdoors before they fail in a protected corridor. Rain, grit, temperature changes, wind load, hinge wear, and repeated movement gradually alter the relationship between the device and the post. Schedule a quarterly inspection and check the touchpad pivot, rod guides, latch bolts, fasteners, and strike alignment.
Use silicone or graphite on suitable moving parts, including the touchpad pivot, rod guides, and latch bolts. Don't use petroleum lubricant on plated components where it may attack the finish or collect abrasive dirt. Retorque fasteners after seasonal movement, but stop if tightening begins to crush a thin-wall frame.

Follow the symptom to the cause
- The bar won't push down: Check for a bent rod, foreign debris in the housing, or lubricant that has frozen or thickened.
- The latch misses the strike: Look for hinge sag, post deflection, a shifted strike, or rot behind a wood mounting plate.
- The bar moves but the gate stays shut: Inspect for a disconnected rod, a broken internal spring, or a latch bolt trapped under load.
- The gate relatches only when lifted: Correct the hinge or post movement before changing the strike position permanently.
Re-shim the strike after the gate settles instead of forcing the latch across a misaligned opening. Check that the closer or spring still brings the leaf fully into the strike, especially after wind exposure or a hardware replacement.
Fire-rated assemblies require listed replacement parts only. A generic spring, bolt, or trim piece may change the tested configuration even if it appears dimensionally identical. If the device no longer releases within its required performance, take the opening out of service until the cause is corrected.
Costs, Upgrades, and When to Hire a Pro
Prices vary with listing, finish, frame preparation, weather exposure, and whether the gate needs vertical rods or a fabricated mounting system. The ranges below are practical purchasing categories, not a substitute for a project quote.
| Configuration | Price Range (USD) | Best Use | Upgrade Trigger |
|---|---|---|---|
| Residential-grade rim device | $80 to $200 | Basic private pedestrian gate | Public access, heavier use, or listing requirement |
| Commercial UL 305 unit | $250 to $600 | Required US egress applications | Severe exposure, access control, or monitoring |
| Vertical-rod or mortise device | $400 to $1,200 | Tall, paired, architectural, or security-focused gates | Frame movement, concealed hardware, or complex sequencing |
| Fire-rated variant | Adds roughly 20% to 40% | Rated gate or door assembly | Fire-door listing and certification requirements |
A basic rim device is often the simplest starting point. Electrified trim, electric latch retraction, request-to-exit monitoring, or alarmed operation can connect the exit gate to an access-control system. A magnetic lock paired with a request-to-exit bar may suit some controlled-access designs better than a mechanical device, but it introduces power, release, fire-alarm, and authority-having-jurisdiction issues. It isn't an automatic replacement for listed panic hardware.
A single-leaf metal gate with square posts and existing preparation is a reasonable DIY project for a careful installer. Hire a qualified professional for welded steel frames, double-leaf gates, fire-rated assemblies, unusual post conditions, or any work tied to a permit line. The cost of correcting a misaligned gate after the device has been drilled in can exceed the value of saving the installation labour.
Before checkout, ask the supplier three direct questions:
- What listing path applies? Confirm UL 305, CAN/ULC-S132, fire-exit hardware, or another required certification.
- What rod length is supplied? Verify it matches the gate height and the top and bottom strike locations.
- Has this device been field-installed on a gate with similar size and material? A door installation example doesn't prove gate compatibility.
XTREME EDEALS INC. offers gate-security components such as spring-loaded gate latches with cable and ring, gate combination kits, Nuvo Iron cane bolts, and slide-bolt latches for gates and shed doors. Visit XTREME EDEALS INC. to review compatible fencing hardware and supporting gate components before you finalise your panic-device installation.