
You've cut the joists, set the beam, and reached the deck corner where the hanger in your hand won't sit flat. Its flange clashes with the rim, the neighbouring joist blocks the nail holes, and moving either member would change the decking layout. Relying on lumber size alone stops working here.
Good joist hangers corner solutions start with the framing arrangement, not the bracket aisle. Separate the corner's bearing, restraint, and fastening requirements before you buy anything, then choose a connector whose documented installation matches what you can build.
Why Corners Break Standard Joist Hanger Thinking
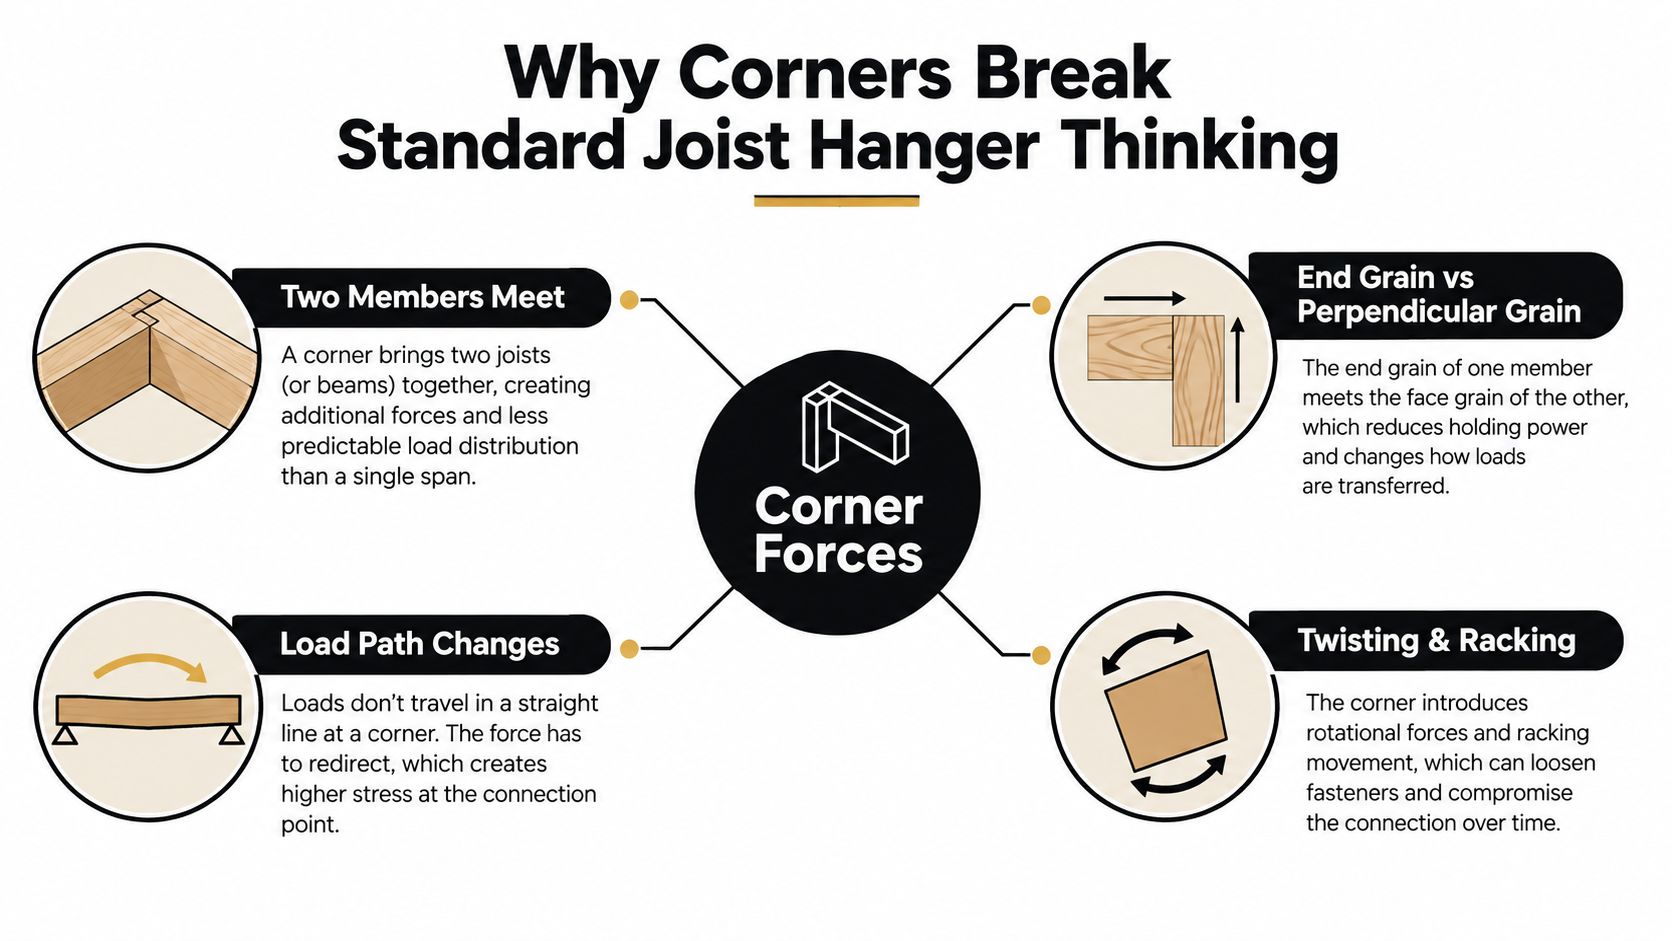
At a straight ledger connection, the supported joist and supporting member are easy to identify. At a returning corner, that relationship can change within the same joint: a rim supports a joist, another member terminates against the rim, and blocking needs space between them. The standard hanger may fit the joist perfectly while having nowhere sound to attach.
The first question isn't whether you can squeeze the bracket in. It's which member carries the reaction, and where that reaction goes next. California residential guidance requires approved hangers for joists framing into the side of a ledger or beam and a positive load path for vertical and lateral forces, rather than relying on toenails or informal clip angles (California exterior-deck attachment guidance).
Sketch the wood before the metal
Draw the corner from above with a pencil and straightedge. Show the actual member widths, not single lines, so you can see where flanges, end grain, blocking, and fasteners would overlap.
- Mark the supported member. Trace its load into the beam, ledger, or designed rim.
- Show the connection angle. A square deck outline doesn't guarantee a square joist connection.
- Leave fastening access. Draw the neighbouring framing that could obstruct the hammer or driver.
- Identify the assembly order. A connector that fits before the rim goes on may become inaccessible afterwards.
Practical rule: If the corner only works when you ignore the thickness of the wood or the space needed for fasteners, it doesn't work yet.
Consider a joist terminating beside a returning rim. Moving its hanger sideways might clear the rim, but it can also move the joist away from its intended support position. Forcing the flange around the obstruction creates a different installation from the one you selected.
Treat that corner as a complete assembly. Resolve the wood arrangement first, then test the connector against it.
Corner Joist Hanger Types and How Each One Sits
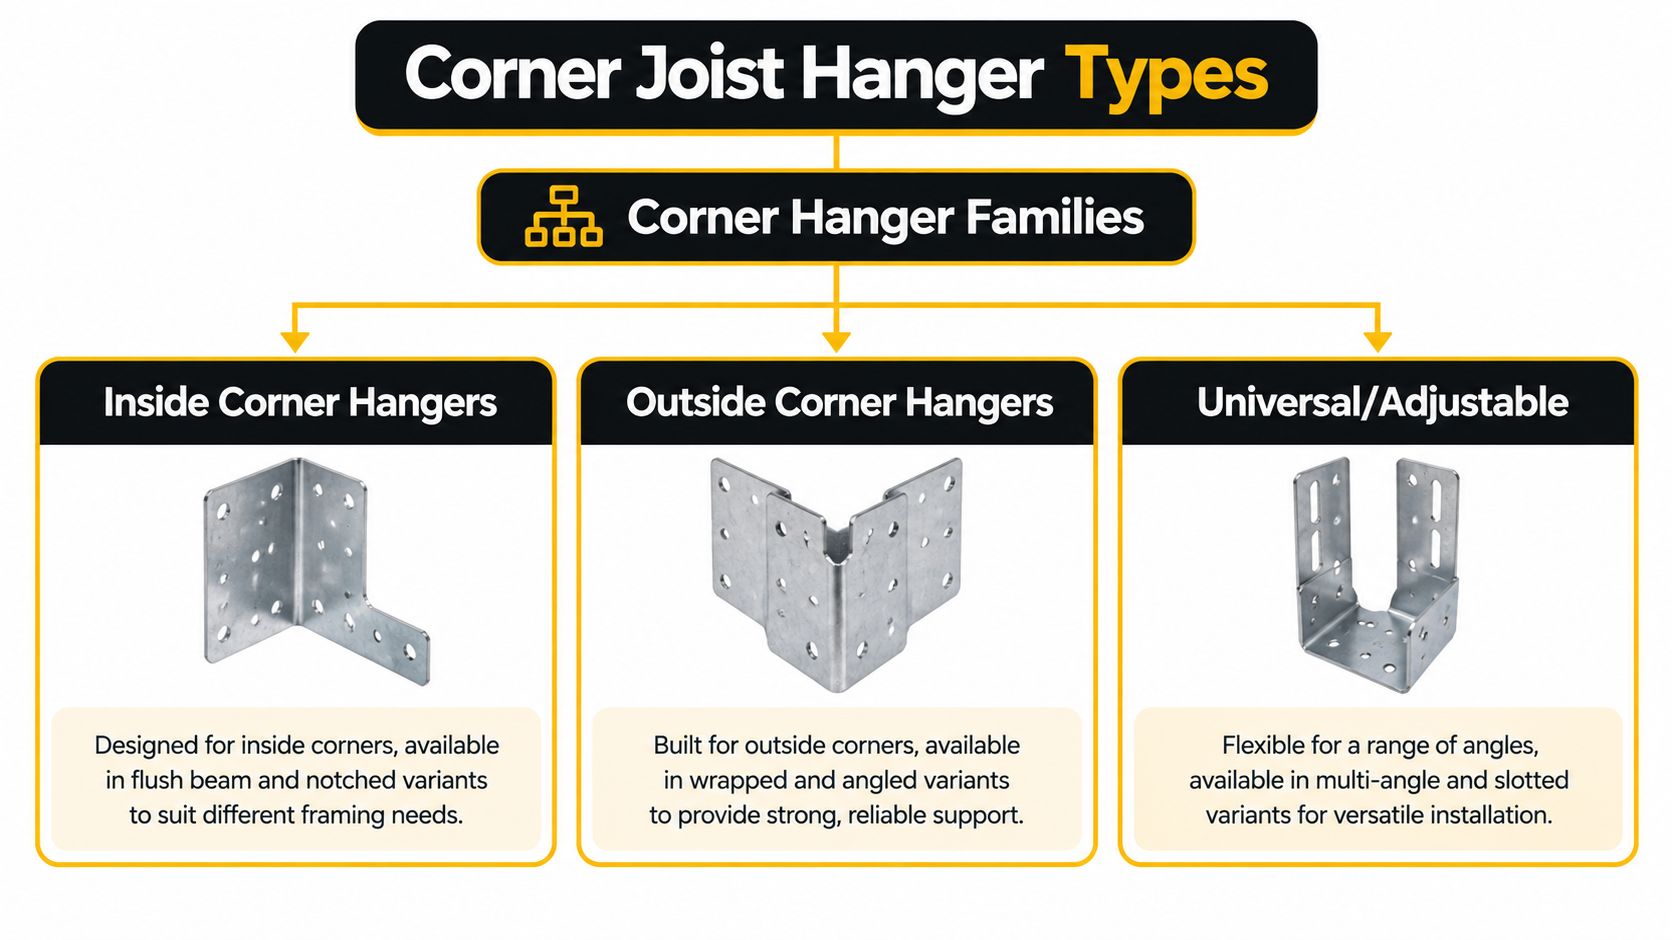
A corner joist hanger isn't one universal product. It's a joist-support connector selected for a particular intersection, with an approved orientation, supporting member, and fastening arrangement. Inside-corner, outside-corner, and adjustable labels help you browse, but they don't establish structural suitability.
Think of a face-mount hanger as a metal pocket attached to the supporting member's side. A top-flange hanger adds a saddle over the support's top edge. A skewed hanger turns the pocket to accept a member approaching at an angle.
Choose by mounting surface
| Hanger family | How it sits | Where to investigate it | What can rule it out |
|---|---|---|---|
| Face-mount | Seat below the joist, attachment against the support face | Square connections into flush beams or designed rims | Obstructed flanges or insufficient fastening area |
| Top-flange | Flange bears over the supporting member | Assemblies with an accessible, suitable top surface | Conflict with decking, flashing, or intersecting framing |
| Skewed | Joist pocket follows the approach angle | Direction changes and angled intersections | Wrong handedness or an unsupported angle |
| Adjustable | Geometry changes within documented limits | Corners requiring a permitted field adjustment | Assuming it can bend wherever convenient |
| Special intersection connector | Mounting arrangement suits a defined junction | Congested rim, beam, or framing intersections | Using a decorative bracket without structural documentation |
Hidden-flange describes where the attachment sits, not a guarantee that it solves every tight corner. Concealed attachment can help with flange clearance, but you still need sufficient supporting wood and access to the specified holes.
Likewise, distinguish plan-view skew from a connector intended for a downward slope. A bracket made for an inclined member doesn't automatically accept a joist approaching diagonally in plan.
Adjustable hangers deserve careful reading. Follow the permitted adjustment procedure rather than treating the steel as something to reshape with pliers. Neither an angled pocket nor extra metal automatically provides the blocking or lateral restraint required by the framing design.
Materials, Coatings, and Corrosion at Corner Joints
An exposed corner deserves more attention than a sheltered connection. Perpendicular members, end grain, and flashing can make drainage awkward, so choose the hanger and its fasteners as a compatible exterior system. Don't buy a corrosion-resistant bracket and then undermine the selection with unspecified fixings.
Local California deck guidance calls for hot-dip-galvanized or stainless-steel hardware, including hangers and fasteners (Santa Cruz County deck-construction guidance). That's a useful starting point for an exterior project, although your local requirements and the connector manufacturer's exposure guidance still govern.
Compare the complete finish system
| Material or finish | Practical selection approach |
|---|---|
| Standard galvanized | Consider only where its documented coating and exposure approval suit the location |
| Hot-dip galvanized | A sensible exterior-deck candidate when approved for the lumber and exposure |
| Stainless steel | Investigate for chloride exposure or demanding conditions, using compatible fasteners |
| Powder-coated or painted | Treat appearance separately from structural approval and corrosion suitability |
Paint colour isn't a corrosion specification. A black bracket can look substantial without providing the evaluation, coating information, or fastening instructions needed for a structural deck connection. Ask what the underlying material is and whether the complete product is approved for your application.
Browse galvanized joist hanger options with the required size, exposure, and documentation already identified. Recognizable names such as Decorex Hardware and Nuvo Iron can help organize a shopping comparison, but brand recognition doesn't replace checking the individual listing.
Spend on a documented exterior connection, not simply on a heavier-looking bracket.
For treated lumber, verify compatibility with the particular treatment rather than assuming stainless is always mandatory or every galvanized finish is suitable. For a dry, covered location, a less demanding finish may be appropriate if its documentation permits it.
Keep drainage in the design, too. A finish upgrade shouldn't become an excuse to trap debris behind overlapping brackets or leave a corner impossible to inspect.
Sizing, Skew Angles, and Load Numbers Worth Checking
The size printed on a hanger package answers only part of the question. Confirm actual joist width, joist depth, seat dimensions, and the supporting member's available fastening area. A connector can accept the supported joist while requiring more depth or thickness in the support than your rim provides.
Then open the evaluation report and installation instructions. Check allowable download, any required uplift capacity, permitted skew, and the fastener schedule for that exact configuration. A load value from a square installation isn't permission to use the hanger at an undocumented angle.
Corner Conditions and the Connector Family That Fits
| Corner Condition | Connector Family | Key Sizing Check | Code Note |
|---|---|---|---|
| Inside corner with flush beam | Face-mount, or evaluated skewed variant | Seat fit, flange clearance, support depth | Verify approved side support and restraint |
| Outside corner against rim | Evaluated face-mount or intersection detail | Rim's designed supporting role and fastening area | An edge-closing board isn't automatically a structural header |
| Ledger-to-rim transition | Handed skewed or approved adjustable hanger | Actual approach angle and permitted mounting | Match the documented configuration |
| Dropped beam corner splice | Bearing arrangement with specified restraint hardware | Bearing location and beam-splice detail | A joist hanger doesn't replace a beam-support design |
For prefabricated wood I-joists, California's 2025 interpretation requires hanger compliance with ASTM D7147, evaluation demonstrating ICC-ES AC13 compliance, and lateral and rotational support no more than 12 inches from the bearing point unless the hanger has the applicable tested torsional-moment capacity (California DSA wood I-joist hanger interpretation). Don't extend that engineered-member detail indiscriminately to every sawn-lumber deck.
The important distinction is vertical capacity versus rotational capacity. Passing the download check doesn't establish that an offset corner connection can resist twisting.
When comparing angled joist hangers, match the approach angle and handedness before comparing capacities. Record the required reaction beside the applicable allowable value on the drawing, so nobody orders from a marketing description alone.
Before ordering: Confirm both members, the angle, the required reaction, and the exact installation used to establish the published capacity.
Matching the Right Hanger to Inside and Outside Corners
An inside corner with a flush beam can look cramped even when the load path is straightforward. An outside corner can look open while hiding a more difficult question: whether the rim has the support and design needed to carry the incoming joist. Don't confuse available space with structural suitability.
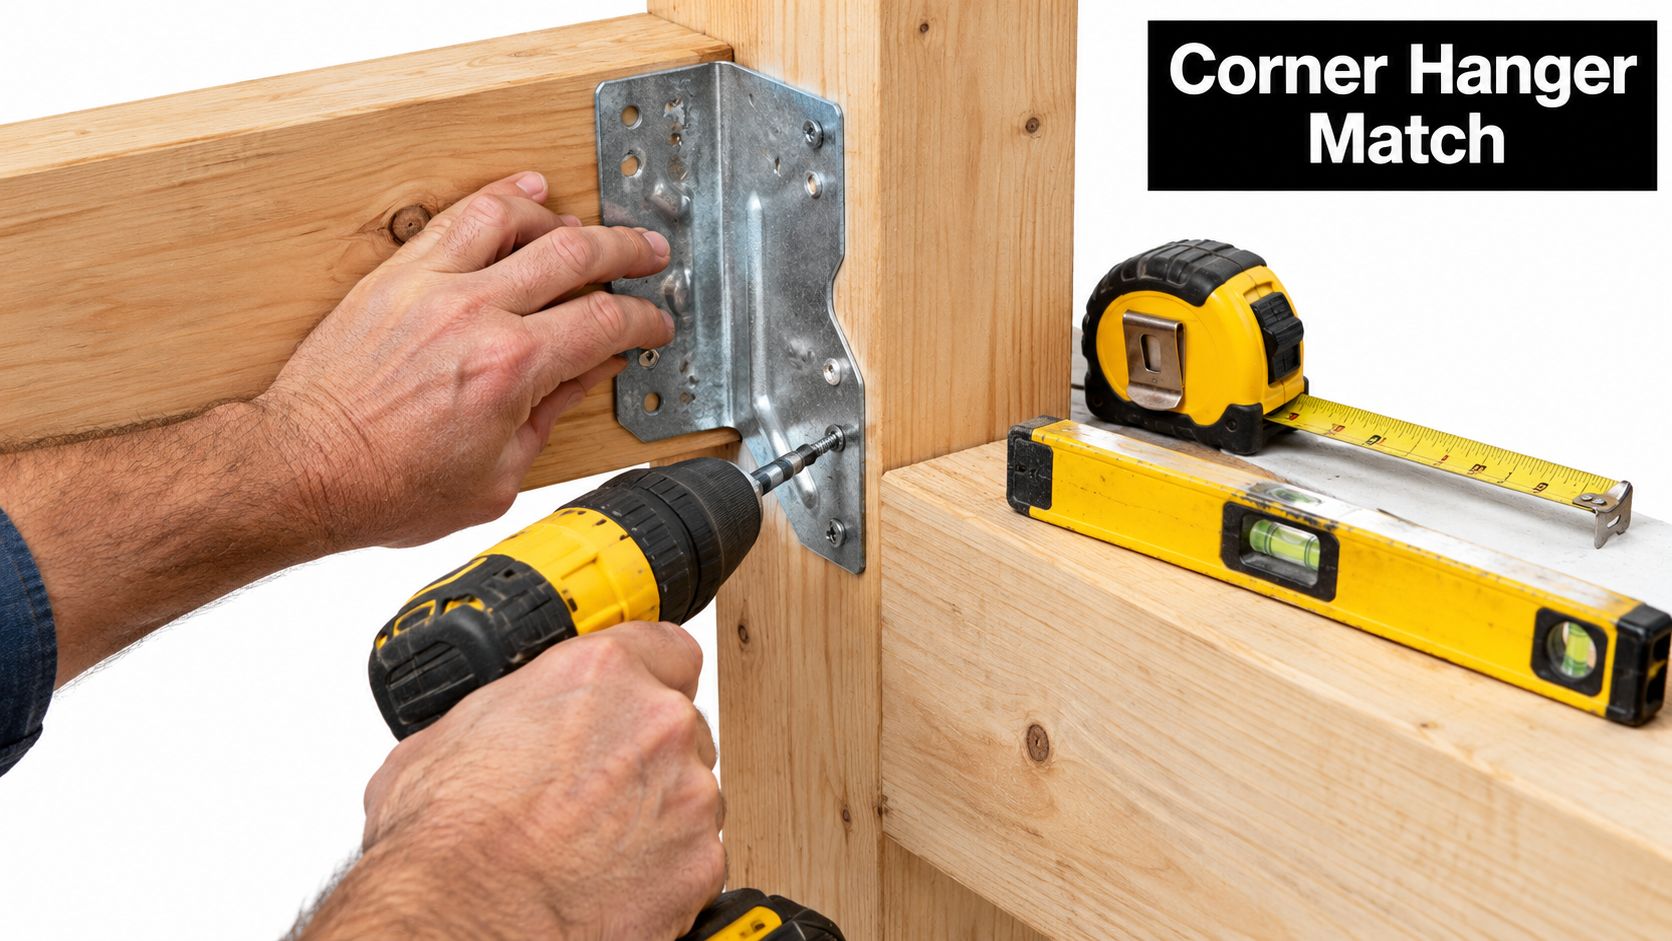
The pictured bracket is a visual reference, not evidence that one connector fits every corner.
Match geometry and fastening together
| Condition | Reliable selection direction | Fastener schedule to verify |
|---|---|---|
| Inside corner, flush beam | Face-mount for square entry; approved skewed family for angled entry | The schedule for the actual beam material and mounting arrangement |
| Outside corner, structural rim | Evaluated face-mount or designed intersection connector | Rim thickness, edge-distance requirements, and specified joist fasteners |
| Ledger-to-rim direction change | Correctly handed skewed or permitted adjustable connector | The schedule corresponding to the selected angle and adjustment |
| Dropped beam, corner splice | Designed bearing and restraint detail | Separate joist-restraint and beam-splice fastening requirements |
At the inside flush-beam corner, a top-flange hanger is tempting when face flanges clash. It's only useful if its top attachment can sit as designed without interfering with the finished assembly.
At an outside rim corner, don't upgrade the hanger before confirming the rim's job. A larger connector won't make an inadequately supported edge board into a beam.
For a ledger-to-rim transition, selecting the wrong handed skew is an expensive way to discover that catalogue drawings matter. Lay the drawing beside your plan-view sketch, then check that both attachment faces remain accessible.
A dropped beam changes the decision entirely because joists may bear on top rather than terminate into its side. The corner beam splice and its support need their own approved detail.
Step up to a heavier hanger when the documented capacity requires it. Add blocking when the issue is restraint. Change the framing layout when neither choice leaves sound wood, bearing, and fastening access.
Installation Best Practices That Prevent Corner Callbacks
Dry-fit the difficult corner before permanently closing the surrounding framing. Use a tape measure, framing square, and level to check the arrangement against the drawing. The right time to discover an inaccessible attachment hole is before the returning rim is fastened.
The graphic is a useful sequence reminder, but pilot holes aren't a universal hanger requirement. Drill only where the connector instructions or approved project detail specify them.
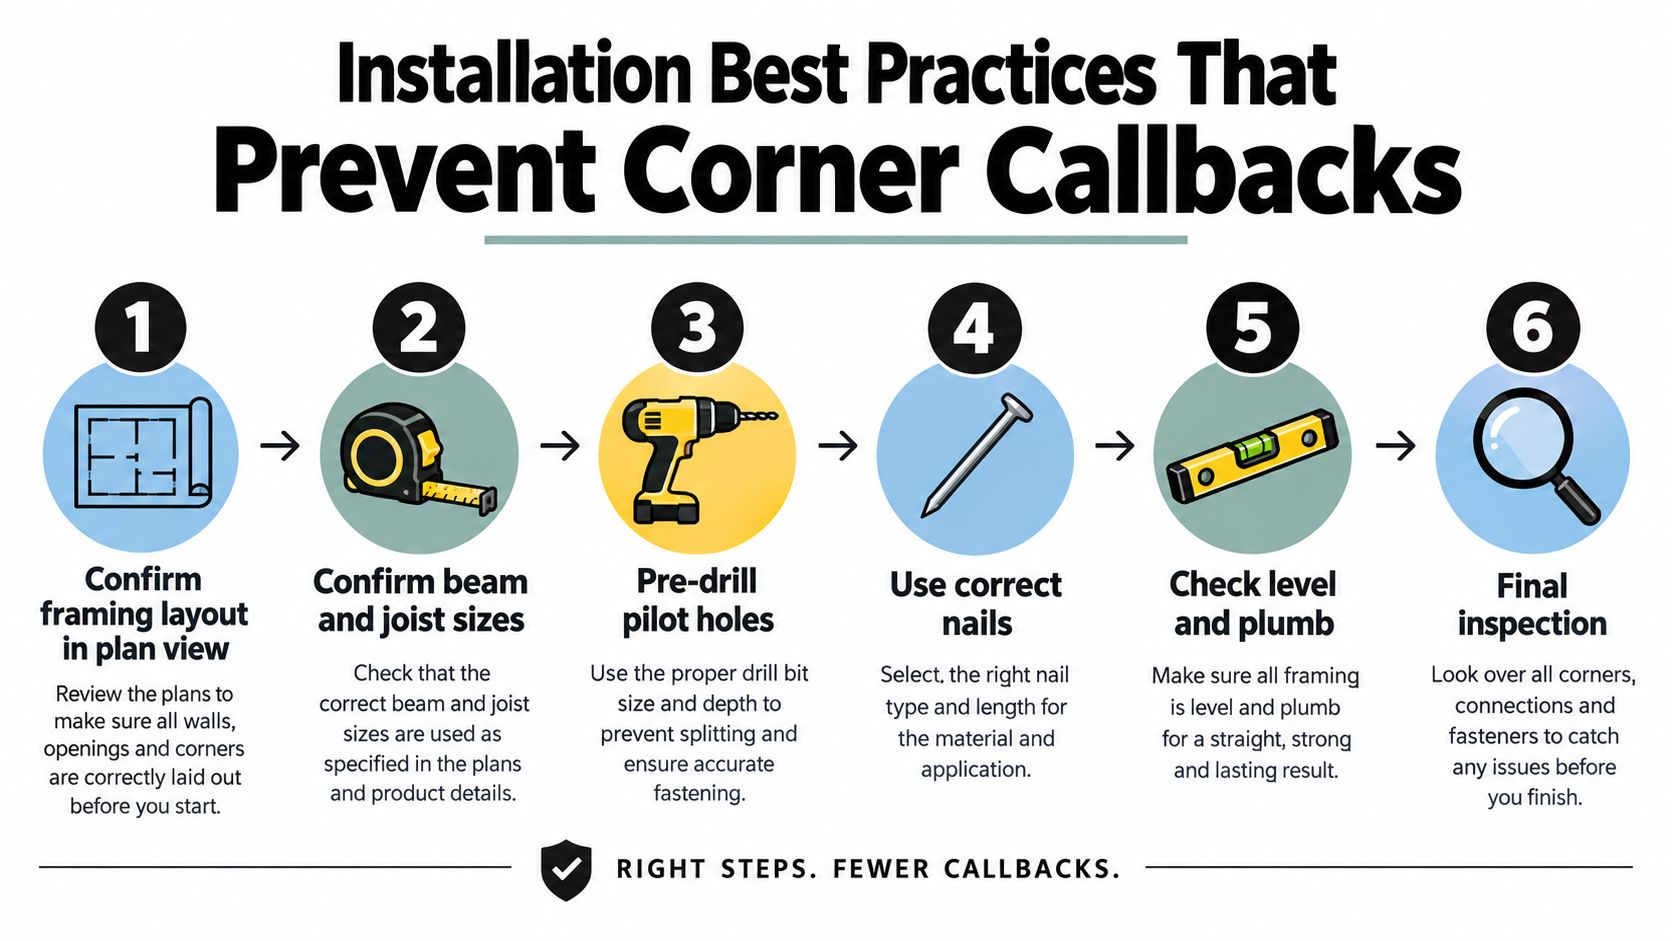
Run the connection in assembly order
- Check the cut. Prepare the joist end for the intended connection without cutting away required seat contact or making an unapproved notch.
- Establish seating. Position the joist fully in the hanger's seat and keep the connector tight to its supporting member.
- Use the specified fasteners. Match type, diameter, length, and finish to the applicable installation schedule.
- Complete the required pattern. Don't omit attachment holes because the adjacent member makes them awkward.
- Control the tool. Avoid overdriving, damaging the connector, or crushing wood around the fastening.
- Inspect before covering. Check bearing, restraint, ledger details, and fastening access while everything remains visible.
Prying a hanger into place is a warning that the cut, layout, or product selection needs attention. Don't use fasteners to pull a poorly fitting connector into a shape the manufacturer hasn't approved.
A gap against the support deserves investigation rather than a cosmetic cover-up. Remove the obstruction or correct the fit, then confirm that the resulting assembly still matches the approved detail.
California permitting guidance calls for framing inspection before decking conceals joists, hangers, connectors, ledger attachment, and lateral-load connections; it also identifies blocking or hangers at least 60% of joist depth as possible lateral-restraint provisions (San Bruno residential deck requirements). Use the applicable provision, not whichever is easiest to conceal.
For the full fastening workflow, consult the step-by-step joist hanger installation guide. Keep the manufacturer's instructions beside it on site.
Common Corner Problems and How to Troubleshoot Them
More metal can make a corner worse. If an added bracket occupies required bearing space or forces fasteners into crowded wood, you haven't necessarily strengthened anything. You may have made a previously understandable connection harder to build and verify.
Troubleshoot the symptom before replacing the hanger. A twisted joist, split rim, or questionable uplift connection calls for different decisions, even when they're all located at the same corner.
Read the symptom before choosing the fix
| Symptom | What to investigate | Appropriate response |
|---|---|---|
| Joist rolls or twists | Offset support and the specified rotational restraint | Restore the designed restraint or obtain a revised detail |
| Splitting near the attachment | Crowded fasteners, damaged wood, and required edge distances | Assess the member and redesign fastening placement if necessary |
| Doubt about uplift resistance | Whether the connector has an applicable uplift rating | Verify the load requirement and approved connection |
| Rust or damaged fastening holes | Exposure, drainage, and material compatibility | Assess the connection and replace components under an appropriate repair detail |
| Several connectors overlap | Competing mounting surfaces and obstructed holes | Reorganize the framing instead of stacking hardware |
For rotation, distinguish a joist that was installed out of position from one that lacks the required restraint. Straightening it during installation won't solve the latter.
For splitting, don't add another cluster of screws beside the damage and call it reinforcement. Determine whether the wood remains suitable and whether the original connection left enough fastening area.
A connector can transfer a load into sound framing. It can't supply the sound framing that's missing.
Uplift needs its own design check rather than an assumption based on the hanger's downward-load rating. Soil pressure belongs in the wider foundation or retaining-structure assessment; it isn't a generic reason to select a stronger deck hanger.
For corrosion, cleaning visible rust doesn't establish the remaining capacity. Inspect the fasteners and supporting wood as well as the exposed bracket.
The hardest congestion problems usually need a layout revision. Moving a splice, changing a supported member, or providing a properly designed header can produce a cleaner connection than hunting for an unusually shaped bracket. Have that revision approved before cutting into completed framing.
Your Corner Hanger Checklist and Next Steps
A useful corner schedule puts the drawing and connector requirements in the same place. Give each distinct corner its own entry rather than carrying one product choice around the entire deck. Recheck the schedule when framing dimensions or joist direction change.
Print this before ordering
- Plan-view condition. Identify inside or outside corner, flush or dropped beam, and any direction change.
- Member dimensions. Record actual supported and supporting sizes and materials.
- Design requirement. Confirm the required reaction and any uplift or rotational demands.
- Connector selection. Record family, model, handedness, and permitted angle.
- Installation schedule. Attach the applicable fastener requirements and evaluation documentation.
- Bearing and restraint. Show the approved arrangement without hiding it beneath hardware.
- Exposure and drainage. Confirm compatible materials, fasteners, and flashing.
- Approval and inspection. Keep the applicable code reference and unusual-corner details available.
California wildfire-zone projects also need an assembly-level check. The state's wildfire-exposure standards apply to covered new-building permit applications submitted on or after July 1, 2008, in designated State Responsibility Areas and moderate, high, or very-high fire-hazard zones (California wildfire building requirements). A structurally suitable hanger doesn't establish compliance for the surrounding deck assembly.
Before decking goes on, photograph the visible corner, its fastening, bearing, blocking, and connection to the wider frame. Keep those photographs with the approved drawing, then use the installation guide to prepare the remaining fastening and inspection checks.
XTREME EDEALS INC. offers joist hangers, post base brackets, and construction fasteners, with recognizable brands such as Decorex Hardware in its hardware catalogue. Visit XTREME EDEALS INC. with your corner sketch and verified connector requirements to compare suitable listings and organize the hardware for your deck project.