

You're probably looking at posts that still hold weight just fine, but they've gone grey, checked, stained, or started looking rough around the base. That's common on older decks, porch supports, and fence runs across Canada, especially where freeze-thaw cycles, wet soil, and repeated sun exposure punish every exposed edge.
A good wood post wrap fixes two problems at once. It cleans up the look without tearing out sound structure, and it gives you a chance to improve how the post handles moisture at the most failure-prone areas. Done well, it looks intentional. Done poorly, it traps water, opens seams, and makes an old post look worse.
Upgrade Your Posts Without Replacing Them
If the post is solid, wrapping it usually makes more sense than replacing it. You avoid disturbing the framing, you keep the existing load path in place, and you get a cleaner finished profile that can match newer railings, skirting, or trim.
There are really two categories people lump together under the same name. Decorative post wraps are the outer shells used to change the appearance of a structural post. Porch column wraps or sleeves often fall into that category. Barrier wraps are different. They're meant to protect the below-grade or near-grade section where rot usually starts.
Know what problem you're solving
If your porch support looks skinny or dated, a decorative sleeve can square it up and give it a more finished architectural look. Porch column wraps are exterior shells made from materials such as PVC or FRP, and they need accurate measurement, panel cutting, and proper sealing after installation to hold up outdoors, as outlined in this porch column wraps guide.
If your fence or deck post is failing at the ground line, you need to think about moisture management first. Research noted by the Canadian wood preservation sector shows that barrier wraps like PostSaver® reduce moisture content near the ground line, slowing decay and insect attack by isolating the wood from soil moisture in this wood preservation reference.
Practical rule: A wrap should never be used to hide a bad post. If the core is soft, loose, or out of plumb, repair or replacement comes first.
Why wraps are worth doing properly
A wood post wrap can sharpen the whole look of a deck. The posts frame the sightlines, so when they look tired, the whole structure reads as older than it is. Wrapping them creates cleaner corners, hides patchy old coatings, and gives you a proper surface for trim details and caps.
It also pushes you to finish the top and bottom correctly. That's where many DIY jobs fall short. The wrap goes on, but the top is left plain and the base is left exposed. Adding the right finishing detail, including properly sized deck post caps, makes the post look complete and helps keep water off the end grain.
If you're planning a broader refresh, it helps to look at other innovative outdoor solutions so the wrap style fits the rest of the yard, deck, and fence line.
Choosing the Right Wood Post Wrap Material and Size
Material choice changes the look, the upkeep, and how forgiving the install will be. Most homeowners end up choosing between PVC, real wood, and composite. None is perfect. The right pick depends on where the post sits, how much maintenance you'll tolerate, and whether you want the wrap to disappear into the design or stand out as a feature.
Material choice in the real world
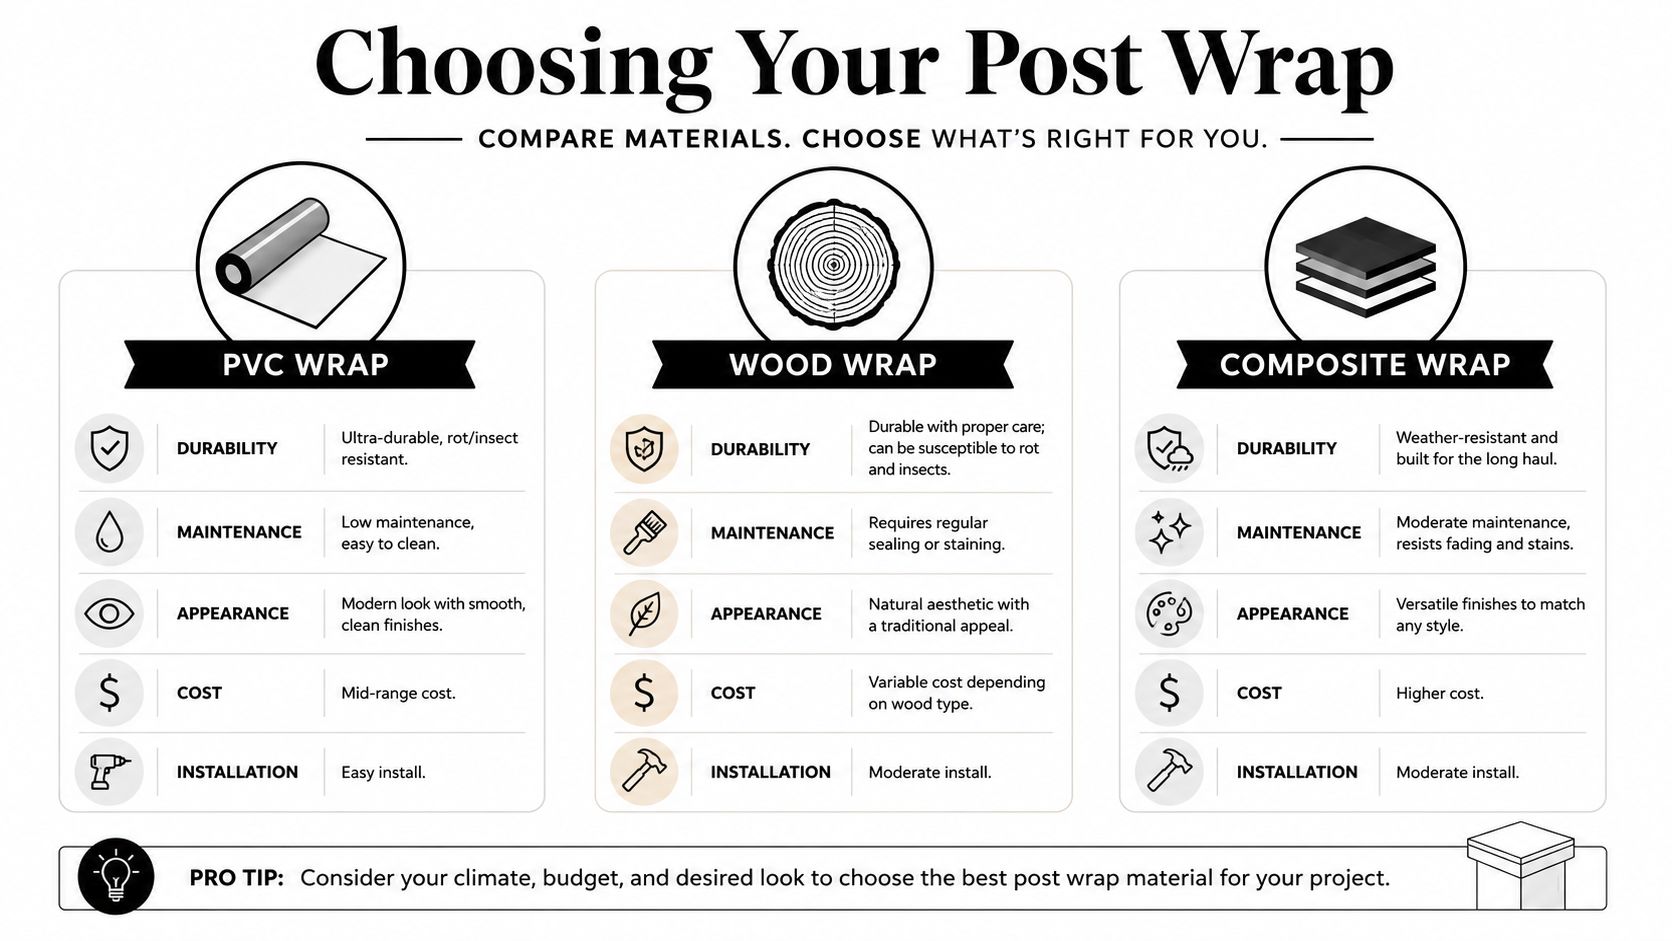
PVC is the most forgiving option for most deck and porch jobs. It's stable, easy to clean, and doesn't ask for the same maintenance schedule as painted wood. If you want crisp corners and a clean painted finish, PVC is usually the easiest route.
Wood gives you the most authentic grain and the most flexibility if you're matching existing cedar, pressure-treated framing, or stained trim. It also asks for regular sealing or staining, and it's less forgiving if water sits at the joints.
Composite sits in the middle from a practical standpoint. It can work well where you want a low-maintenance surface but don't want the look of bright white PVC. It tends to cost more and usually needs cleaner cuts to look right.
Post wrap material comparison
| Material | Pros | Cons | Best For |
|---|---|---|---|
| PVC | Low maintenance, rot resistant, clean finish, easier to install | Can look less natural than wood | Deck posts, porch upgrades, painted finishes |
| Wood | Natural appearance, easy to custom match, traditional look | Needs sealing or staining, can move with moisture | Heritage styles, stained decks, custom carpentry |
| Composite | Weather resistant, consistent finish, lower upkeep than wood | Higher cost, can be less forgiving to cut | Modern decks, coordinated railing systems |
If you're trying to match an older house, wood often wins on appearance. If you're trying to reduce future work, PVC usually wins.
Size matters more than most people expect
The biggest ordering mistake is assuming all 4×4 or 6×6 posts are identical. They aren't always, especially on older builds. Paint build-up, rough-sawn lumber, swelling, shrinkage, and previous repairs can all change the actual dimensions.
Measure each face of the post, not just one side. Then check for out-of-square corners. If the post leans or twists slightly, note the widest point. A wrap that fits tightly on one end but binds halfway down turns a simple install into a wrestling match.
Structural fit matters too. Post wrap systems must cover a minimum load-bearing post size as defined by structural charts, and some manufacturers publish charts showing the minimum post size each wrap model is designed to cover for safety and proper fit, as shown in this post wrap sizing chart reference.
A simple measuring routine
Use this sequence before you order anything:
- Measure height first: Deck surfaces and porch slabs can vary slightly from one post to the next.
- Check all four faces: Don't assume a square post is square.
- Look at railing hardware: Existing brackets or cable fittings may affect wrap thickness and trim placement.
- Allow for trim pieces: Base and neck moulding can hide small gaps, but they won't fix a badly sized wrap.
- Confirm cap sizing: The post cap has to match the finished outside dimension, not the original structural core.
Gathering Tools and Preparing Your Posts
Most installation problems start before the wrap ever touches the post. Bad prep causes loose seams, trapped moisture, crooked lines, and trim that won't sit flat. Good prep makes the whole job easier.
What I keep on hand
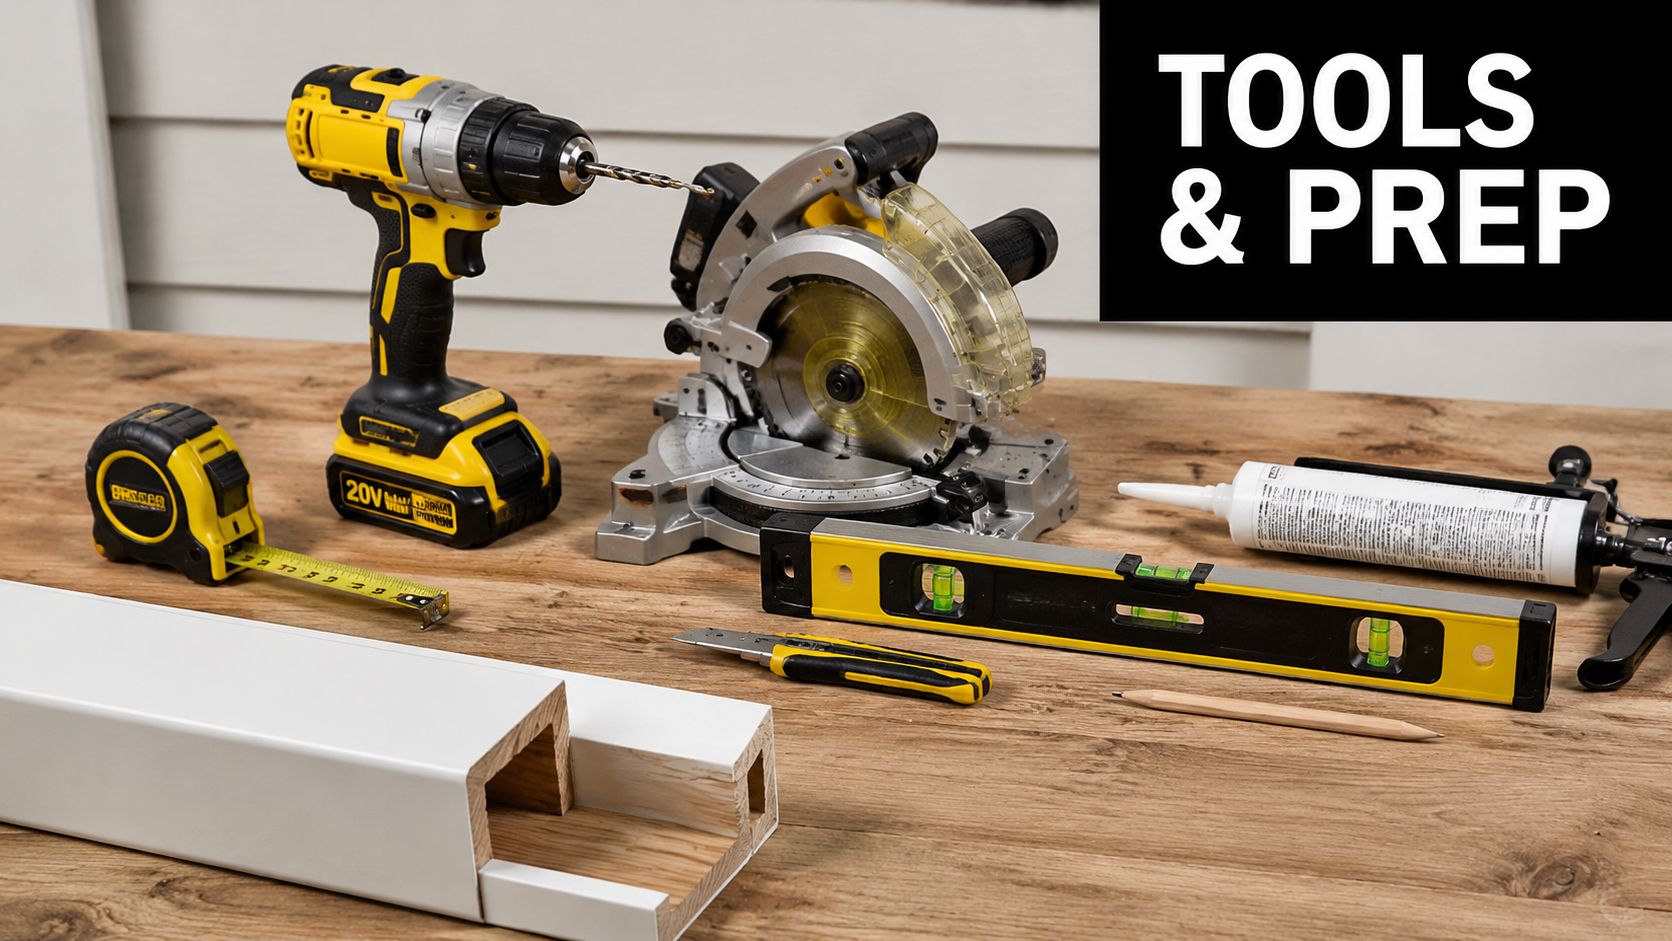
You don't need a huge tool list, but the basics need to be decent quality:
- Measuring tools: Tape measure, speed square, pencil, and a level.
- Cutting gear: Mitre saw or circular saw with a fine-finish blade suited to the wrap material.
- Fastening tools: Drill/driver, countersink bit if needed, and exterior screws.
- Adhesive and sealant: Exterior-rated construction adhesive, paintable exterior caulk, and a caulking gun.
- Prep items: Scraper, stiff brush, rags, mild cleaner, and shims.
- Safety gear: Eye protection, hearing protection, gloves, and a dust mask when cutting PVC or composite.
For exterior screws, anchors, brackets, and other project hardware, it helps to source everything from one place so finish and sizing stay consistent. A solid selection of deck fasteners and fittings saves a lot of last-minute trips.
Prep the core post before you wrap it
Clean the post thoroughly. Dirt, flaking paint, old caulk, and algae all interfere with fit and adhesion. If the post has old coatings that are peeling, scrape them back so the wrap sits against a stable surface.
Check the post for softness near the base, splitting at fastener lines, and movement at the footing or framing connection. A wrap won't correct any of that. If the post is structurally questionable, stop and deal with the structure first.
A straight-looking wrap over a moving post is still a failed job.
Watch the base in Canadian climates
Depth and grade matter more than many DIYers realise. In clay-heavy regions common to southern Ontario, fence posts need to be buried 6 inches deeper than the minimum frost line depth to counteract soil expansion during freezing, according to this Ontario fence post depth guide. That affects wrap planning because the vulnerable area near grade needs to stay clear enough that moisture doesn't sit against the finished wrap.
Before installation, make sure soil, mulch, or decking debris isn't piled against the post base. The cleaner and drier that transition zone is, the longer the wrap detail will hold up.
How to Install a Wood Post Wrap
A clean installation comes down to dry fitting, controlled adhesive use, and seam discipline. Don't rush those three parts.
Start with a dry fit
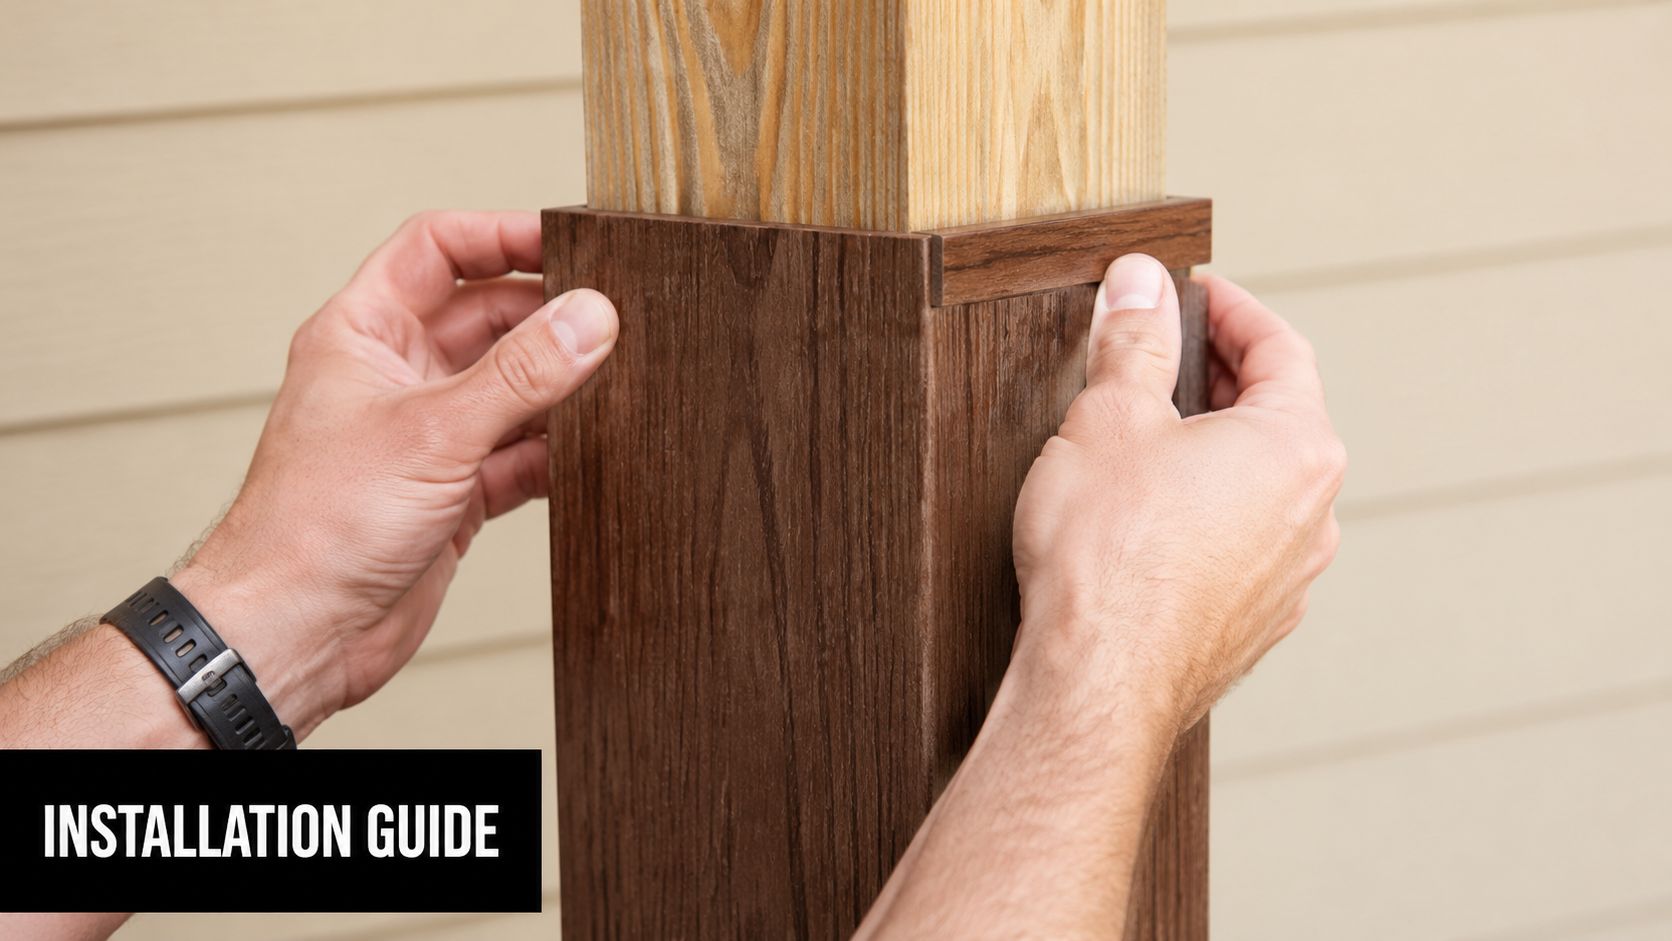
Cut all wrap panels to length and label them before assembly. If the deck surface or porch slab isn't perfectly level, scribe the bottom edge rather than forcing the wrap to sit crooked. Dry fit every piece around the post to check for tight spots, hardware interference, and corner alignment.
If the existing post is slightly out of square, don't try to muscle the wrap into place. Plane or sand the high spot if the material allows, or use thin shims where needed so the finished faces read straight.
Keep the base clear of standing moisture
One of the smartest details in a wet climate is lifting the finished wrap slightly above grade rather than planting it directly into contact with soil or a damp surface. In California's coastal and high-moisture zones, wraps installed with a 1/4-inch (6.35 mm) raised base clearance above grade reduced moisture wicking by 87% and extended post lifespan by 12–15 years compared with ground-contact installations, according to this PostSaver installation benchmark video.
That same principle applies well in Canadian conditions. Leave a small, intentional clearance at the base wherever the design allows, then finish that transition neatly with trim rather than burying the wrap edge.
Apply adhesive like a carpenter, not like a caulker
Use exterior-rated construction adhesive in controlled beads. Too little and the panel won't stay stable. Too much and it smears into seams, prevents clean closure, and creates a mess you'll fight for the rest of the job.
I prefer to run adhesive where it supports the panel body, not right at the outside corner where squeeze-out becomes visible. Set the first panel, then bring the mating panel in carefully so the seam closes evenly from top to bottom.
Press the seam together dry once before adding adhesive. If the fit is awkward dry, adhesive won't fix it.
Fasten for long-term seam control
Use exterior deck screws where the system allows mechanical fastening. Predrill if the material is prone to splitting or mushrooming. Keep screw placement consistent so the finished work looks planned, not patched.
For decks with a more contemporary look, railing style often drives the post proportions and trim choices. If you're pairing wrapped posts with cable systems, this overview of modern wood post cable railing design is useful for working out clean lines before you lock in sleeve size and cap style.
After the first side is secured, check plumb and face alignment again before committing the remaining sides. A small twist caught early is easy to correct. A full assembly that cures out of line is not.
Watch this install sequence before cutting material
The process is easier to understand when you see panel handling, seam closing, and fit-up in motion.
Finish the top and bottom cleanly
Once the wrap is fixed in place, trim out the base and top before final sealing. Don't leave the sleeve looking chopped off. The finished lines should look like part of the original build.
Check every seam in raking light. If one corner is proud, correct it before the adhesive fully sets. This is the point where patience pays off.
Finishing Touches for a Professional Look
The difference between a decent wrap job and a professional-looking one usually comes down to the last hour of work. That's where many people get impatient. They install the sleeve, stand back, and call it finished. It isn't.
Caulk the edges that matter
Panel edges, top transitions, and exposed joints need proper exterior caulk. Not a sloppy bead. Not a smear wiped with a finger after it skins over. A neat, tooled seal that closes the opening without telegraphing itself across the face.
This is one of those details that directly affects performance. Field data shows that wraps installed with exterior-rated construction adhesive and exterior deck screws achieved a 94% success rate in preventing seam separation over 5 years, while 32% of failed installs involved omitted caulk at panel edges, according to this post wrap seam performance video.
Caps and trim make the wrap look intentional
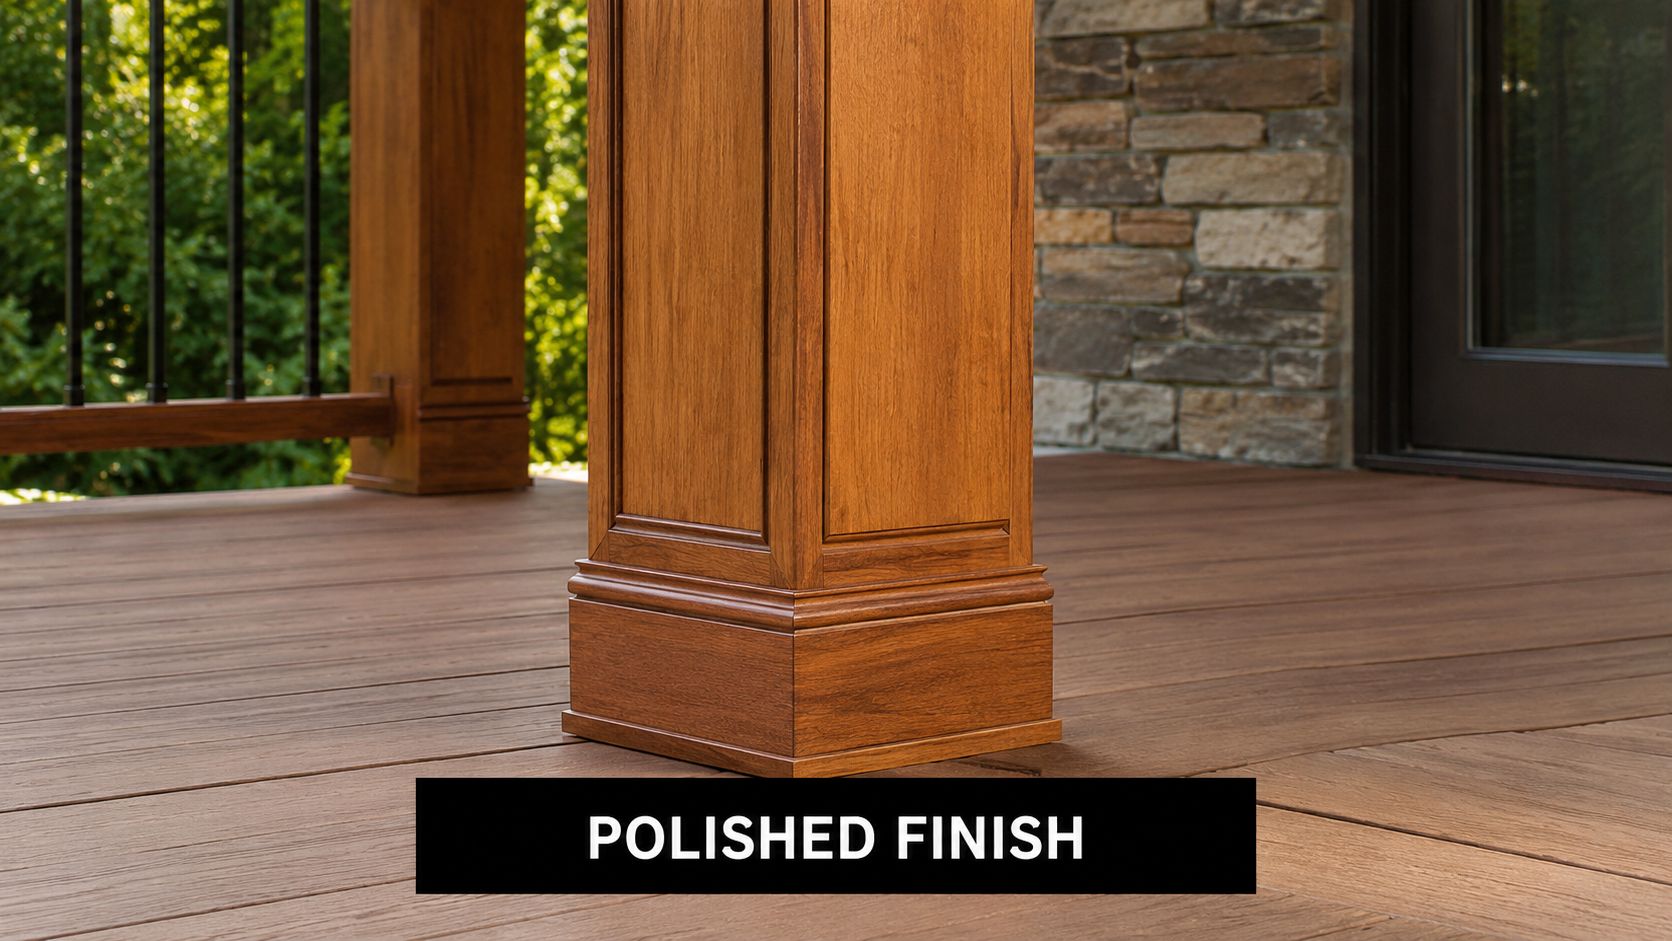
A bare top edge always looks unfinished. A good cap protects the post top visually and gives the whole assembly a finished profile. Pyramid caps suit simple deck builds. Ball caps fit more traditional fences. Decorative caps can tie into gate hardware or railing details if the rest of the project has some character.
Base trim matters just as much. It hides small inconsistencies at the deck surface, gives the post some visual weight, and creates a deliberate transition instead of a sleeve that appears dropped over a stick. If you're dressing up a 6×6 post, a properly sized wood post base trim for 6×6 posts gives that lower joint a cleaner finish.
Match the finish to the material
PVC often looks best with a crisp painted or factory-finished appearance. Wood wraps need a proper exterior stain or sealer schedule if you want them to age evenly. Composite usually needs less maintenance, but it still benefits from careful cleaning and protected joints.
If you're finishing wood wraps and want a good reference for prep and coating discipline, this guide on expert wood staining in Auckland is useful for thinking through surface prep and finish durability, even though the climate differs.
Good finishing isn't decoration. It's moisture control dressed as trim work.
Troubleshooting Common Post Wrap Problems
Even careful installs can need adjustment. Most problems are fixable if you catch them early.
Gaps between the wrap and the post
If the wrap feels hollow or rattles when tapped, the core post probably varies in size or the panels bridged over a low spot. Remove the loose section if possible, add shims where support is missing, and refasten so the face sits solid. Don't just pump caulk into a large void and hope for the best.
A seam starts to open
A separating seam usually points to poor surface prep, weak adhesive contact, movement in the post, or skipped caulk at the edge. If the seam is minor and accessible, clean it out, reapply suitable adhesive if the system allows, close it properly, then recaulk the edge neatly after it stabilises.
The base keeps getting wet
If mulch, soil, or snow sits against the lower edge, clear it back. Persistent moisture at the base will shorten the life of any finish detail. Improve drainage, keep landscaping off the wrap, and maintain visible clearance around the bottom edge.
The wrap looks crooked even though the post is sound
That's usually a visual issue caused by an unlevel deck line, uneven trim, or one face being more visible than the others. Check sightlines from the normal viewing angle, not just with a square. Sometimes the fix is recutting trim or easing one reveal so the post looks straight to the eye.
Fasteners show too much
If the screw pattern draws attention, reset the hardware layout on the next post so spacing is consistent and deliberate. On some materials, colour-matched fasteners or more careful placement near trim lines make a big difference.
XTREME EDEALS INC. carries the hardware and finishing pieces that make this kind of job go smoothly, from post caps and base trim to screws, brackets, bolts, and deck accessories. If you're upgrading fence or deck posts and want dependable parts in one place, browse XTREME EDEALS INC. for practical options that suit both DIY projects and professional installs.