
Saturday morning starts with a simple plan. Tighten a few boards, straighten the gate, maybe replace a post cap that blew off in winter. Then you lean on the railing and feel it move more than it should. The gate drags harder than last month. One deck board lifts at the edge when you step on it.
That's how most repair jobs begin. Not with a full rebuild, but with one small failure that points to a bigger connection problem underneath. A loose screw, a post base that never held properly, hinges that have worn past the point of adjustment, or fasteners that were wrong for the material from day one.
Good troubleshooting guides matter because they stop you from guessing. They help you trace the problem back to the actual failure point so you fix it once, with the right hardware, instead of making the same repair again next season.
Your Weekend Project Just Got Complicated
The typical call goes like this. “My railing is loose, but the post looks fine.” Then you check the base and find moisture damage where the wood meets concrete. Or a homeowner says the gate latch won't catch, but the real problem is that the hinge side post has shifted just enough to throw the whole gate out of line.
That's why generic advice usually falls flat. “Tighten the screws” sounds helpful until you realise the screws aren't the problem. They may be undersized, stripped out, rusted, or fastened into wood that no longer has enough holding power.
Troubleshooting guides earn their keep because they force a sequence. Check movement. Check attachment points. Check the support beneath the visible part. Check whether the failure is cosmetic, mechanical, or structural. That approach matters for homeowners and pros alike. These guides serve as critical tools for DIY homeowners and professional contractors in Ontario and Quebec, where 62% of home improvement projects encounter at least one technical issue requiring diagnostic support, according to a 2024 Statistics Canada survey cited by CompTIA's troubleshooting methodology overview.
What the problem usually isn't
A lot of outdoor repairs look worse than they are. A sagging gate doesn't always need replacement. A wobbly railing doesn't always mean the whole deck frame is failing. A split board doesn't always require tearing up half the surface.
What matters is matching the symptom to the hardware.
- Wobble at the top of a railing: often points to loose bolts, weak blocking, or poor post anchoring.
- Gate dragging at one corner: usually means hinge strain, post movement, or frame sag.
- Board movement underfoot: commonly comes from fastener failure, joist spacing issues, or seasonal wood movement.
Most outdoor repairs go wrong when people fix the symptom they can see and ignore the connection that failed underneath.
Once you start reading the signs properly, a weekend headache turns into a manageable list. Tighten or replace fasteners. Add proper brackets. Re-anchor the post. Swap in a better latch. Cap exposed wood. That's the difference between patching and repairing.
Your Essential Deck and Fence Repair Toolkit
A clean repair starts before the first screw comes out. If your drill bit is wrong, your fasteners are mismatched, or your anchors don't suit the base material, you can spend half a day working and still end up with a weak fix.
Hand tools and layout tools
Keep the basics close and in working order:
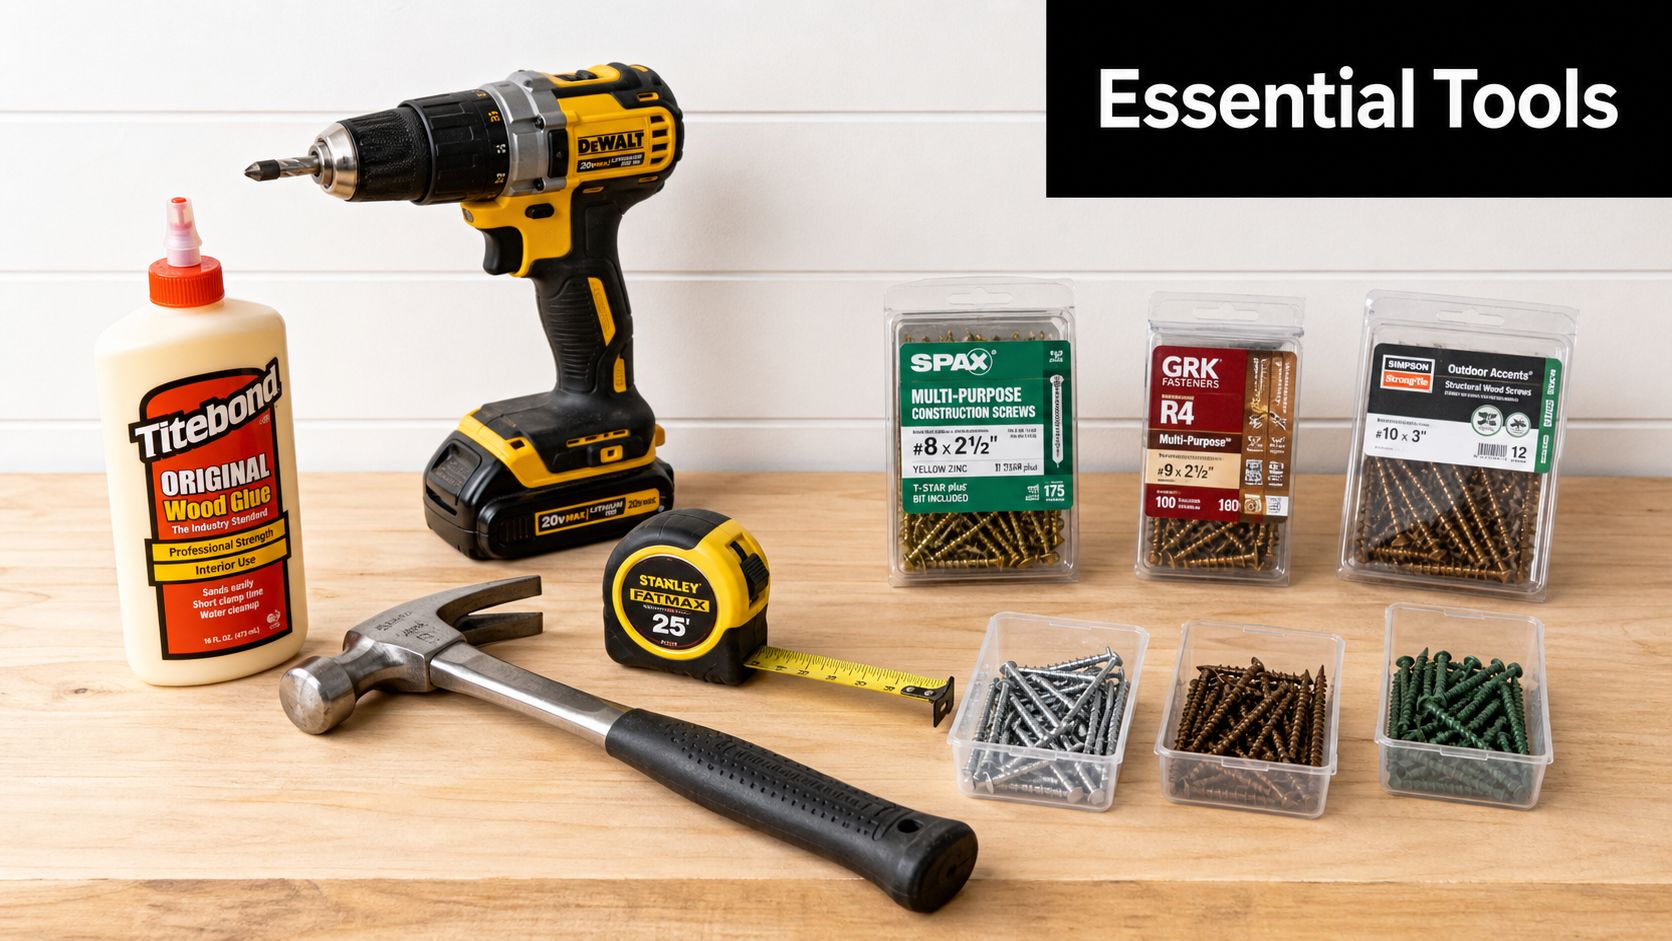
- Tape measure: for checking post spacing, hinge setbacks, and replacement board length.
- Speed square: helps with bracket alignment and square cuts.
- Level: needed for posts, rails, and gate latch alignment.
- Drill and impact driver: one for drilling pilot holes, one for driving fasteners cleanly.
- Clamps: invaluable when pulling warped boards into line or holding a latch in place during adjustment.
- Pry bar: for lifting failed boards without beating up surrounding material.
A chisel and socket set also save time. Chisels clean out rot pockets or old joinery. Sockets matter when you're tightening carriage bolts or lag bolts properly instead of guessing with an adjustable wrench.
Fasteners that actually solve problems
Fasteners aren't interchangeable. That's where many DIY repairs fail.
| Hardware | Best use | Common mistake |
|---|---|---|
| Deck screws | Re-securing deck boards and railing components | Using interior screws that corrode outdoors |
| Lag bolts | Heavy structural connections into posts or framing | Driving without a pilot hole and splitting the wood |
| Carriage bolts | Through-bolting posts, rails, and gate frames | Using them where there isn't access to both sides |
| Joist hangers | Reinforcing deck framing connections | Reusing bent or undersized hangers |
| Anchors | Securing brackets into concrete | Picking the wrong anchor for load and base condition |
The wider outdoor living sector runs on these standard parts. Major specialty distributors in the U.S. outdoor living supply sector, such as Decks & Docks Lumber Company headquartered in Clearwater, Florida, offer extensive ranges including composite decking, treated lumber, and fencing products, underscoring the industry-wide reliance on standardized fasteners and accessories like carriage bolts, lag bolts, and deck screws that XTREME EDEALS INC. catalogs, as noted in this U.S. fencing services market report.
What should be on the bench before you start
If I'm walking into a repair on a deck or fence, this is the hardware pile I want ready:
- Structural bolts and washers: for connections that need clamping force, not just bite.
- Ceramic-coated or exterior-rated deck screws: for treated lumber and exposed deck surfaces.
- Post base brackets: for stabilising posts at concrete footings.
- Joist hangers: when movement traces back to framing support.
- Post caps and finials: for finishing and for protecting exposed end grain.
- Gate hinges and latches: because once a gate starts sagging, adjustment alone often won't carry it for long.
For a broad range of repair hardware in one place, it helps to review a dedicated selection of fasteners and fittings for deck and fence work.
Practical rule: Don't start a repair with “something close enough” from the bottom of a mixed fastener bucket. Outdoor hardware needs the right length, the right coating, and the right holding method.
Diagnosing and Fixing Wobbly Posts and Railings
A railing that moves under hand pressure is never something to shrug off. Sometimes the fix is simple. Sometimes the wobble is warning you that the post base, footing, or rail connection was weak long before it became visible.
Start at the base, not the top
It's common to grab the railing and focus on where the movement is felt. That's understandable, but it's not the best place to diagnose from. Start low.
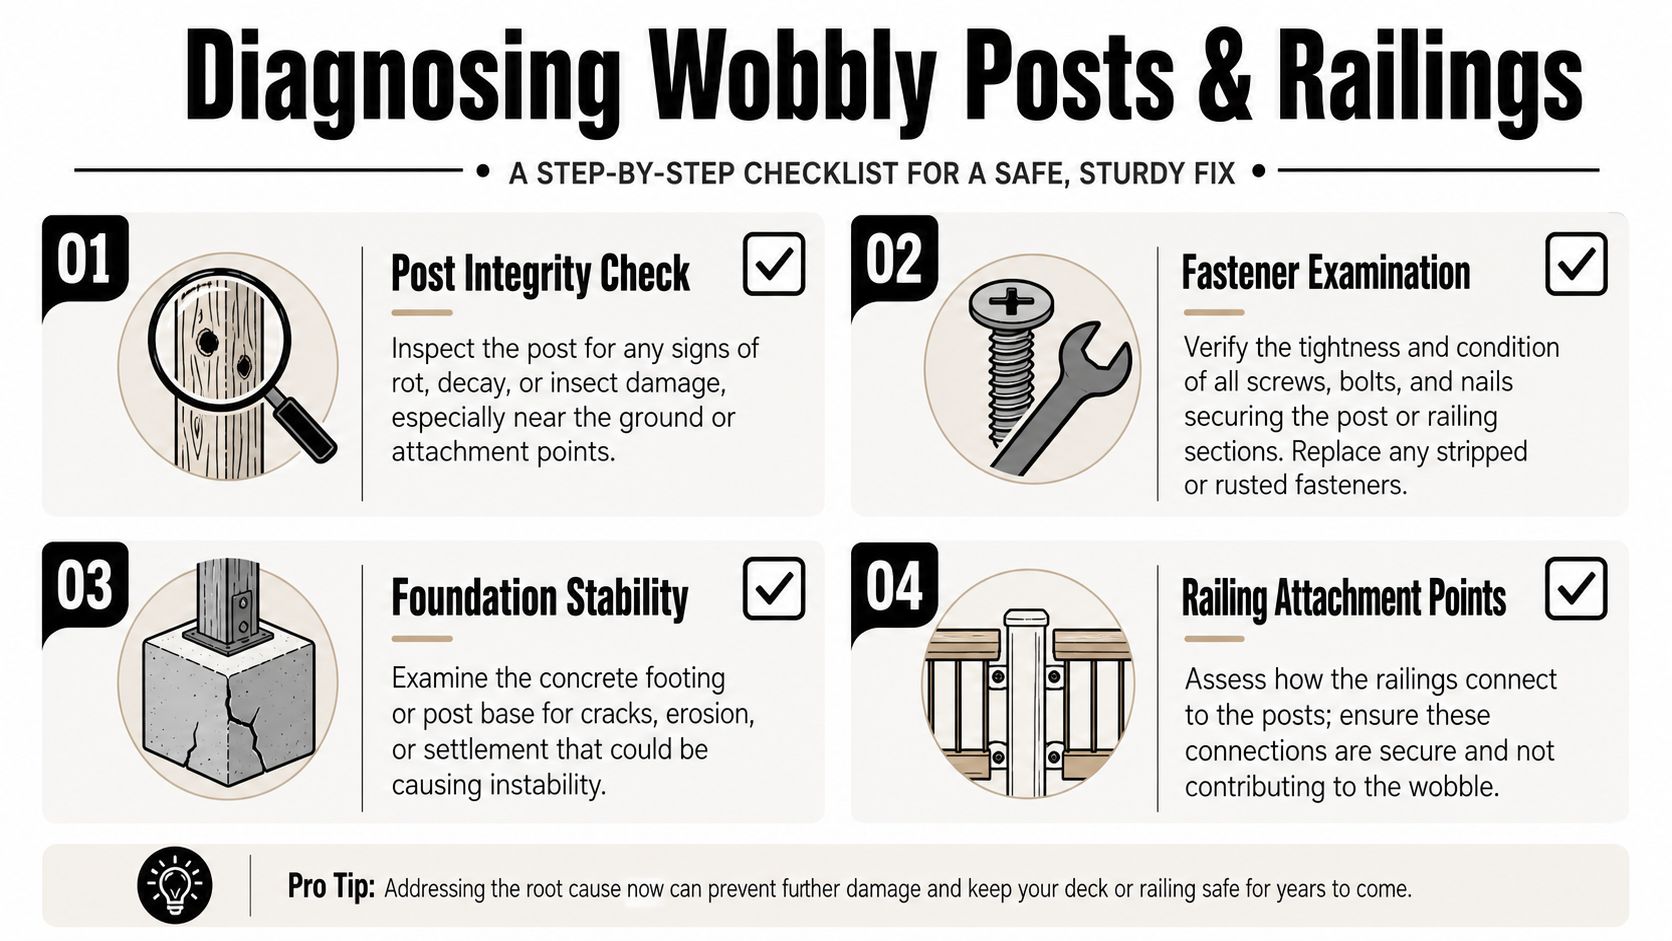
Run this check in order:
- Push the post from different sides. If it moves equally in every direction, suspect the base or footing.
- Inspect the bottom of the post. Probe for softness, splitting, insect damage, or swelling where water sits.
- Check all bolts, screws, and brackets. Look for rust, spin-out, enlarged holes, or crushed wood fibres.
- Follow the rail into the post connection. A solid post with a weak rail attachment will still feel unsafe.
In Ontario (CA), where 68% of DIY hardware disputes involve installation errors rather than product defects, guides that integrate visual flowcharts and real-life case studies reduce support ticket volume by 35% and improve user self-resolution confidence by 52%, according to the UNOLS troubleshooting study. That tracks with what happens in the field. The more clearly you sequence the checks, the less likely you are to blame the wrong component.
Match the repair to the cause
Here's the simplest way to think about it.
| Symptom | Likely cause | Repair direction |
|---|---|---|
| Whole post shifts | Loose base, failed anchor, footing issue | Re-anchor, reinforce base, inspect concrete |
| Top of post moves, bottom stays firm | Weak rail connection or undersized fasteners | Through-bolt or rebuild connection |
| Post feels soft at lower section | Rot or moisture damage | Replace post, correct water exposure |
| Railing section flexes between posts | Loose balusters, weak rail span, poor blocking | Add support and replace failed fasteners |
Repairs that hold up outdoors
If the post is sound but the connection is weak, tighten first, then evaluate. Loose lag bolts may only need re-seating if the wood still has bite. If the hole is blown out, don't keep tightening into failure. Move up to a through-bolt with washers if the assembly allows it.
If the base is the problem, a proper bracket and concrete anchoring approach usually outperforms improvised shimming or toe-screwing. A solid reference for that type of repair is this guide to anchoring posts to concrete.
When the post bottom is rotted, replacement is the honest answer. No amount of larger hardware will make decayed wood trustworthy again.
Finishing details that prevent a repeat
After the structure is tight again, deal with the reasons it failed.
- Replace missing or cracked post caps so water stops soaking exposed end grain.
- Swap rusted fasteners instead of reusing them.
- Check nearby balusters because movement often spreads strain to the next connection.
- Seal cut ends and exposed repair areas if the material requires it.
A railing repair isn't finished when the wobble stops. It's finished when water, movement, and bad connections are all dealt with.
How to Correct a Sagging Gate and Faulty Latch
A gate is the one part of a fence that moves every day. That movement is what exposes weak hinges, poor post support, and sloppy latch alignment faster than anywhere else.
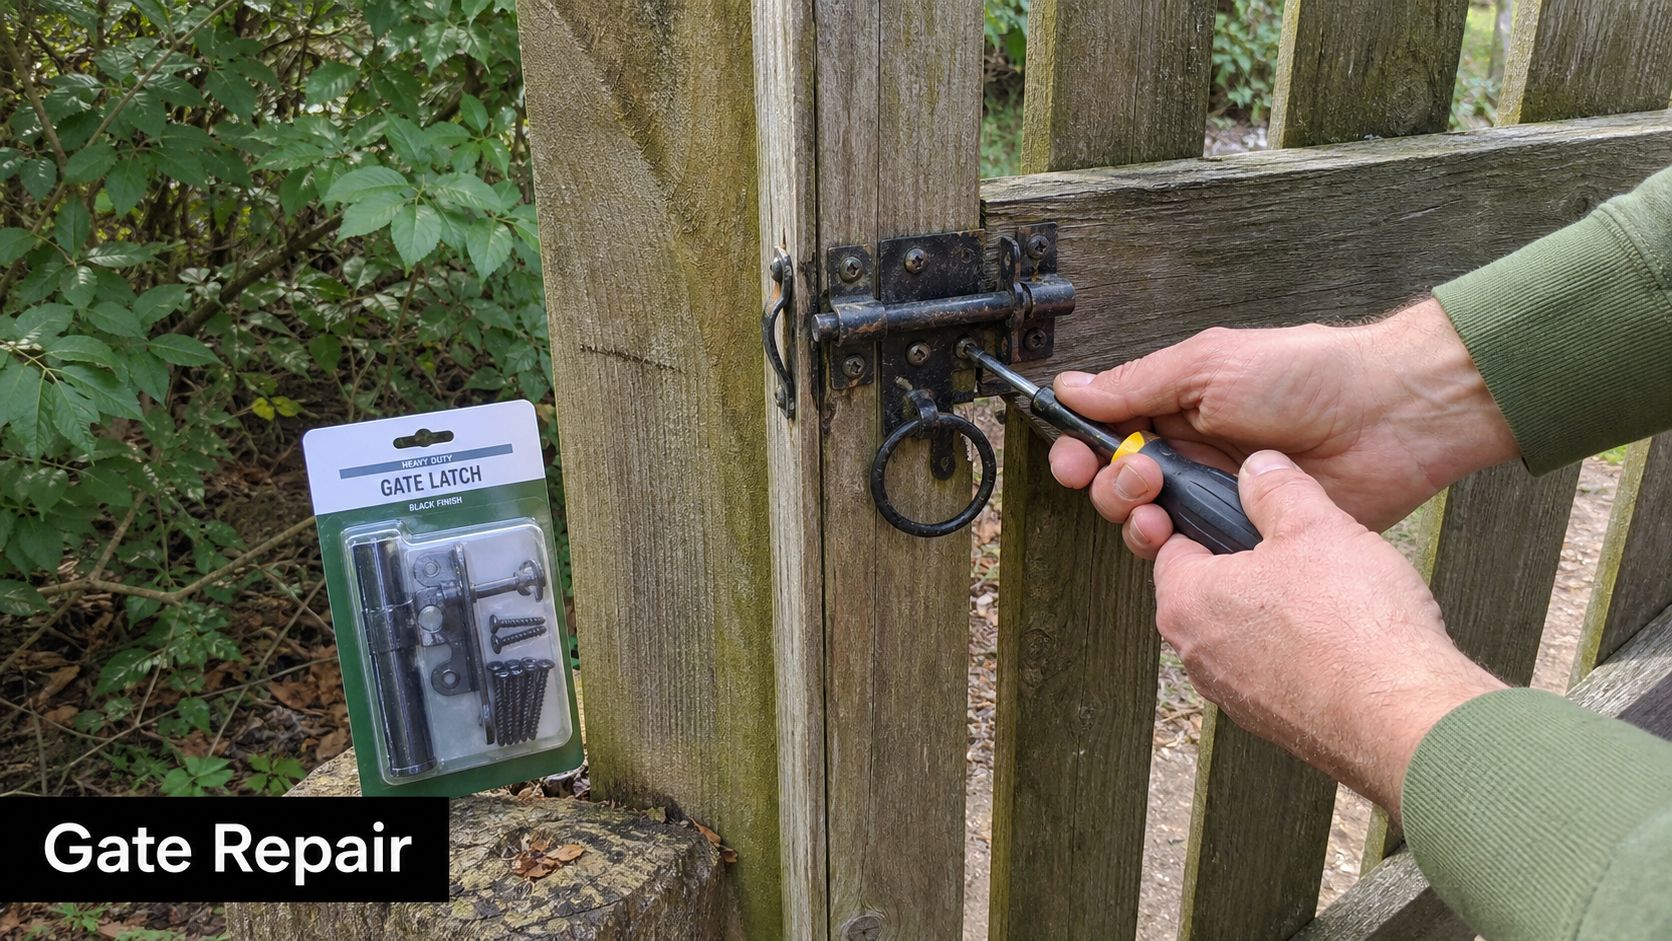
If the gate drags at the latch side, don't start by relocating the latch. Check the system in this order: hinge post, hinges, gate frame, then latch. A latch only works consistently when the gate arrives in the same place every time.
Read the sag pattern
A gate tells you a lot by where it rubs.
- Latch side drops low: common hinge strain or gate frame sag.
- Whole gate binds evenly: often post movement or seasonal ground shift.
- Latch misses by a small amount: usually hardware alignment, not a full structural failure.
- Top gap changes over time: hinge screws may be loosening, or the hinge post is starting to lean.
The market for this kind of work isn't slowing down. In the United States, the fencing services market is experiencing steady expansion with a projected CAGR of 6.19% over 2026 to 2031, reflecting increased professional and DIY investment in fence construction projects that require hardware such as gate inserts, hinges, and joist hangers offered by XTREME EDEALS INC., according to Mordor Intelligence's fencing market coverage. More gates being built means more gate repairs, especially where hardware choices were too light for the span.
The hinge side decides everything
Don't underestimate the post. If the hinge side post moves, every hinge adjustment is temporary.
Check for plumb with a level. Then inspect the fasteners. Hinge screws that have wallowed out their holes won't hold under repeated load. Longer screws may help if they can grab fresh material deeper in the post. If not, you're into reinforcement or replacement territory.
Heavy gates need heavy-duty hinges. Decorative strap hinges can look right and still be mechanically wrong if they can't carry the load. On wood gates, I prefer hardware that spreads stress over a larger mounting area and allows a clean, square installation.
Latch problems are usually alignment problems
Once the gate swings cleanly, then set the latch.
Do it like this:
- Close the gate gently and mark the true resting position.
- Mount the strike to that position, not to where the old latch used to sit.
- Test from both directions because some gates flex differently on push and pull.
- Recheck after several cycles to make sure the latch catches without lifting the gate by hand.
A self-latching setup is worth considering if you're tired of a gate that doesn't stay shut. For that type of upgrade, a self-locking gate latch option gives you a more consistent close than a worn basic latch.
Here's a practical video reference before you start adjusting hardware:
When function and appearance can improve together
A gate repair doesn't have to stop at getting it to close. If you're already replacing hinges or latch hardware, it's a good time to check decorative inserts, finials, and visible trim pieces that may be bent, loose, or dated.
A gate that swings properly feels lighter, lasts longer, and puts less strain on every other part attached to it.
That's the kind of repair people notice immediately, not because it's flashy, but because it finally works the way it should.
Addressing Loose Split and Warped Deck Boards
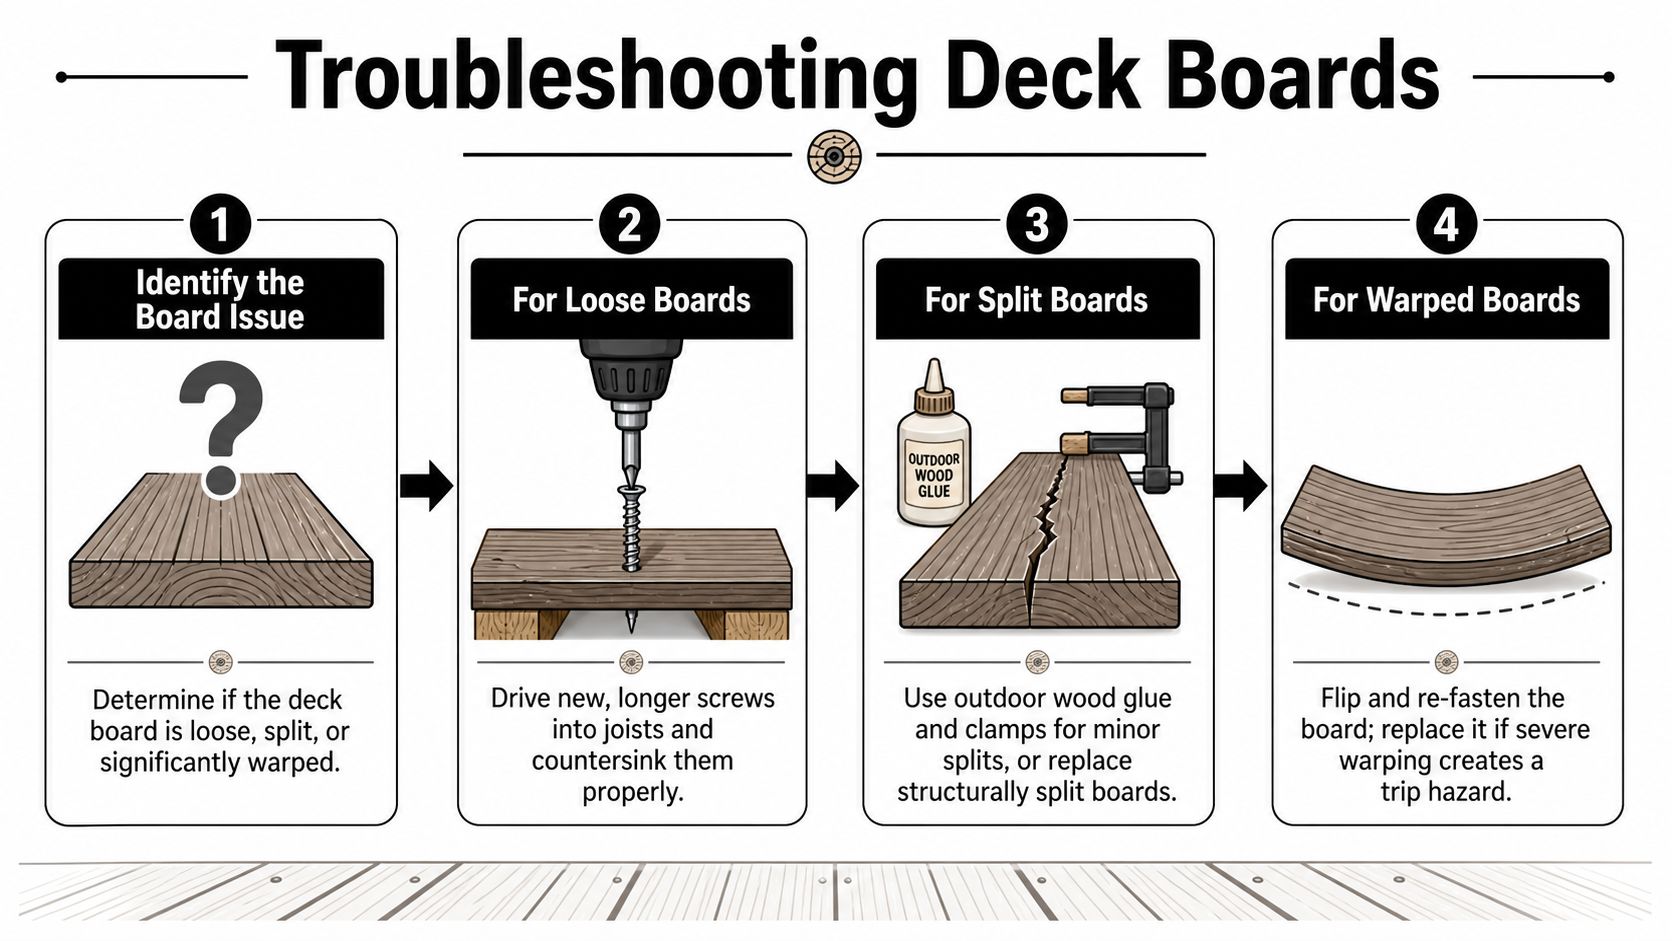
Deck boards take weather, foot traffic, furniture drag, snow load, and sun exposure. They fail in different ways, and each failure needs a different fix. Treating every board problem with “add two more screws” usually creates more work later.
When the board is loose
A loose board often lifts because the original fasteners backed out, corroded, or lost grip in the joist. Start by checking whether the board itself is sound. If the wood around the fastener holes is still solid, re-securing may be all you need.
Use exterior-rated deck screws of sufficient length to grab firmly into the joist below. Don't drive the new screw into the exact same stripped hole if you can avoid it. Shift slightly, stay clear of the board edge, and countersink cleanly without burying the head too deep.
A few habits make this repair last longer:
- Pre-drill near board ends to reduce splitting.
- Drive to snug, not crushing so the board stays held without damaging fibres.
- Use matching fastener type for the decking material because composite and wood don't behave the same way.
When the board is split
Not every split means replacement. A short surface crack that doesn't run through the board width can often be monitored or repaired. A deep split near a fastener line or at a high-traffic edge is a different story.
Use this rule of thumb:
| Board condition | Best response |
|---|---|
| Minor surface split | Clean, glue if appropriate, clamp, monitor |
| Split at end near fastener | Refasten carefully or replace if spread is active |
| Long structural split | Replace the board |
| Split with softness or decay | Replace immediately |
If you repair a small split, remove any loose fibres first. Clamp the board properly while the repair sets, and don't rely on filler alone to restore strength.
When the board is warped
Warped boards create two separate issues. One is appearance. The other is a trip hazard. Only the second one decides whether the board has to come out right now.
Try to determine whether the board can still be pulled flat to the framing. Sometimes a board has lifted because fasteners failed, not because the board is beyond use. Other times the cup or twist has gone too far, and forcing it down just stores stress for the next failure.
If a board still fights the framing after proper fastening, the board is telling you it wants replacement.
When replacement is the better call, work carefully to protect adjacent boards. Cut the failed board into manageable sections if needed, lift it cleanly, inspect the joists underneath, and install the new board with proper spacing and fresh fasteners. It's also the right moment to correct any joist-top moisture issues or hidden hardware corrosion you uncover.
Small board problems can stay small if you sort them out early. Leave them alone, and they spread into loose runs, uneven walking surfaces, and damaged framing below.
Preventive Maintenance to Extend Your Deck and Fence Life
Maintenance gets skipped because it doesn't feel urgent. Then one missing post cap turns into water damage, one rust streak turns into fastener failure, and one dragging gate starts pulling a fence line out of square.
The smarter approach is simple. Treat inspection like part of ownership, not a repair afterthought. That matters in a category with long-term demand. The global fencing market was valued at over USD 34.72 billion in 2025 and is projected to reach USD 65.17 billion by 2035, growing at an approximate 6.5% CAGR during 2026 to 2035, according to Research Nester's fencing market outlook. More outdoor structures mean more people learning the same lesson. Hardware and maintenance choices made early decide how often you repair later.
A seasonal routine that pays for itself
Spring is for movement and moisture checks. Winter exposes weak joints, lifted boards, and post movement.
Summer is the time to tighten what loosened and clean what traps moisture. Autumn is for clearing debris, especially around post bases and deck edges where wet material sits against wood.
A practical checklist looks like this:
- Inspect fasteners: look for backing-out screws, rust stains, and loose bolt connections.
- Check exposed end grain: missing caps and open cuts soak up water fast.
- Watch the base of posts: dirt build-up and standing moisture shorten service life.
- Test moving hardware: gates, latches, and hinges should move cleanly without force.
- Walk the full deck surface: soft spots, lifted edges, and flex underfoot need attention early.
Start with the foundation, then protect the details
If a deck or fence is built on a weak base, maintenance turns into constant catch-up. That's why it helps to understand what a solid deck foundation looks like before you start blaming surface hardware for every recurring issue.
After the base, the next layer is protection. Good post caps reduce water entry at the top. Exterior-rated fasteners resist the corrosion that ruins holding strength. Proper brackets reduce racking and movement at critical joints.
What preventive work actually saves
Maintenance isn't glamorous, but it does something repairs can't. It keeps small failures from linking together.
- One loose hinge becomes a sagging gate if ignored.
- One missing cap becomes a rotted post top over time.
- One rusty screw line becomes board movement and splitting.
- One damp corner becomes decay where the framing is hardest to inspect.
That's why the best troubleshooting guides don't stop at diagnosis. They build habits that reduce how often you need them.
Knowing When to DIY and When to Call a Professional
Some repairs are ideal DIY work. Replacing deck screws, fitting a new latch, adding post caps, swapping a few brackets, or replacing isolated boards all sit comfortably in that category if you work carefully.
Other jobs cross a line. Once structural support, foundation movement, or widespread decay enters the picture, confidence isn't enough. You need a realistic read on risk.
Green light, yellow light, red flag
Use this framework before you commit to the repair.
| Level | What you're seeing | Best move |
|---|---|---|
| Green light | Loose hardware, isolated board issues, simple latch replacement | DIY is usually reasonable |
| Yellow light | Repeated movement after prior repair, unclear source of sag, questionable anchoring | Diagnose carefully, consider advice before proceeding |
| Red flag | Rot in support posts, cracked footings, railing instability tied to framing, major gate post lean | Call a professional |
Problems that shouldn't stay DIY
A few situations deserve immediate caution:
- Post rot at structural points: not just cosmetic decay near the surface.
- Concrete cracking or settlement: especially if the post or bracket moves with it.
- Large sections moving together: when the problem isn't isolated to one board or one rail.
- Repairs that need temporary shoring: if something must be supported before hardware comes off, that's a serious sign.
- Unknown cause after inspection: if you can't identify the actual failure point, don't guess with structural parts.
Some jobs are expensive because the damage is serious. Others get expensive because someone guessed wrong and hid the real problem for another year.
Hiring help without hiring blind
When the repair is beyond your toolset or your comfort level, use a hiring process with as much discipline as the repair itself. Ask about similar work, anchoring methods, hardware choice, and whether they're repairing the symptom or the underlying failure. If you need a practical starting point for vetting local contractors, Growth 4 Trades' hiring guide is useful because it helps frame the questions before you book anyone.
DIY works best when the problem is visible, isolated, and mechanically straightforward. Professional help makes sense when safety, structure, or hidden damage are in play. There's no prize for doing a dangerous repair yourself.
If you're ready to turn a deck or fence problem into a clear repair list, XTREME EDEALS INC. carries the hardware that matters: post caps, finials, balusters, gate inserts, hinges, joist hangers, post base brackets, deck screws, carriage bolts, lag bolts, anchors, washers, and more. Whether you're tightening a railing, rebuilding a gate connection, or replacing worn fasteners with better ones, you can source the parts in one place and get your project moving with less guesswork.