
A gate that suddenly scrapes the walkway, sticks halfway open, or misses the latch can make a small repair feel like a structural failure. The instinct is usually to buy new hinges, remove the old ones, and bolt the replacements into the same position. That works only when the hinges are the actual problem.
The more reliable approach is diagnostic. First decide whether the hinge hardware has worn out, or whether the post, frame, or footing has moved and is overloading the hinge. That distinction determines whether you need replacement hardware, structural correction, or both.
The Moment a Gate Starts Misbehaving
A wooden gate often announces trouble with a harsh scrape across concrete. A chain-link gate may lean toward the latch side until it catches itself instead of closing cleanly. You might tighten every visible screw and still find that the gate drops again after regular use.
Those symptoms usually point to one of two failures. The hinges may be bent, corroded, loose, or too light for the gate. Alternatively, the post or frame may have shifted, leaving the hinges to carry a load they can't support properly. A new hinge mounted to a leaning post won't correct the angle, and a strong hinge won't rescue a gate frame that's racked out of square.
Before buying parts, open and close the gate slowly. Watch the hinge side, the gap beneath the gate, and the point where the latch meets the receiver. Lift the latch side slightly while the gate is closed. If the latch lines up only when you lift the gate, the hinge or frame is sagging. If the post itself moves or leans, start there.
Practical rule: Fix the load path before upgrading the hardware. The post carries the hinge, the hinge carries the gate, and the frame keeps the gate square.
For broader fence repair planning, call Northpoint Construction for fences when the job involves a damaged run of fencing, a failed post, or work beyond a simple hinge replacement. For smaller troubleshooting decisions, this hardware troubleshooting guide can help you separate a loose connection from a damaged component.
In California, gate layout matters on public or right-of-way fencing. Caltrans fence standards treat gates and openings as controlled access points, and state that they shouldn't be moved, added, or deleted without consultation with the project and maintenance engineers. Replacing a bent hinge is generally different from changing the opening, gate geometry, or gate placement.
Common Hinge Problems and What Causes Them
The visible symptom doesn't always identify the failed part. Use the movement of the gate, the condition of the fasteners, and the position of the post together.
A sagging gate commonly has hinges that are worn, bent, or undersized. It can also have screws that have enlarged their holes in soft or damp wood. Look at the upper hinge while lifting the latch side. If the hinge plate shifts against the post, the connection is loose. If the plate stays fixed but the post tilts, replacing the hinge alone won't hold.
A sticking or rubbing gate may have a shifted post, swollen timber, a twisted frame, or a hinge pin that no longer pivots. Open the gate while watching the hinge knuckles. A smooth, even movement suggests the hinge is functioning, while a sharp catch or sideways twist points to a seized or distorted assembly.
Corrosion shows up as blistered finish, orange streaks, flaking metal, or a pin that won't turn. Don't force a frozen hinge until you know the surrounding post or frame won't split. Penetrating oil may free a lightly seized pin, but a badly corroded hinge set is usually more dependable when replaced as a complete assembly.
Stripped screws leave oversized holes and a hinge that wiggles when you lift the gate. Driving a thicker screw into the same damaged fibres often gives a temporary grip, not a sound connection. Plugging the hole with a glued hardwood dowel, moving the hinge to fresh material, or switching to a through-bolted connection gives the fastener something solid to hold.
A leaning or settling post is the quiet cause behind many failed hinge replacements. Stand back and compare the hinge-side post with the fence line. Check the post with a level, then apply firm pressure near its top. Any noticeable movement deserves attention before you blame the hinge.
| Symptom | Likely Cause | Quick Check |
|---|---|---|
| Gate drops on the latch side | Worn hinge, weak fastener, or shifted post | Lift the latch side and watch whether the hinge plate or post moves |
| Gate scrapes or binds | Leaning post, swollen frame, or seized pin | Open the gate slowly and observe the hinge knuckles and post |
| Hinge shows rust or flaking finish | Corrosion or water exposure | Try to pivot the pin by hand after applying penetrating oil |
| Hinge wiggles in the wood | Stripped holes or short screws | Remove one fastener and inspect the wood fibres |
| Latch misses the receiver | Sagging, racked frame, or post movement | Check alignment with the gate supported in its normal position |
Tools, Hardware, and Hinge Types You Will Need
Lay out the tools before you remove anything. You'll want a drill-driver with bits, a socket set or nut driver for through-bolts, a pry bar, wood shims, exterior wood filler or epoxy, a level, tape measure, pencil, and a way to support the gate. A second person makes the work safer, but a properly placed scrap-wood wedge can support the latch side while you work.
Choose hardware for the gate's real load, not just its appearance. Galvanized steel, stainless steel, and quality powder-coated finishes resist outdoor corrosion better than unprotected steel. A light decorative hinge may look suitable while failing under a solid timber gate that is opened repeatedly.
T-hinges and strap hinges spread the load along the gate frame. Butt hinges have a neater appearance and can work well when the frame and post are accurately built. Screw-mounted hinges are convenient for light gates, but through-bolts with washers and lock nuts make a stronger connection on heavy or frequently used gates. On wood, backing washers prevent the bolt head and nut from crushing the fibres.
For Canadian hardware options, gate and fence hardware can include T-hinges, tee hinges, and complete gate hardware kits with installation screws. The Home Depot Canada lists hinge products supporting approximately 65 to 110 pounds, depending on construction, and its Everbilt kit includes two 6-inch tee hinges, a latch, and a handle. The kit also uses offset screw holes to improve strength and help reduce wood splitting. Home Depot Canada's gate hinge range gives useful examples of matching a hinge to the gate rather than choosing by finish alone.

For a visual reference before starting, this step-by-step hinge repair resource demonstrates the value of supporting the moving panel and inspecting the fixing points instead of pulling hardware out under load.
The Repair Sequence That Actually Holds
Support the gate before touching the hinge screws. Place a scrap-wood wedge under the latch side, or have someone hold the gate at its normal height. The support should carry the weight while you remove the hardware, because letting the gate hang from one remaining hinge can tear the post or twist the frame.
Back the old screws out rather than prying the hinge plate away. Work gradually so the wood doesn't split around the last fasteners. If a screw spins without coming out, grip the head with locking pliers while reversing the drill-driver. Keep the old hinge nearby until you've confirmed its size and orientation.
Once the hardware is off, scrape away loose paint, dirt, and crushed wood fibres. Inspect the holes closely. If they're only slightly loose, a longer exterior screw may reach solid timber. If the holes are wallowed out, fill them with glued hardwood dowels or use an appropriate exterior repair compound, allow it to cure, and then drill fresh pilot holes. Don't rely on a screw that merely feels tight as it enters damaged wood.
Hold the replacement hinge against the post and gate with the gate supported and level. Mark the position carefully. On a strap or T-hinge, keep the hinge leaf fully supported by sound frame material. Pre-drill pilot holes to suit the screw shank, not just the thread diameter, so the fastener pulls the plate flat without splitting the rail.
Set the hinge pins in the correct orientation for the hinge design, generally with the top pin facing up and the bottom pin facing down. Rehang the gate, install the fasteners loosely, and adjust the gap before tightening. Tighten opposite corners progressively rather than pulling one side of the plate down first. Through-bolts should have washers on both faces, with enough thread engaged in the nut to resist loosening.
A hinge plate should sit flat against sound material. If it rocks, the problem is the surface or the fastener, not the amount of torque you apply.
Test the swing through its full travel. Check the latch without forcing it into position. If the gate still binds, shim or correct the post and inspect the frame before adding more hinge tension. Leave the gate supported or closed, then test it again after it has rested. Slow sag often appears only after the load has settled.
The gate hinge installation guide provides another reference for positioning and fastening hardware when you're replacing a complete hinge set rather than making a minor adjustment.
Wood Gates Versus Metal and Chain Link Gates
Wood gates usually fail at the fastener connection. Moisture softens timber, repeated movement enlarges screw holes, and a short screw may hold only the surface trim instead of the structural rail. Use exterior-rated screws for lighter applications, but choose through-bolts with washers and lock nuts when the gate is heavy, frequently used, or attached to a rail that has already lost its grip.
Pre-drill the wood, keep the hinge plate supported by the frame, and seal exposed end grain or newly drilled areas with a suitable exterior finish. If the frame has no diagonal brace, new hinges may only delay the same sagging pattern.
Chain-link gates have welded steel frames, so screw pull-out is usually not the main issue. Rust can seize the hinge pin and bushing, while a distorted frame or shifted post can move the entire gate out of alignment. Apply penetrating oil to a lightly seized assembly, but replace the complete hinge set when the pin, bushing, or mounting hardware is badly corroded.
Ornamental metal gates need corrosion control and careful fastener selection. Use stainless or coated fasteners, isolate dissimilar metals with suitable washers where necessary, and coat newly drilled steel with a compatible cold-galvanizing product. Wood posts generally accept lag screws, masonry posts may need wedge anchors or through-bolts, and steel posts commonly use U-bolts or purpose-made clamp hardware.
The right preparation matters more than just choosing a larger hinge. A corrosion-resistant hinge still fails if the post flexes, while a strong bolt connection still fails if it passes through rotten wood.
| Material | Primary Fastener | Anchor Type | Key Prep Step |
|---|---|---|---|
| Wood | Exterior screws or through-bolts | Solid post or structural frame rail | Repair stripped wood and pre-drill clean pilot holes |
| Chain link | Purpose-made gate hinge hardware | Welded steel frame and sound post connection | Free or replace seized pins and inspect for rust |
| Ornamental metal | Stainless or coated fasteners | U-bolts, welded tabs, or suitable post anchors | Isolate dissimilar metals and seal drilled steel |
| Masonry-supported gate | Through-bolts or masonry-rated anchors | Wedge anchors or another suitable masonry system | Confirm the substrate is sound before drilling |
When the Post and Frame Are the Real Problem
A hinge can only perform as well as the structure holding it. If the hinge-side post leans toward the latch, every opening cycle increases the sideways load on the hinge screws. Tightening those screws may make the gate feel better briefly, but it doesn't return the post to a stable position.
Sight along the hinge-side post from a distance and check it with a level. Push the top laterally and watch the footing, not just the timber. Movement at the base suggests a loose or failed footing. Movement in the post may indicate rot, a split connection, or insufficient support. When the post is soft at ground level or the concrete has shifted, sistering a short piece beside it is rarely a durable correction.
The gate frame deserves the same inspection. A frame without an effective diagonal brace can rack under its own weight, pulling the upper hinge away from the post. A compression brace should run from the lower hinge corner toward the opposite upper corner, keeping the frame square as the gate hangs.
A temporary turnbuckle or anti-sag cable can help draw a sound frame back into alignment while you refasten it. Tighten gradually and check the latch after each adjustment. If the post or footing continues to move, remove the failed support and rebuild it rather than asking the hinge to compensate.
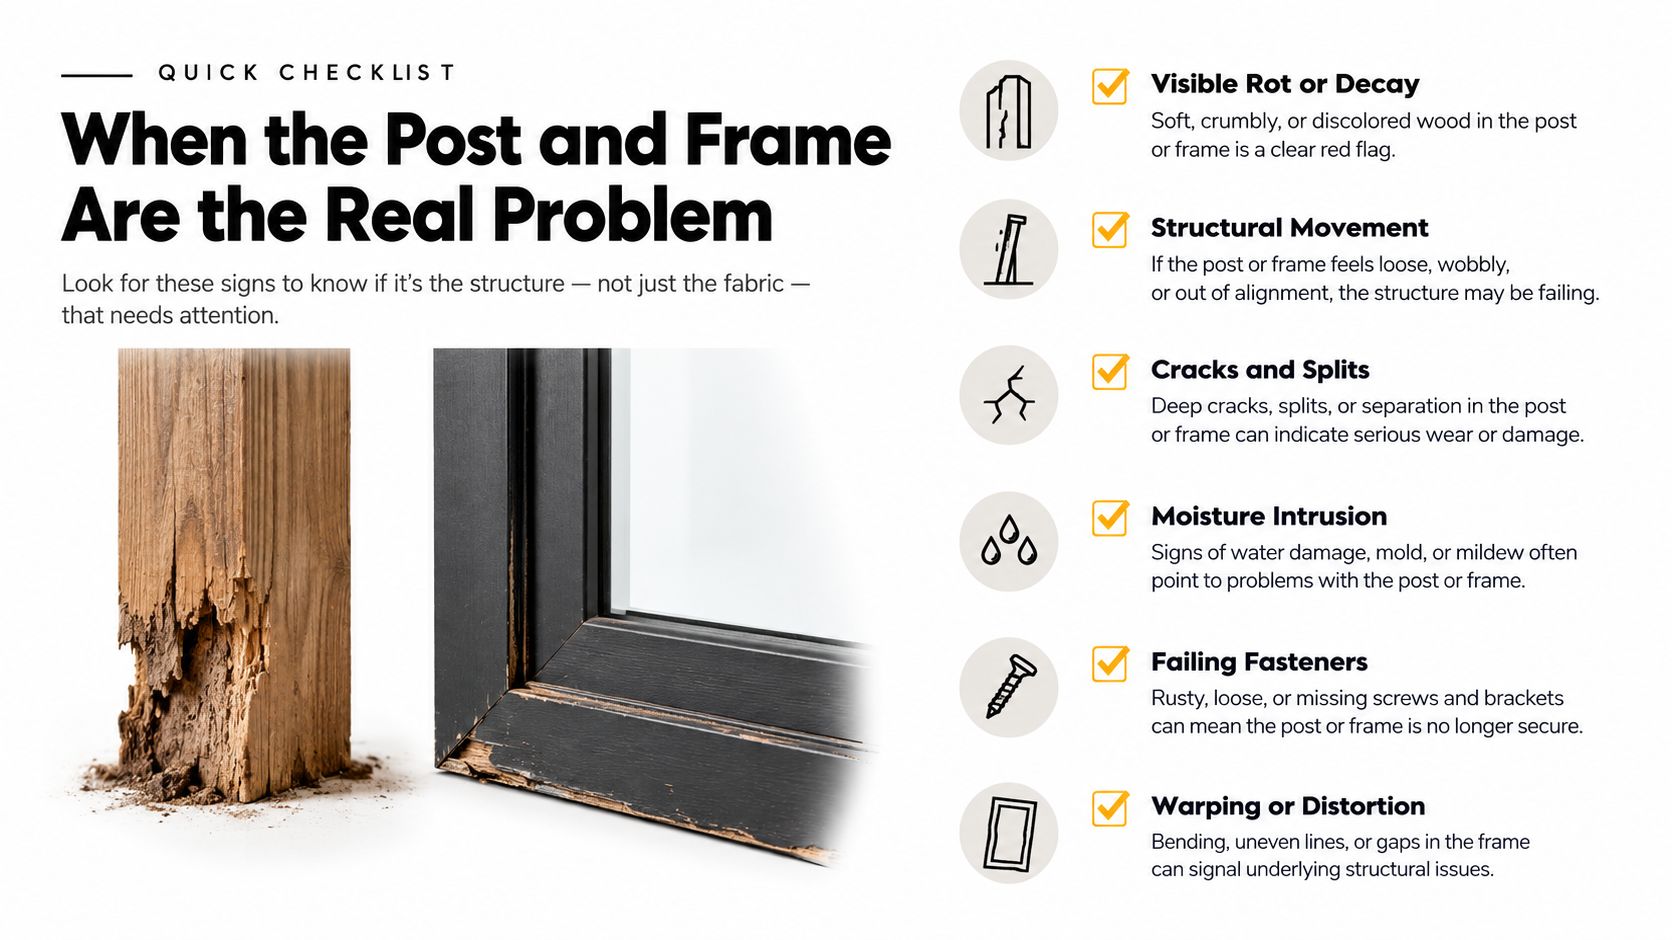
Load test: Hold the gate at the correct height, then check whether the post, frame, and hinge remain stable together. A hinge that works only while someone lifts the gate isn't carrying the load correctly.
If a tree or large branch has damaged the fence, inspect the surrounding posts and panels before repairing the hinge. This tree fell on fence homeowner guide offers useful context for deciding when impact damage has moved beyond a hardware repair.
For California projects, Title 8 section 2812.1 requires enclosure gates to be at least 2 feet 6 inches wide and 6 feet 6 inches high, readily operable, and safely grounded or bonded when metal is involved. California's gate safety requirements reinforce why alignment, smooth operation, and electrical bonding can matter together on workplace, utility, and institutional fencing.
Maintenance Habits and When to Replace Instead
A gate lasts longer when small movement gets corrected before the hinge connection loosens. Inspect the hinge bolts and screws regularly, lubricate pivot points with silicone or white lithium grease where the hinge manufacturer permits it, clear drainage or weep openings, and look for rust, swelling, cracked finish, or soft wood.
Small details help. Nylon washers can reduce wear where appropriate, stainless fasteners are useful in exposed or coastal locations, and a sacrificial lower-hinge screw can make future adjustment easier without repeatedly splitting the same timber. Keep the latch clean and aligned so the gate closes without being slammed into position.
Repair makes sense when the post is stable, the frame remains sound, and the hinge connection can be rebuilt in solid material. Replace or rebuild instead when the gate continues to drop after new hardware, the post moves under hand pressure, the fasteners spin in soft or hollow wood, or several frame corners have rotted. A replacement hinge cannot restore timber that no longer has structural strength.
Use this final check before declaring the job finished:
- Swing: The gate opens and closes without scraping or binding.
- Alignment: The latch meets its receiver without lifting or forcing the gate.
- Connection: Hinge plates sit flat and fasteners hold solid material.
- Structure: The post, footing, and frame stay still under load.
- Maintenance: Pivots, bolts, finish, and drainage points are easy to inspect.
For replacement parts, XTREME EDEALS INC. offers fence and gate hardware such as T-hinges, tee hinges, complete gate hardware kits, fasteners, washers, and related repair components for DIY and trade projects. Visit XTREME EDEALS INC. to match the hinge, bolt, and finishing hardware to your gate before you start the repair.