

You've found a post cap labelled for a 3×3 post, and the post itself is labelled 3×3. It seems like a simple match, until the cap stops short of the top or rocks once it's in place. The label is a starting point, not a fit guarantee.
A dependable installation comes down to three separate decisions: dimensional fit, water management, and mechanical restraint. A cap can finish a post and help shed water, but it can't make an unsuitable post structurally adequate or replace a proper connection.
Why a 3×3 Label Can Mislead You
A homeowner orders an adapter for a post marked 3×3. At installation, one cap slides into place, but another won't seat because the post's coating and weld seam make its finished outside dimensions larger. Both products carry the same nominal label. Only one is a practical fit.
That mismatch is especially common when a project combines materials or finishes. A wood post may be planed, painted, or wrapped; a steel tube may have a visible weld seam; and powder coating can add material where the adapter needs clearance. A rounded corner or an uneven cut at the top can also interfere with a close-fitting sleeve.
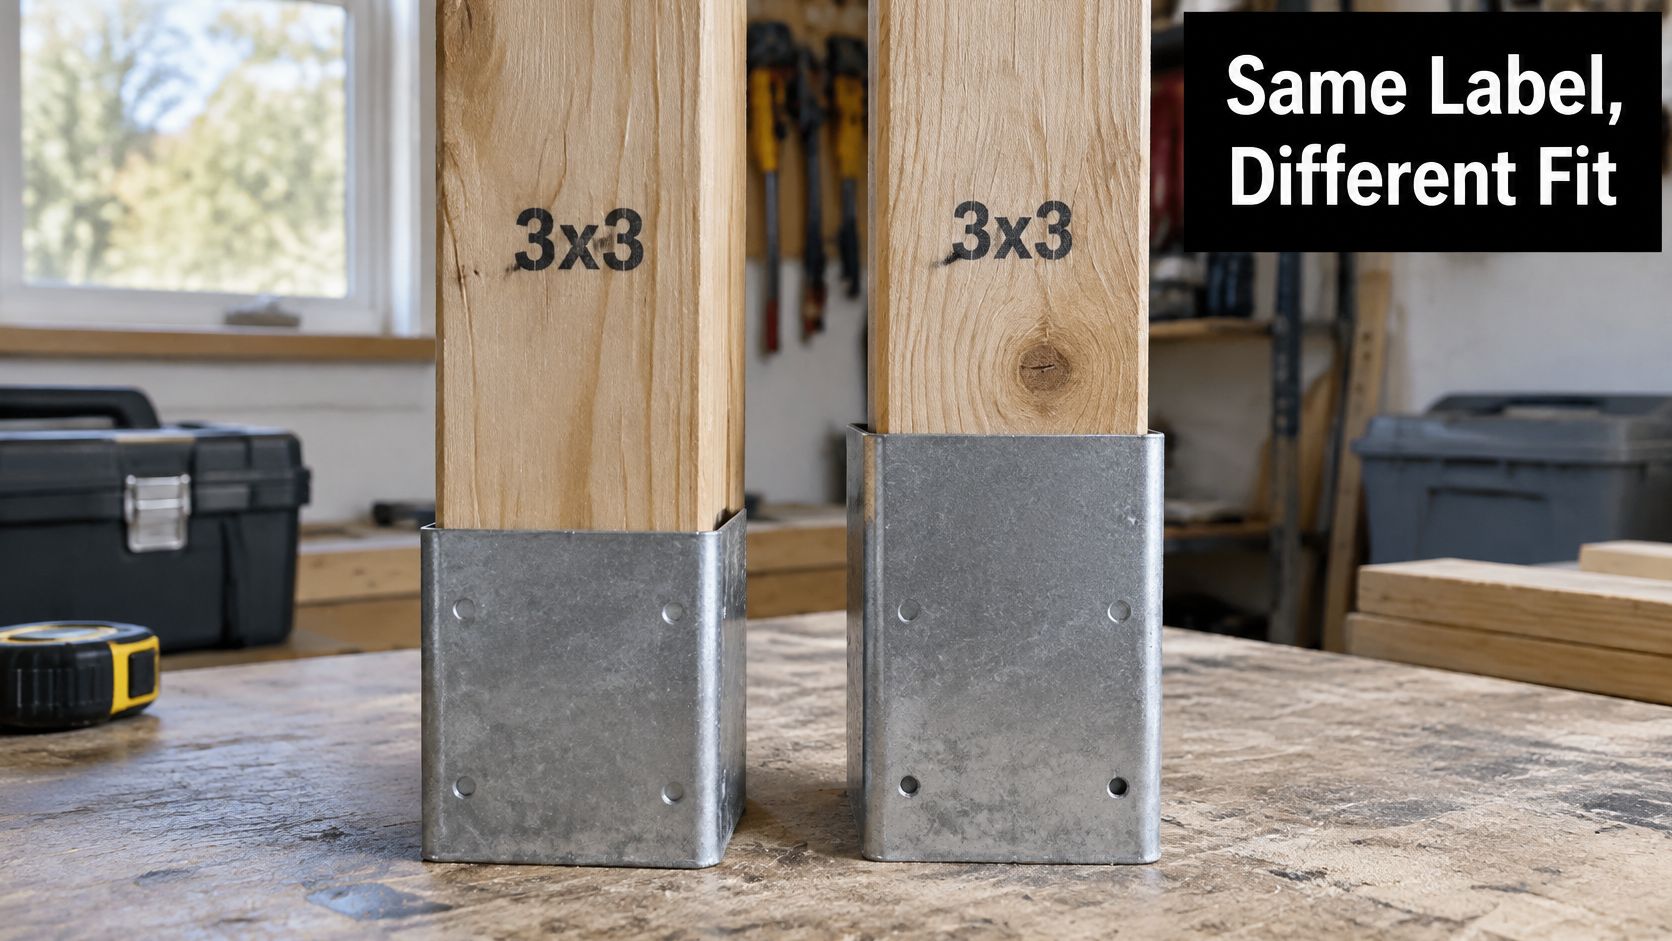
A pressure-fit cap listed for square steel or aluminium posts measuring 3 inches by 3 inches may not install properly if the post is even slightly larger than that, as the Canadian product listing for a pressure-fit aluminium cap cautions. Trying to force it on won't correct the mismatch; it can damage the finish or leave the cap sitting crooked.
Think of a 3×3 post cap adapter as a dimensional interface or finishing piece. It may help a cap fit a post or complete the post's appearance, but its dimensions don't establish whether the post is suitable for structural work. Judge the post, cap, water path, and attachment separately.
Measure the Post Before Choosing an Adapter
Measure the finished post top, not the label on a lumber stack or the stated size of a tube. Those labels can describe a nominal size rather than the actual dimensions the adapter must clear.
Start with a tape measure or callipers. Record the width and depth across the top, then check that the post is square on two faces. Inspect the cut end for splits, raised fibres, burrs, or a weld seam. Note the corner shape and any coating buildup. If you measure at a point below the top, you may miss a flare, cut, or finish that changes the fit right where the cap needs to sit.
Canadian dimensions add another reason to measure rather than assume. BC Housing describes a 140 mm by 140 mm structural wood post as approximately 5.5 by 5.5 inches, and separately cites 89 mm by 89 mm posts, about 3.5 by 3.5 inches, for certain lower decks. These examples aren't interchangeable with a true 3×3 post; they show why metric and nominal imperial labels need to be checked against the actual part, as outlined in BC Housing's deck guidance.
| Check | What to Record | Why It Matters |
|---|---|---|
| Outside dimensions | Width and depth at the finished top | Confirms whether the adapter opening can clear the post |
| Shape and corners | Squareness, corner radius, and any uneven edges | Helps identify where a close fit may bind or rock |
| Material and finish | Wood, steel, or aluminium; paint, powder coating, or wrapping | Affects clearance and the compatible attachment method |
| Post condition | Splits, rot, burrs, or damaged coating | Helps reveal problems to address before fitting a cap |
| Adapter function | Finish component, transition, or specified connection | Keeps decorative fit separate from structural duty |
Keep the measurements with the product details before shopping, and compare them with the adapter's actual inside dimensions and installation instructions. For help sorting out cap sizing, use this fence post cap size guide.
Compare Adapter Fit and Attachment Styles
The right attachment depends on the post material, the cap design, and whether the part is only finishing the top. A pressure-fit sleeve, a screw-secured cap, and a fabricated transition can all look tidy when installed correctly, but they solve different fit problems.
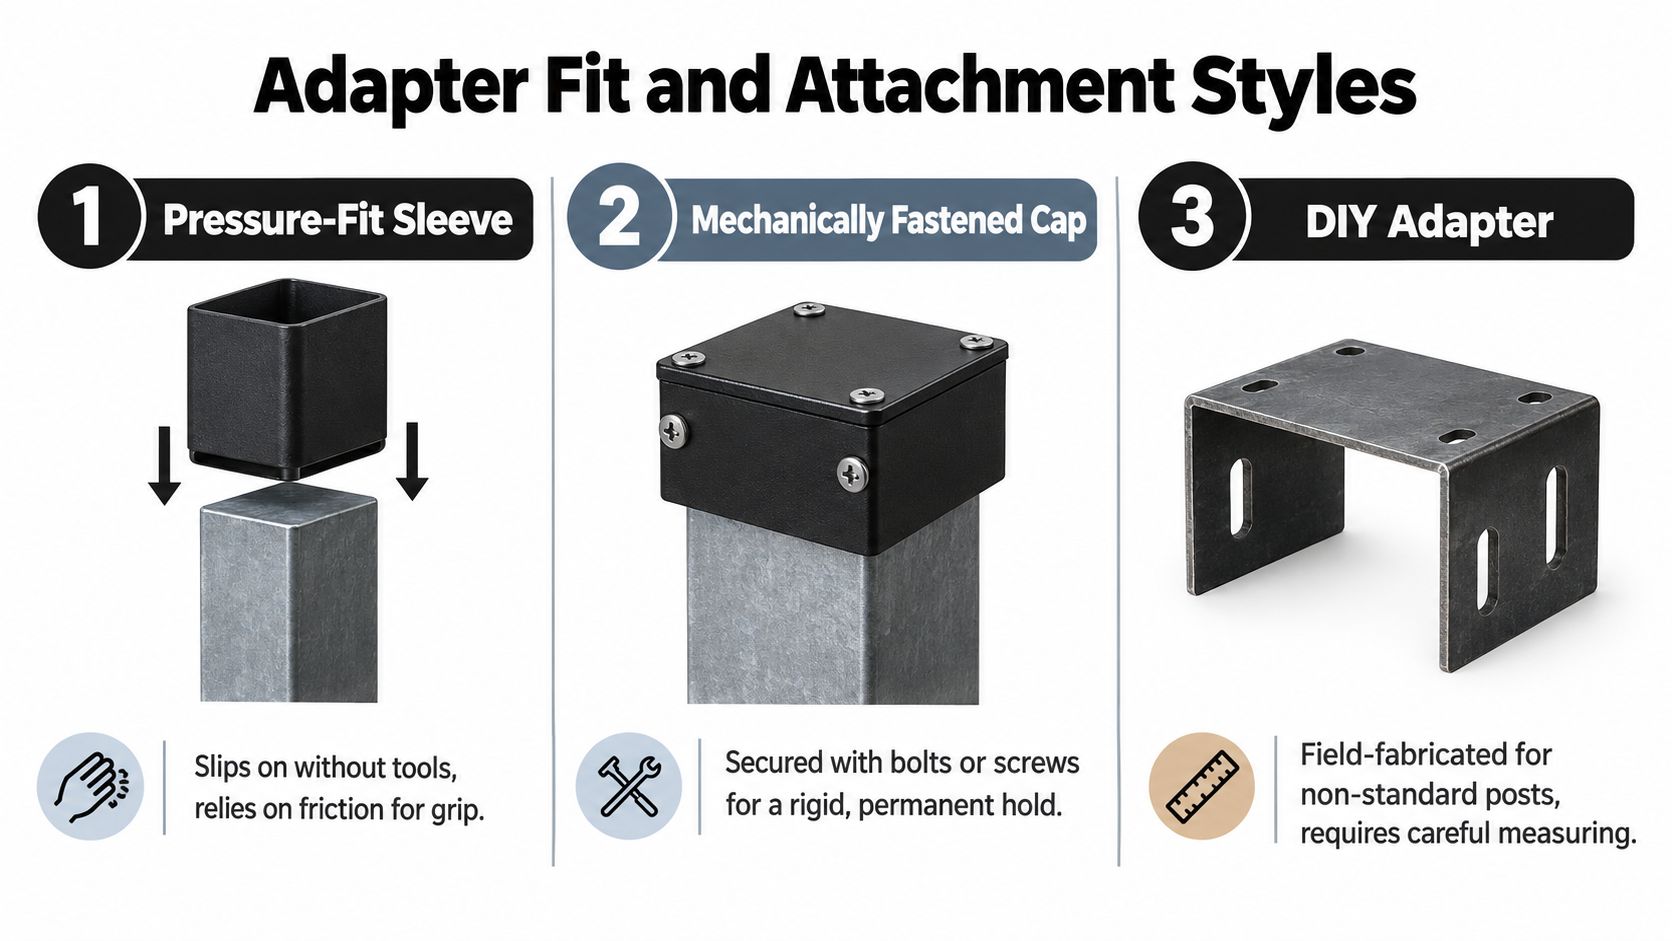
| Style | Practical advantage | Main trade-off |
|---|---|---|
| Pressure-fit sleeve | Usually slides on without exposed screws | Relies on a close, accurate fit; don't force it over an oversized post |
| Mechanically fastened cap | Fasteners can hold the cap in position when the design allows | Requires correct fasteners, careful placement, and attention to the post material |
| DIY transition or spacer | Can address a non-standard post or hole pattern | Adds fabrication work and still doesn't make a decorative part structural |
A pressure-fit cap has a clean appearance and avoids visible hardware, but it depends on the post and cap opening matching. If there's too much clearance, the cap may move; if there isn't enough, forcing it can damage the finish. A mechanically fastened design is easier to inspect and remove, provided the manufacturer permits that fastening method and the screw locations won't split wood or harm a metal coating.
A custom spacer or transition can be useful for a finish mismatch, but keep the modification non-structural. If the measured post won't accept a standard sleeve, choosing a different adapter is often more reliable than grinding or bending the cap. For household improvement work that includes related finishing, a comparison of trim replacement packages can also help with planning the surrounding trim rather than treating the cap as an isolated detail.
When comparing options from XTREME EDEALS INC. or another supplier, check the stated post material, inside dimensions, attachment style, and CAD pricing. The product description and manufacturer's instructions should settle whether a particular cap is intended to slide on, take fasteners, or serve only as a finishing piece.
Choose Materials and Fasteners for Outdoor Use
A cap and its attachment live outdoors with the post. Their metals, coatings, and fasteners need to work together, especially where treated wood, frequent wetting, coastal exposure, or de-icing salts are involved. A fitting cap with an incompatible screw can become a maintenance problem even when the initial installation looks sound.
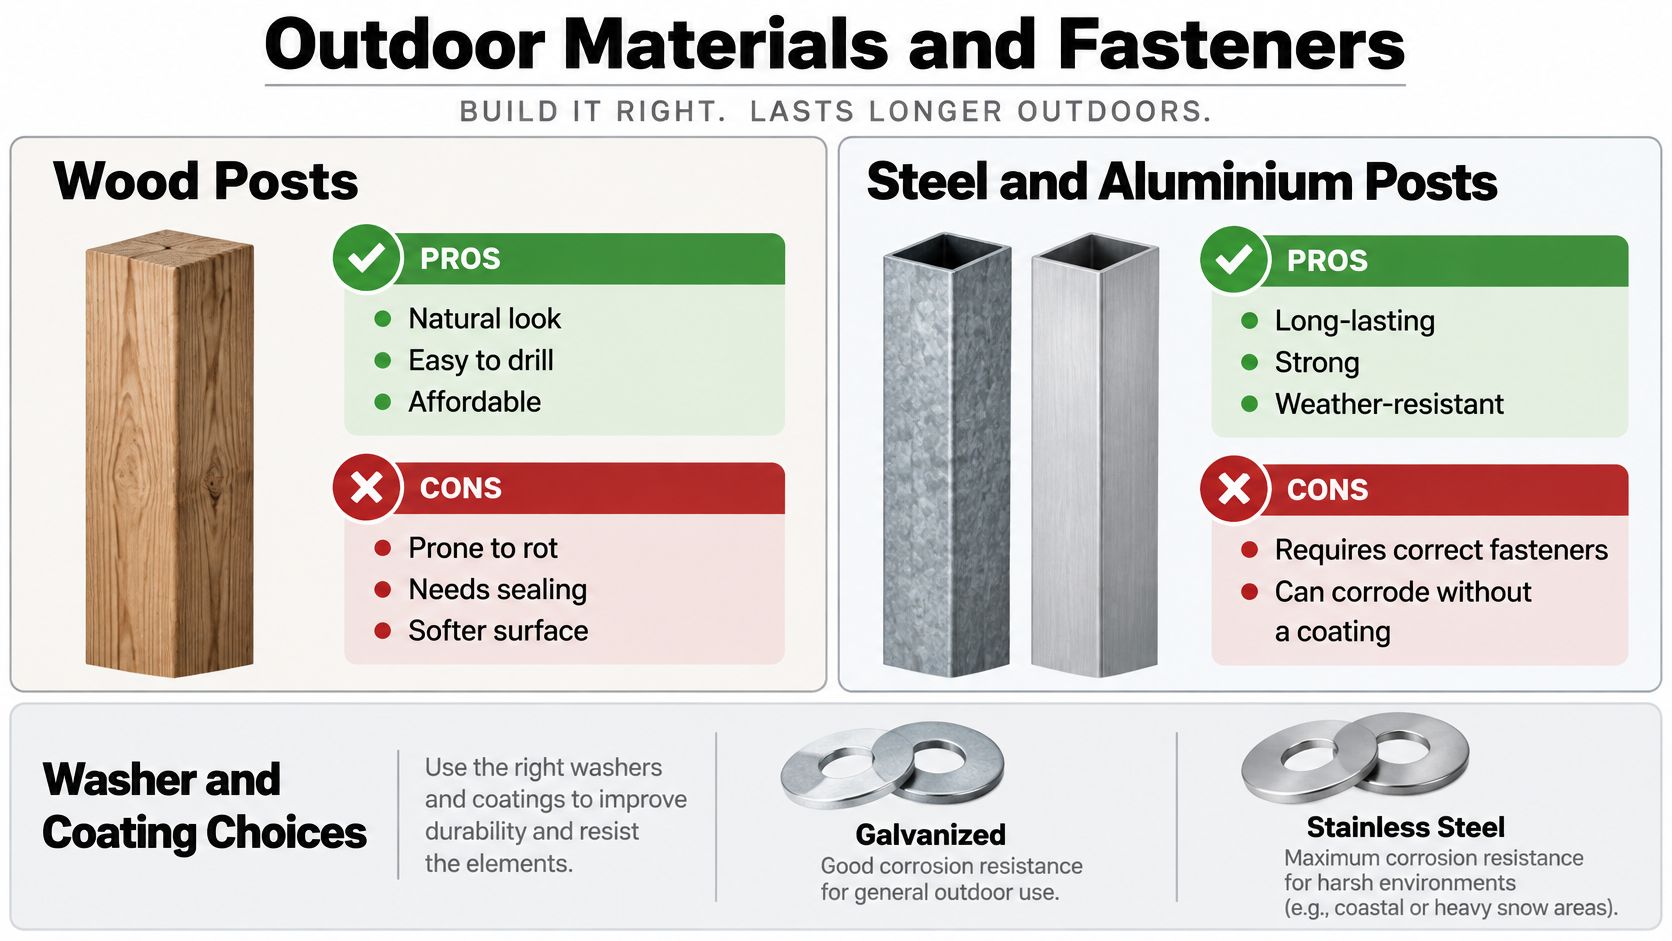
Pressure-treated lumber deserves particular attention. Copper-based preservatives, including alkaline copper quat and copper azole, can accelerate corrosion in ordinary steel. BC Housing reports that moderate corrosion has been observed on some hot-dipped galvanized fasteners after only four months when they contacted alkaline-copper-treated wood that hadn't stabilized and dried, as described in its fastener and connector compatibility guidance.
For severe exposure or maximum service life, stainless steel is an appropriate choice to consider. Where permitted, compatible hot-dip galvanized fasteners may be suitable, but follow the adapter manufacturer's instructions and local requirements. Keep fasteners, washers, and metal parts compatible; mixing metals can create another corrosion concern. This comparison of galvanized and stainless steel can help clarify the trade-offs before you select hardware.
Practical rule: Match the fastener to the post treatment, adapter metal, and exposure, not just to the screw hole.
On wood, pre-drill when the post end or adapter material could split. Seat the screw head without crushing or deforming the cap. On steel or aluminium, check whether the manufacturer specifies a particular screw type or hole preparation, and take care not to damage protective coatings unnecessarily. If you're sourcing wood for a broader project, review the available lumber building materials alongside the hardware so the post and cap plan stay compatible.
Don't seal every opening without considering drainage. A bead of sealant that traps water can work against the goal of protecting the post top. Use adhesive only as a secondary measure where appropriate, never as a substitute for specified mechanical restraint.
Install and Modify an Adapter Safely
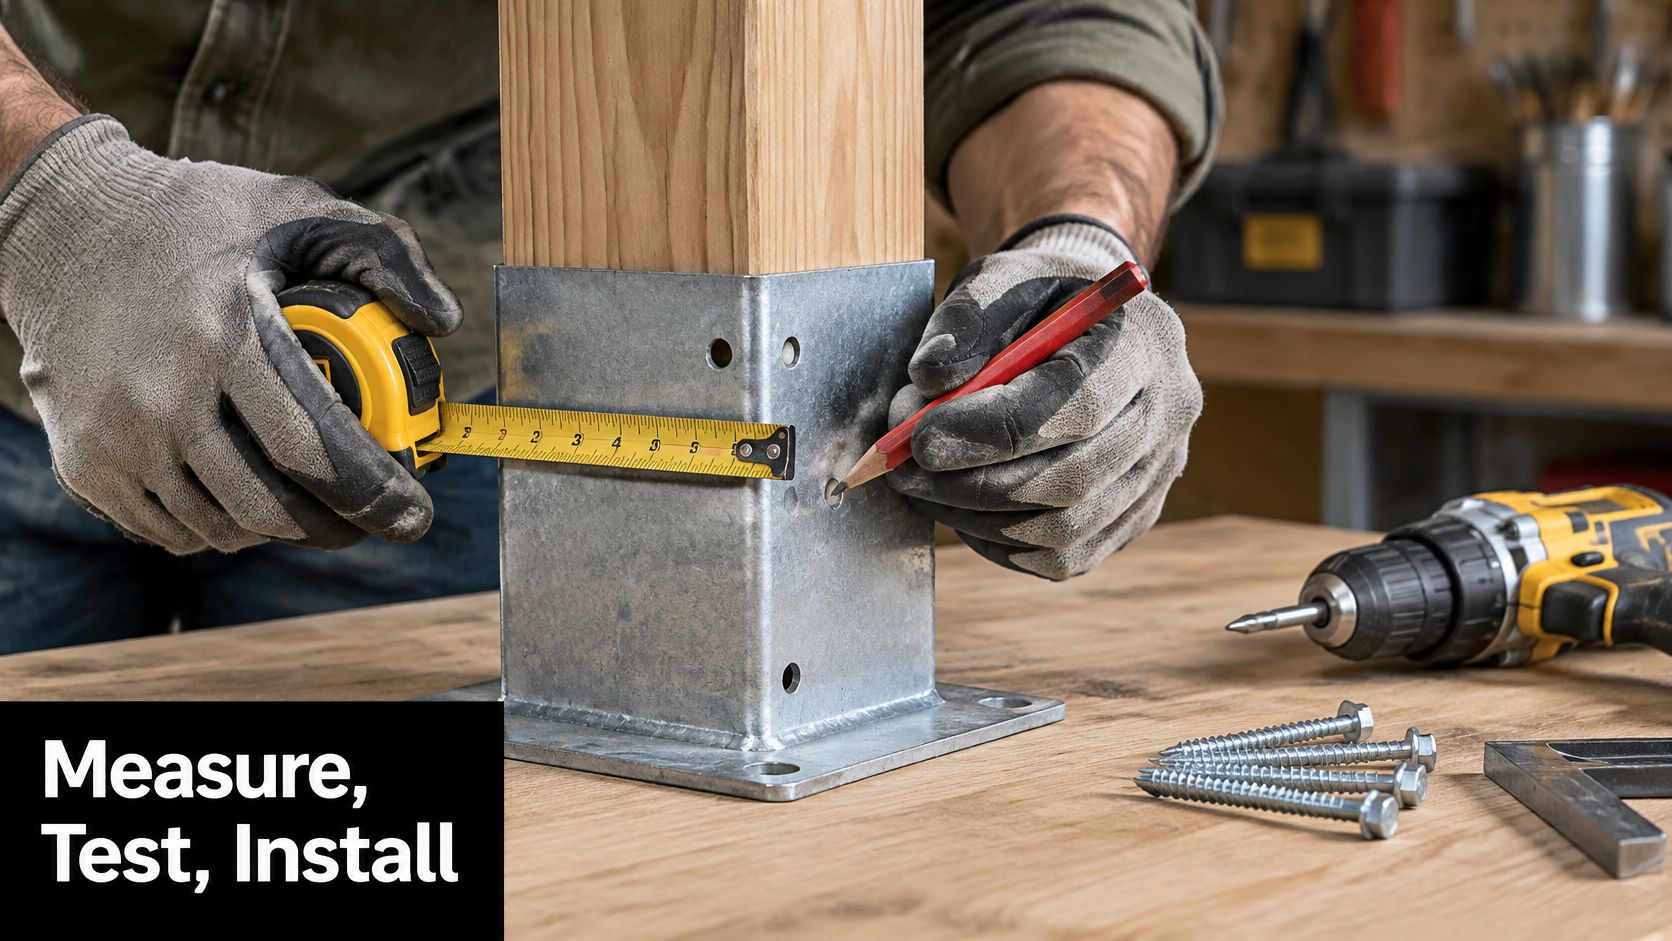
Gather the cap, its manufacturer-specified fasteners, a tape measure, a pencil, a drill, and the appropriate bit before starting. For metal posts, use tools suited to the material and take care around painted or powder-coated surfaces. Don't begin by driving the adapter onto the post; first check that the measured dimensions and installation method match.
Dry-fit and mark carefully
Inspect the post top for splits, rot, sharp burrs, and uneven cuts. Set the cap in place without forcing it, check that it sits level, and confirm that it seats fully. For a mechanically fastened design, mark the holes only after the cap is aligned. Position fasteners so they don't enter an end split or land too close to an edge.
Pre-drill where the adapter material or wood post end could crack. Use only the fastener size and hole pattern specified by the manufacturer. If drilling into a metal post, consider how the holes affect its protective coating and use hardware suited to the post and environment. Tighten screws until they're secure, not until the cap deforms.
A compatible exterior adhesive may help control water or vibration when the cap design allows it, but it must remain secondary to mechanical attachment. Don't use adhesive as the sole defence against wind or movement. Keep a route for water to drain rather than sealing the assembly so tightly that moisture becomes trapped.
Modify only for a finish fit
If a standard adapter doesn't fit, consider a different model or a non-structural spacer that corrects the interface without changing the post's load-bearing role. An adjusted hole pattern may be reasonable only where the manufacturer permits it and the modification won't compromise the cap. Don't notch a structural post, drill into it, or alter a connection on the assumption that a cap makes the change safe.
Exterior fence posts and columns in Ontario and other Canadian jurisdictions must be restrained against uplift and lateral movement, so a decorative cap adapter isn't the structural wind-resistance connection, as described in Canadian housing construction guidance.
Before you finish, check the assembly:
- Fit: The cap matches the measured post without force.
- Level: The cap sits squarely and evenly.
- Seating: The adapter is fully in position.
- Fasteners: Each fastener engages as intended without crushing the cap.
- Movement: The cap and post don't move in ways the design doesn't permit.
Verify Fit Durability and Water Management
A cap should shed rain and melting snow while helping protect the exposed post end. It shouldn't block drainage, conceal a loose fit, or be mistaken for a structural connection. A pressure-fit sleeve that rocks can admit water and make noise; a cap that seals the top but traps moisture can also work against durability.
Consider three different posts. A correctly measured steel post can accept a matching pressure-fit cap, provided its finish and corners don't obstruct the opening. A powder-coated tube that's slightly oversized may refuse to seat, so choose a cap with the right dimensions rather than forcing it. A wood post with exposed end grain needs a cap that sheds water, but the cap doesn't replace suitable preservation or drainage.
Canadian government guidance identifies fence posts among wood products exposed to moist soil or places where water collects and can't readily evaporate. It also notes that fungal growth depends on temperature, moisture, oxygen, and the nature of the wood, as explained in the federal overview of wood preservation. The cap addresses the exposed top, not every source of moisture around the post.
Inspect each installed adapter rather than relying on a sample check. Confirm its fit, level, full seating, fastener engagement, and post movement, then look for looseness, cracking, corrosion, or trapped water during routine seasonal maintenance. A complete outdoor hardware selection may include post caps, finials, fasteners, post base brackets, and other exterior fittings; the adapter is one part of that system, not a stand-alone fix.
Know When to Choose Another Solution
A snug cap can finish a post, but it can't upgrade an undersized structural member, restore rotten wood, provide missing uplift or lateral restraint, or replace appropriate treatment and drainage. Structural function matters more than the cap's nominal size.
For context, a California deck guide identifies nominal 4×4 guard posts in the cited examples and limits their spacing to 60 inches on centre unless an engineered design is provided. Those figures illustrate why structural duties depend on the application, not the adapter; they aren't universal Canadian requirements. Local rules govern guard requirements, connections, and other project details. For a different finishing approach, browse solar fence post caps.
Use a clear decision path: measure first, match the adapter type second, protect the materials third, and confirm the structural system separately. If the post or connection has a structural role and you're unsure it meets local requirements, get project-specific guidance before altering it.
XTREME EDEALS INC. offers post caps, finials, fasteners, post base brackets, and other deck and fencing hardware for finishing outdoor projects. Compare the adapter and connection needs with your measured post, then visit XTREME EDEALS INC. to browse the available hardware.