
Canada produced 16,096,074 fence posts in 1952, up 593,225, or about 3.8%, from the 15,502,849 recorded in 1951, according to the Dominion Bureau of Statistics production and consumption table. Every one of those posts has a top end, and every top end is an open door for rain.
Fence posts were already a measured part of the national wood economy long before anyone sold a decorative cap. The 1929 woods-operations figures put fence-post production at approximately $1,418,961, against $454,910 in fence rails, in Canada's historical forestry statistics. A century of national output sits under a part that costs less than a coffee and takes ten minutes to fit.
A post cap is a moisture-management component. It is not structural, it doesn't cure rot, and the tightest, most heavily sealed cap on the shelf isn't automatically the best one. A cap that traps condensation and hides a softening post top causes more failures than one that fits a little loose and lifts off for inspection. Get the size right first, then get the fit right.
Post Cap Sizes and Styles at a Glance
Fence post caps home hardware comes in a handful of shapes and a wide spread of sizes, and size is the part that goes wrong. The name on the lumber tag isn't a measurement. A 4×4 post is usually milled to about 3.5 x 3.5 inches, a 6×6 typically finishes near 5.5 x 5.5 inches, and the same gap between nominal and actual runs through every size. Buy to the label and the cap rocks on the top, stands proud on two corners, or splits when the screws go in.
| Actual post size | Post material | Cap style | Fit note |
|---|---|---|---|
| 2.5 x 2.5 inch | Metal | Pyramid, aluminum, white | Pressure fit |
| 3 x 3 inch | Metal | Pyramid, aluminum, white | Pressure fit |
| 4 x 4 nominal (usually about 3.5 x 3.5 actual) | Wood | Pyramid, heavy duty aluminum, black | Measure first, then use the 3.5 x 3.5 inch row |
| 3.5 x 3.5 inch | Wood | Pyramid, heavy duty aluminum, black | Works only with actual 3.5 x 3.5 inch posts, not 4×4 |
| 4 x 6 inch | Wood | Pyramid, heavy duty aluminum, black | Works only with actual 4 x 6 inch posts, not 3.5 x 5.5 |
| 5.5 x 5.5 inch | Wood | Ball, solid copper or heavy duty aluminum | Works only with actual 5.5 x 5.5 inch posts, not 6×6 |
| 5.5 x 5.5 inch | Wood | Pineapple, heavy duty aluminum, black | Works only with actual 5.5 x 5.5 inch posts, not 6×6 |
| 6 x 6 inch | Wood | Pyramid, solid copper | Works only with actual 6 x 6 inch posts, not 5.5 x 5.5 |
The 4×4 row can be confusing. If the post measures 3.5 inches across the face, the 3.5 inch row is the one that fits, and the 4×4 on the tag changes nothing. The same logic holds further down: a 6×6 that finishes at 5.5 inches takes the 5.5 inch ball or pineapple cap, not the true 6 x 6 inch solid copper pyramid, which is machined for a full 6 inch post.
Metal posts work differently. A 2.5 x 2.5 inch or 3 x 3 inch white aluminum pyramid cap is a pressure fit, pushed down over a post of the stated size and held by interference rather than screws. Ball styles come in solid copper and heavy duty aluminum finishes, and pineapple caps suit decorative posts where the shape is doing some of the work.
One check prevents most returns: measure the actual post before you pick a row. Not the receipt, not the tag, not the invoice from the yard. Skip it and you'll be drilling out a cap or driving back with a part that was right on paper.
How to Measure Your Post Before You Buy
The fit problem is almost never the cap. It's the belief that a nominal size describes a real piece of lumber. Guidance on measuring and fitting chain link and wood fence posts makes the same point for Canadian buyers: a 4×4 wood post may not measure 4 by 4 inches after milling, and a true 4×4, a sleeve, a welded tube or a decorative post can each call for a different internal cap dimension. Add fit tolerance, plumbness, fastener clearance and whether the cap must come off later, and the label stops being useful.
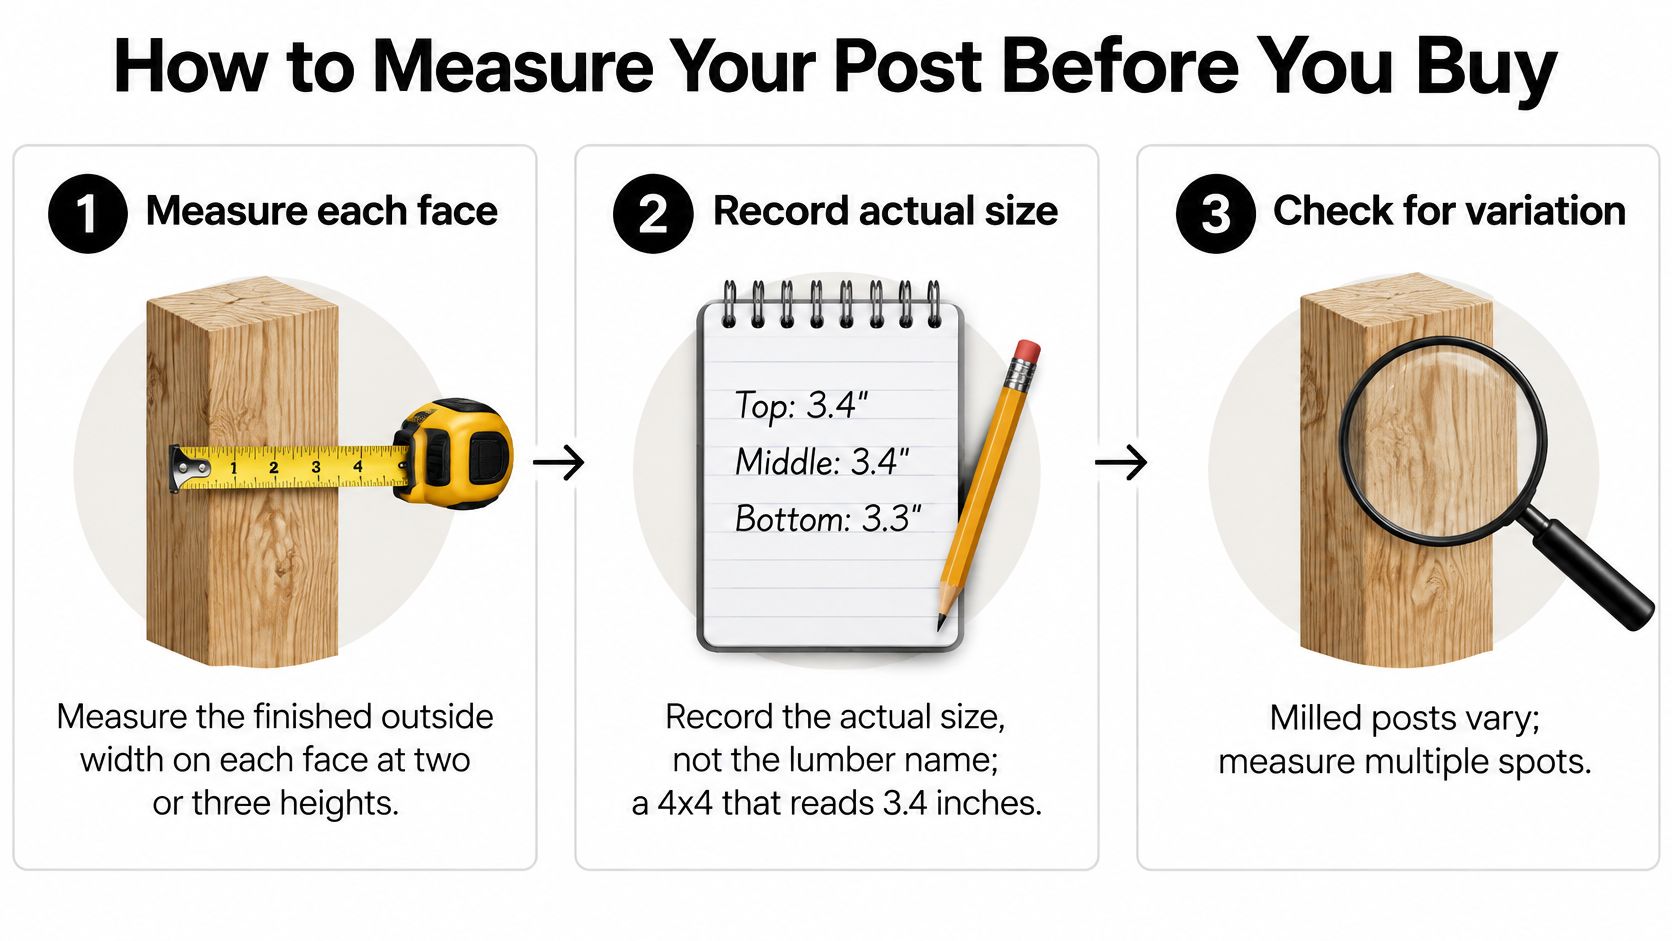
Work through six steps with the post in front of you.
- Measure every face at two or three heights. Milled posts taper, twist and vary end to end. One reading on one face gives you the post's best number, not its worst, and the cap has to clear the worst.
- Record the actual size, not the lumber name. A post reading 3.4 inches on one face and 3.6 on another is a 3.6 inch post for fitting purposes. Match the larger reading, then judge whether the tighter faces will leave a gap you can live with under the lip.
- Identify a sleeve or a welded tube. A vinyl or metal sleeve over a structural post changes the outside width, and a hollow tube often takes a cap that fits inside the opening instead of over the outside. Measure the outside width and the wall thickness, because both decide which design works.
- Choose inside-fit or outside-fit. Inside-fit caps plug into a hollow tube and depend on snug wall contact. Outside-fit caps cover a solid post and depend on the lip sitting flat on all four faces. Wrong-type picks come back almost as often as wrong-size ones.
- Check plumb and firmness before you fit anything. A post leaning a couple of degrees opens a wedge-shaped gap under one side. That gap funnels water straight into the end grain, which is the exact failure the cap was meant to prevent.
- Decide now whether the cap has to come off later. Gate posts, reinforced posts and any post carrying hardware are worth keeping serviceable. A screw-fastened cap that lifts off with a driver beats an adhesive-bedded one you have to destroy to inspect. Glue also seals the joint shut, and a joint that can never dry is where hidden rot starts.
Six steps sound like a lot until you see them laid out on one card:
What a good fit looks like
Four checks, about ten seconds total.
- Flush on all four sides: the lip contacts each face evenly, with no daylight wedge at a corner.
- No rock: press one corner, then the opposite. Any movement means the cap is bridging a high spot and will work its fasteners loose.
- No gap under the lip: a visible gap is a water channel, not a vent.
- Fasteners square and clean: each screw enters at 90 degrees, sits in a pilot hole, and neither splits the top grain nor breaks out the side.
Two neighbours both buy caps for a 4×4 fence. One measures 3.5 inches and orders the 3.5 x 3.5 inch heavy duty aluminum pyramid, which seats flat and sheds water past all four faces. The other trusts the tag, orders a 4 x 4, and ends up with a cap that rattles on the corners and collects water in the gap. Same fence, same weather, different outcome, and the tape cost nothing.
A cap that fits loose enough to lift, check and reseat gets maintained. A cap that looks tight but bridges a high spot holds water against the grain for seasons, and nobody sees the damage until the post top goes soft.
Pyramid, Ball and Decorative Caps Compared
Style is a water question before it's a looks question. Three shapes dominate the shelf, and they fail differently under Canadian weather: rain on top, wind on the sides, freeze-thaw at the joint.
Pyramid caps have four sloped faces, so a correctly sized cap throws water in every direction rather than onto the post. They suit most wood and metal builds, including 3 x 3 and 3.5 x 3.5 inch posts, and a pressure fit on a metal post holds well without fasteners until wind exposure gets serious.
Ball caps shed water from a rounded top, but the shape works against the joint. Where a pyramid directs water past the seat, a ball lets it run down the curve and sit at the cap-to-post junction. A loose ball cap pools water right where end grain is most vulnerable, so it needs a secure seat and fasteners, not gravity.
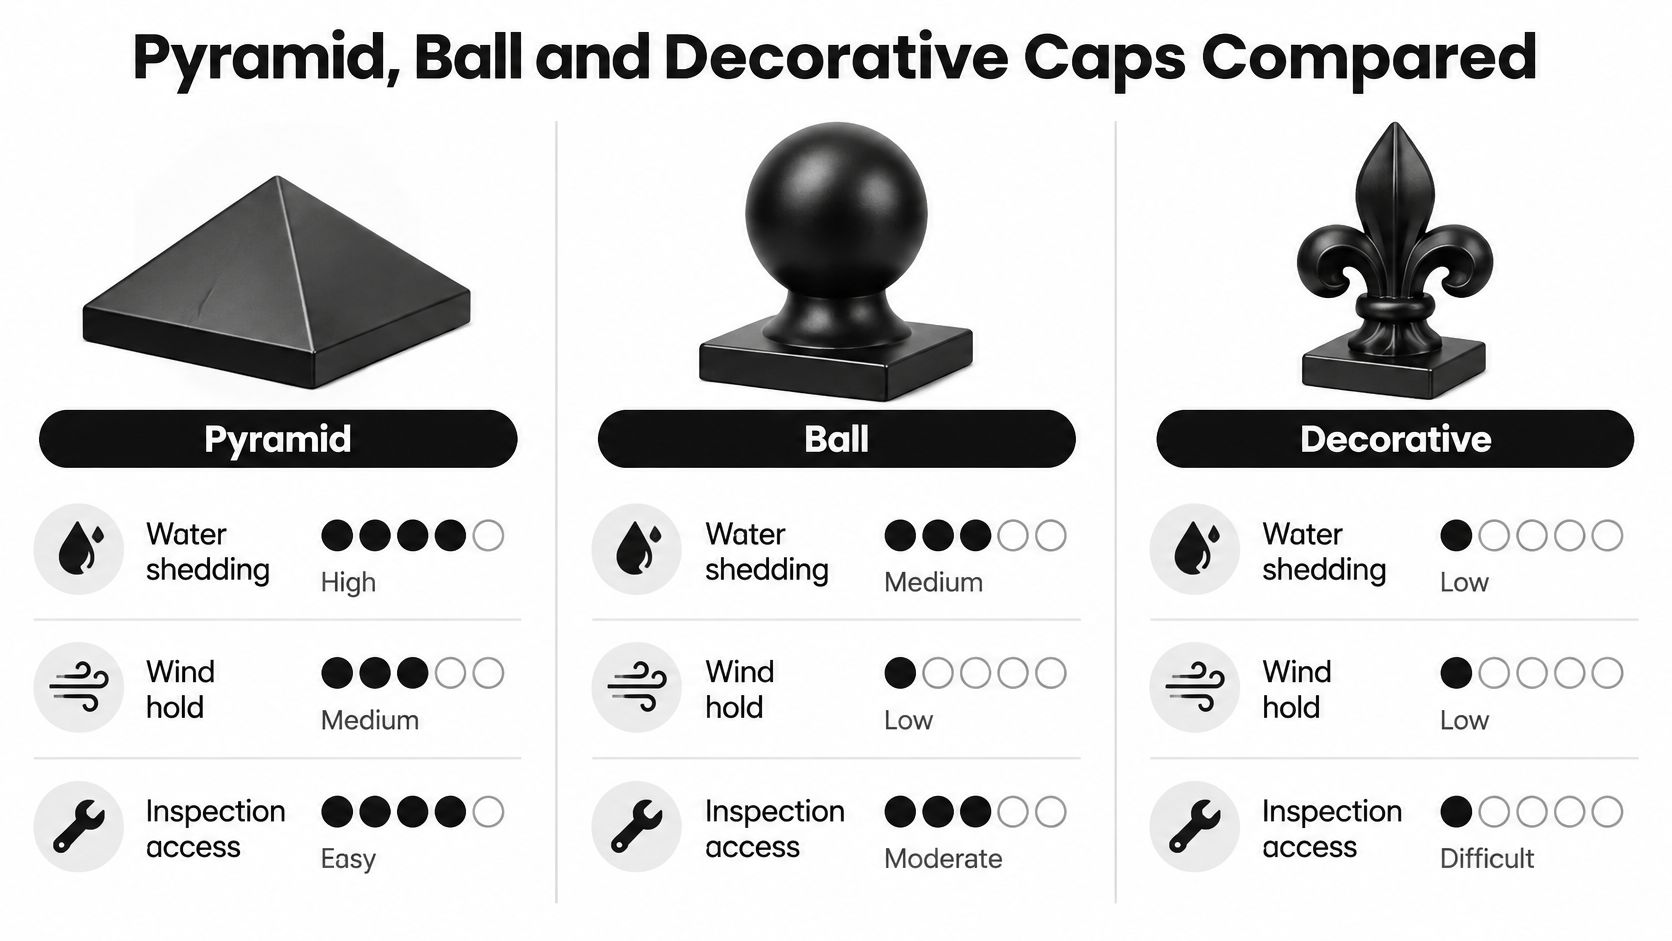
Pineapple and other decorative caps add ridges, scales and collars. Those features hold water, trap debris, and keep moisture against the wood. They belong on gate posts and feature posts with a flat, sound, sealed top, and they're the wrong choice on a run of exposed posts nobody will ever clean.
A cap with a projecting edge beats one that sits flush, whatever the shape, because the overhang throws water clear instead of letting it track down the post face and back under the lip.
| Cap style | Water shedding | Wind hold | Best fit for |
|---|---|---|---|
| Pyramid | Sheds water on four sides when sized to the post | Strong on a pressure fit, better with fasteners on exposed sites | Wood and metal posts in most fence builds |
| Ball | Rounded top sheds water, but a loose seat lets it pool | Secure only with a sound seat and fasteners | Decorative 5.5 x 5.5 inch wood posts |
| Pineapple or decorative | Ridges can trap water and debris | Secure only with a flat, sound seat and fasteners | Gate posts and feature posts with a flat, sound seat |
If you're unsure, buy a pyramid. On an exposed wood or metal post, a pyramid cap with a secure fit and a projecting edge does more for the post than any decorative shape does.
Fasteners and Corrosion Protection That Last
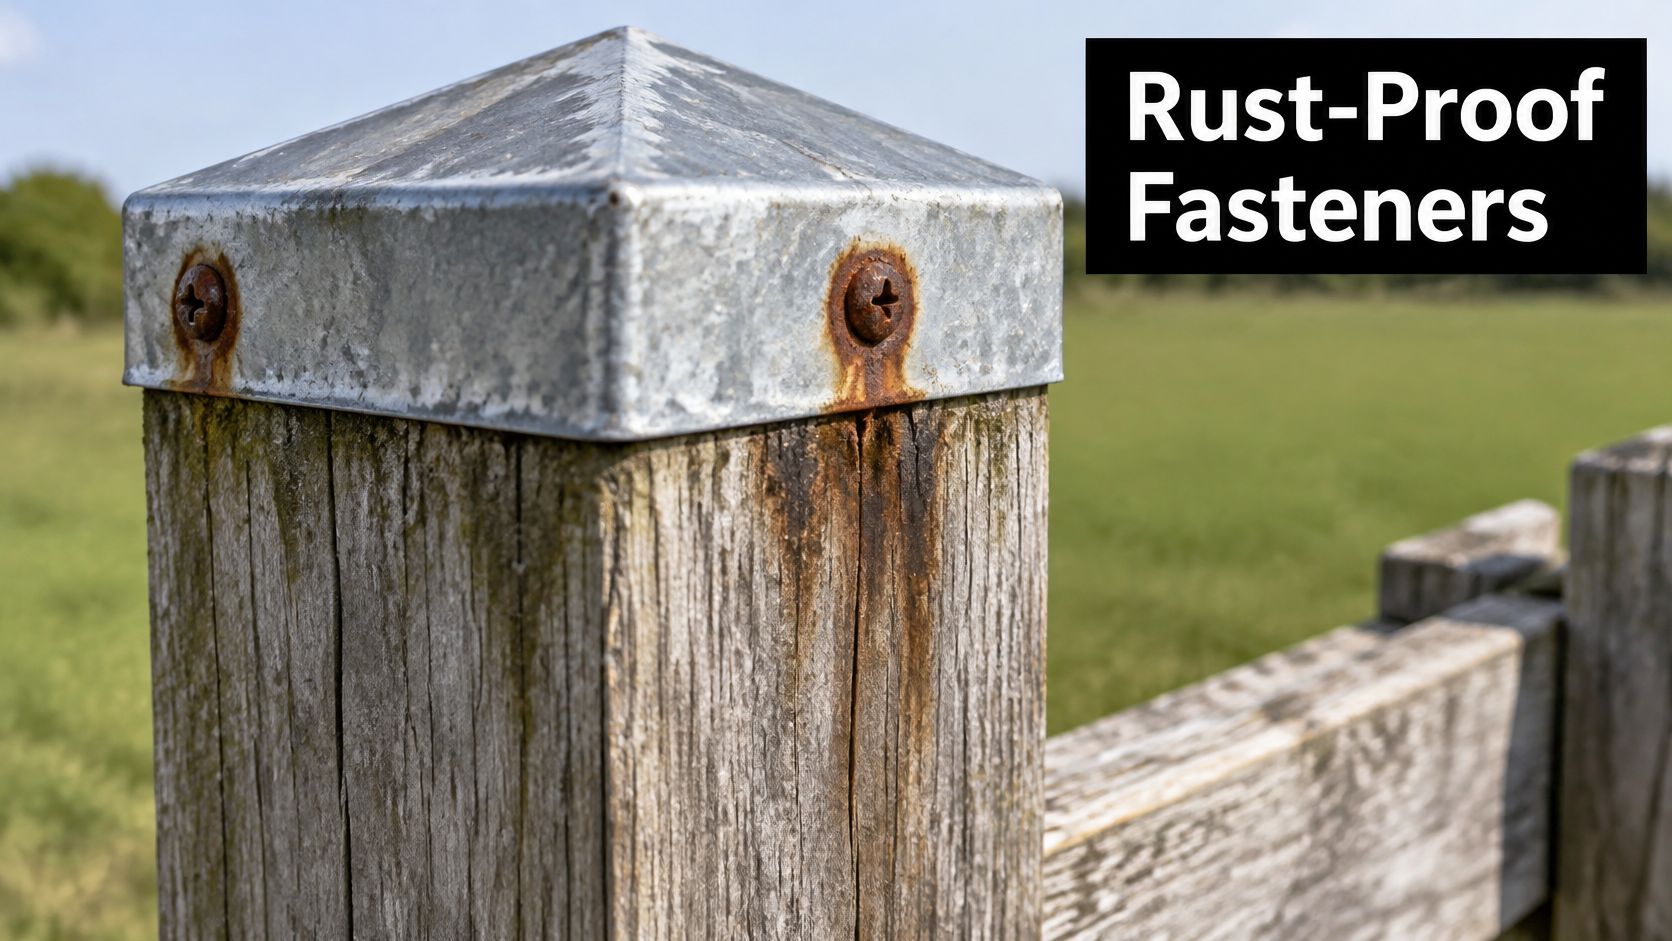
The cap that fails first is rarely the wrong size. It's the one whose screws rusted through in three seasons, or split the post top on installation day and left a crack for water to follow. Ordinary indoor screws stain the wood beneath them and let go in the first hard wind.
Canadian guidance treats corrosion protection as a specification rather than a preference. A Canadian Construction Materials Centre evaluation of an exterior decking system applies Article 9.23.3.1 of Division B of the National Building Code of Canada 2015 and calls for fasteners with a corrosion-resistant coating or stainless steel. The same evaluation sets a length benchmark: at least two fasteners per support at approximately 63.5 to 64 millimetres.
A second CCMC evaluation for an exterior decking product goes further, requiring at least two No. 10 fasteners at 63.5 millimetres per support, three joists under each plank, and a minimum 34 millimetres of embedment into the supporting structure. Decking, not caps. The logic still transfers: diameter, length, embedment and coating each do work, and a cap listing that names a screw size means something by it.
Match the fastener to the substrate
Wood posts take wood screws. Metal posts take self-tapping screws, and a hollow section needs a check on what's behind the wall before you drive, or the screw spins and the cap never tightens. Predrill near corners. That's where a split starts, and a corner split is the one that carries water deep into the end grain.
Two things decide whether the joint outlasts the cap: the coating and the squeeze. Hot-dip galvanized, coated or stainless all work overhead; bare steel doesn't. And resist the urge to crank the cap down until the wood compresses. A cap crushed onto the post seals the top so completely that condensation under the lip has nowhere to go, and trapped water rots a post faster than rain ever did. Snug is the goal. The cap sheds bulk water while the joint underneath stays loose enough to dry between storms.
Galvanized vs stainless steel is worth a read before you buy a box, since the two finishes give up at different points and the cost difference on a small cap job is trivial.
A cap handles the water that lands on top. Water pooling at the base is a separate failure, and the steps that extend fence life with proper drainage cover the half of post rot no cap can reach.
Here's the installation sequence in practice.
Four items to carry into the store:
- Fastener type: wood screw for wood, self-tapping for metal, matched to what the cap listing calls for.
- Coating or stainless: hot-dip galvanized, coated, or stainless. Never bare indoor steel at the top of a post where moisture sits.
- Length: long enough to penetrate the cap and reach the substance below it, no longer than the listing specifies.
- Pilot hole: sized to the screw shank and drilled square to the cap face, especially close to a corner.
What a Post Cap Can and Cannot Protect
A post cap is a moisture-management part, full stop. It isn't structural, it won't restore a post that's already soft, and a heavier cap doesn't buy a longer fence. Treating it as a fix for rot is the most common and most expensive mistake in the category.
Environment and Climate Change Canada's technical guidance on wood preservation facilities identifies decay fungi as the principal biological threat to wood and notes that deterioration accelerates where moisture collects and cannot evaporate. An exposed post end is exactly that condition: a shallow cup that refills with every rain and dries last.
What the cap does is real, though. A projecting drip edge reduces direct rainfall entry and redirects water away from the post at its most vulnerable point, the cut end grain. End grain drinks water far faster than the face of a board, which is why the top of the post is where the trouble concentrates.
What it will never fix
A cap cannot replace preservative-treated lumber, adequate drainage, or sealed end grain. If the post itself is untreated, sitting in pooled water, or cut fresh in the field and left bare, the cap is a lid on a problem that keeps growing underneath it.
The inspection criterion is simple: the cap should shed water beyond all four sides while staying mechanically secured against wind uplift. If it does both, it's doing its job.
A tightly sealed decorative cap can trap condensation and conceal rot. A securely fitted cap you can lift off is often the better part, because you'll find the soft spot a season earlier.
Take a wood post fitted with a heavily bedded cap in October. Moisture inside the joint has nowhere to leave, and by March the cap is holding a wet compress against the end grain. Lift it and the top is soft under a thumbnail, which is information you want early, not after the post starts leaning.
That's the trade-off most buyers miss. The tightest, most sealed cap is not automatically the best one, because trapped water and hidden rot cause more failures than a slightly loose fit ever will.
Rot at the base is the other half of the problem, and how to prevent fence post rot covers it in more detail than any cap specification will.
Three things to check on every post, once a year:
- Drainage below: a post standing in a hollow that holds water will rot from the bottom regardless of what's on top.
- Sealed cut ends: field cuts and drilled holes need treatment, because end grain drinks.
- A cap you can remove: mechanically fastened and liftable, so inspection takes a screwdriver instead of a pry bar.
Frost, Climate and Local Rules to Check
No cap compensates for a bad footing. Frost moves the post, the post moves the cap, and a seal fitted in July is a gap by March. The federal specification for communications-site foundations reproduces National Research Council guidance putting Canadian frost depth at approximately 0.2 to 4.0 metres depending on temperature, vegetation and soil, with moisture-bearing soils heaving 5 to 50 centimetres. It also uses a concrete-footing benchmark of at least 1,370 mm below grade for line posts and 1,675 mm for larger support posts, subject to site conditions and the authority having jurisdiction.
Those aren't residential fence numbers, and copying them into a backyard is a mistake in the other direction. Southern Ontario guidance commonly uses about 1.2 metres as a frost-depth reference, while actual requirements vary with local frost penetration, soil, drainage, wind exposure, fence height and gate loads, as provincial frost-depth guidance sets out.
On a hollow metal post there's a second frost risk. Water that gets inside and freezes has nowhere to go but outward, and it splits the tube. That's why a cap on a tubular post has to seal and fasten, not just look closed.
Local rules reach past the footing. Fences in Jasper National Park require a development permit and must comply with the Town of Jasper's Architectural Motif Guidelines, with rear-yard fences limited to 2.4 metres and front-yard fences to 1.8 metres, and the upper 0.46 metres of a front-yard fence required to be visually transparent, according to Parks Canada's Jasper fence guidance. Cap style is part of the appearance reviewed in that process.
Frost depth sits inside a wider set of provincial and municipal rules, and fencing in Canada gives the broader picture. Before you cut a post, do two things: ask the municipality for its frost-depth requirement and fence bylaw, and check the post with a level once it's set. A cap fitted to a post that isn't plumb yet will be loose before the first winter.
Order the Right Caps and Count
Once the actual size, material, exposure and local frost rule are settled, the size table collapses to one row. Buy that row and stop shopping.
Count one cap per post and include the gate posts. Ten line posts and two gate posts is 12 caps, not 10. Add a spare, because a post that measures outside every row turns up on a long run, and a spare on the shelf beats a second order for one part.
Cost is the other reason to count carefully. Renovation costs across eight residential project types rose 55.4% between the second quarter of 2018 and the second quarter of 2024, according to Statistics Canada's analysis of repair costs, which is one more reason to get the hardware list right the first time.
Put fasteners in the same cart: corrosion-resistant screws or bolts matched to the substrate, long enough for the penetration depth the cap listing specifies, with washers wherever a bolt passes through the cap. Then apply the style rule: pyramid for exposed wood and metal, ball where the seat is sound, decorative only on a gate or feature post with a flat top.
XTREME EDEALS INC. lists post caps for metal and wood posts in various sizes across its Post Caps and Fasteners categories, including a Decorex Hardware 5.5 x 5.5 inch solid copper ball cap made for actual 5.5 x 5.5 inch wood posts, so the measured size, the style and the outdoor fasteners can come from one order.
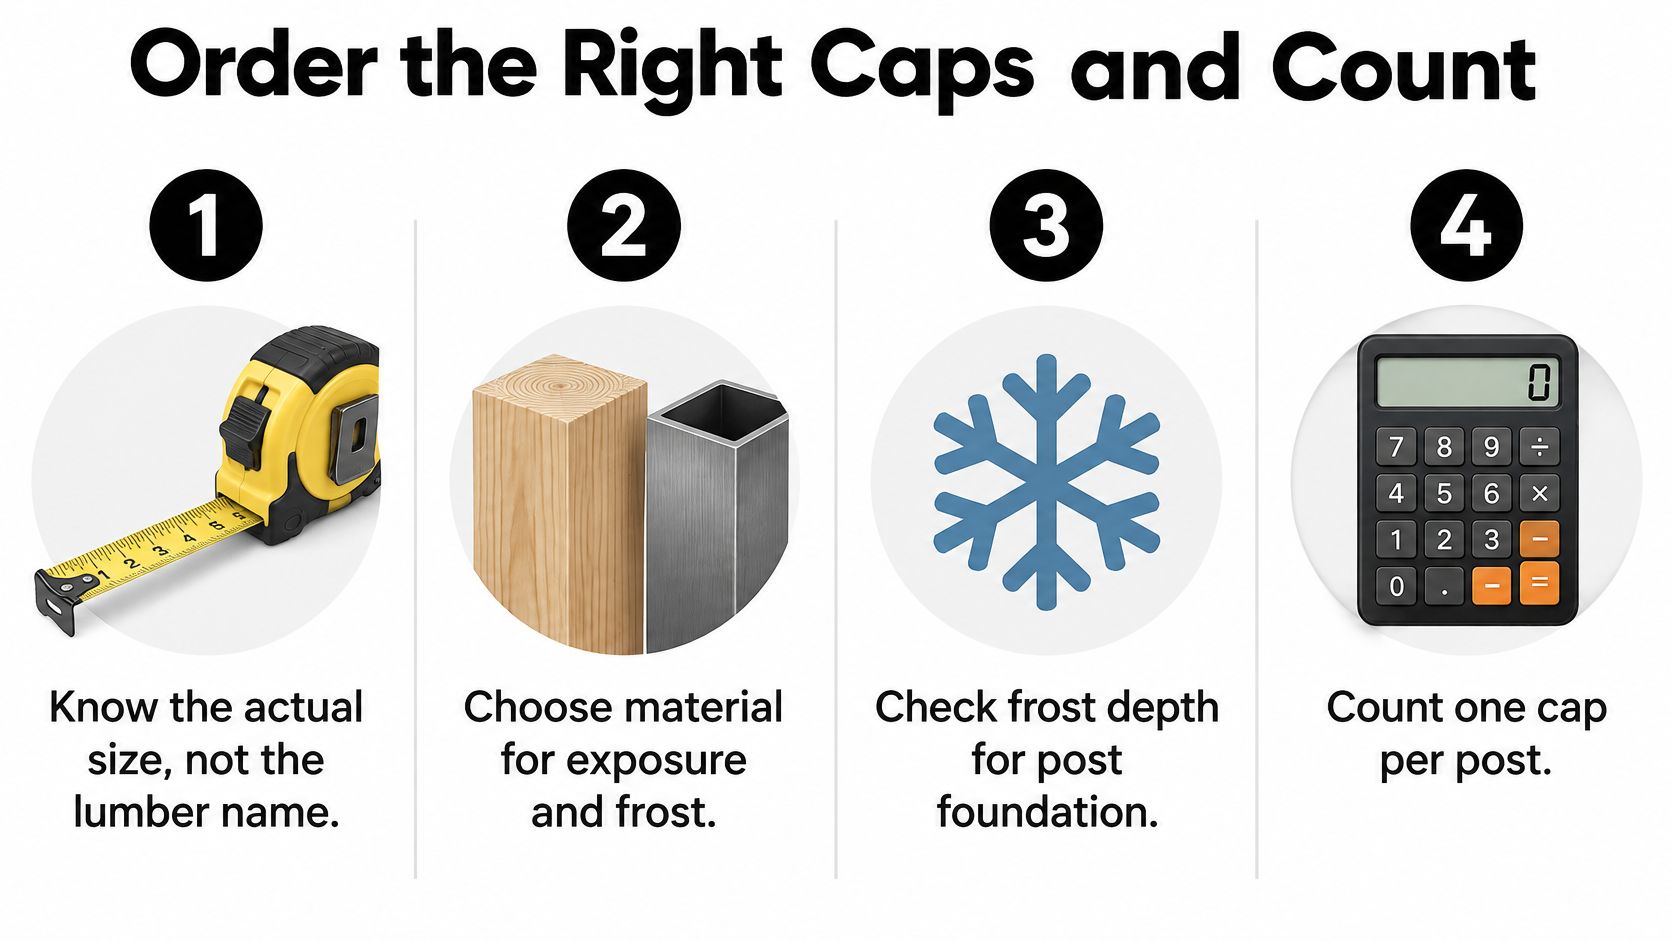
Enter your measured size in the post cap category, read the compatibility note on each listing before adding it, and add the matching outdoor fasteners before checkout.
XTREME EDEALS INC. stocks pyramid, ball and decorative post caps for metal and wood posts from 2.5 x 2.5 inch aluminum pressure-fit caps up to a true 6 x 6 inch solid copper pyramid, along with the deck screws, bolts and washers that hold them down. Take your measured post size, not the lumber label, to XTREME EDEALS INC. and match it to the compatibility note on the listing, so each cap seats flat and sheds water the first time.