
Each wood deck board takes two No. 8 wood screws, or two 8d deformed-shank nails, at every joist it crosses. Pressure-treated pine wants a gap of 1/8 to 3/16 in, and cedar wants 3/16 to 1/4 in. The table in the next section carries the rest of the materials.
That pair of screws is not an on-centre interval you pick off a tape. Deck board screw spacing follows the joists. The gap is the second decision, and it changes with the species and with how wet the boards are on install day. A tighter pattern of screws will not rescue framing that is too far apart, and it will not turn a combustible deck into a wildfire-resistant one.
Deck Board Gaps and Screw Counts at a Glance
Two numbers decide whether a deck stays straight and quiet: the board gap and the screw count. Both come off the joist layout. Find your row, write the pair on the cut list, then move to placement.
| Material | Board gap | Screws per joist | Notes |
|---|---|---|---|
| Pressure-treated pine or fir | 1/8 to 3/16 in (3-5 mm) | 2 | Gaps close slightly as boards take on moisture, so set the gap for the dry season |
| Cedar or redwood | 3/16 to 1/4 in (5-6 mm) | 2 | Stable along the length but moves across the width; the wider gap sheds water |
| Hardwood such as ipe or cumaru | 1/8 to 3/16 in (3-5 mm) | 2 | Very dense; pre-drill every screw and confirm the supplier spec |
| Capped composite | Manufacturer spec, commonly 1/8 to 1/4 in | 2, or the clip pattern in the manual | Follow the printed gap; some systems set it with their own spacers |
| Unknown or mixed species | 3/16 in (5 mm) as a default | 2 | Use only when no spec exists, and confirm with the supplier before cutting |
Set the gap with a spacer block on a day close to the temperature the boards will see in service. A cold morning and a hot afternoon give different fits. Eyeballing a 3/16 in gap across a full deck drifts wider than most builders expect, and the error shows up at the last board.
Species does not change the screw count. California's 2025 Residential Code requires each wood deck board to be attached to every supporting joist with at least two 8d deformed-shank nails or two No. 8 wood screws. That means a matched pair at every joist intersection, including both ends of a long board.
A quick joist count
Count the joists under one board and multiply by two. Six joists need at least twelve screws per board. Eight joists need sixteen. Run the count before you order, then add a spare pack on top of it.
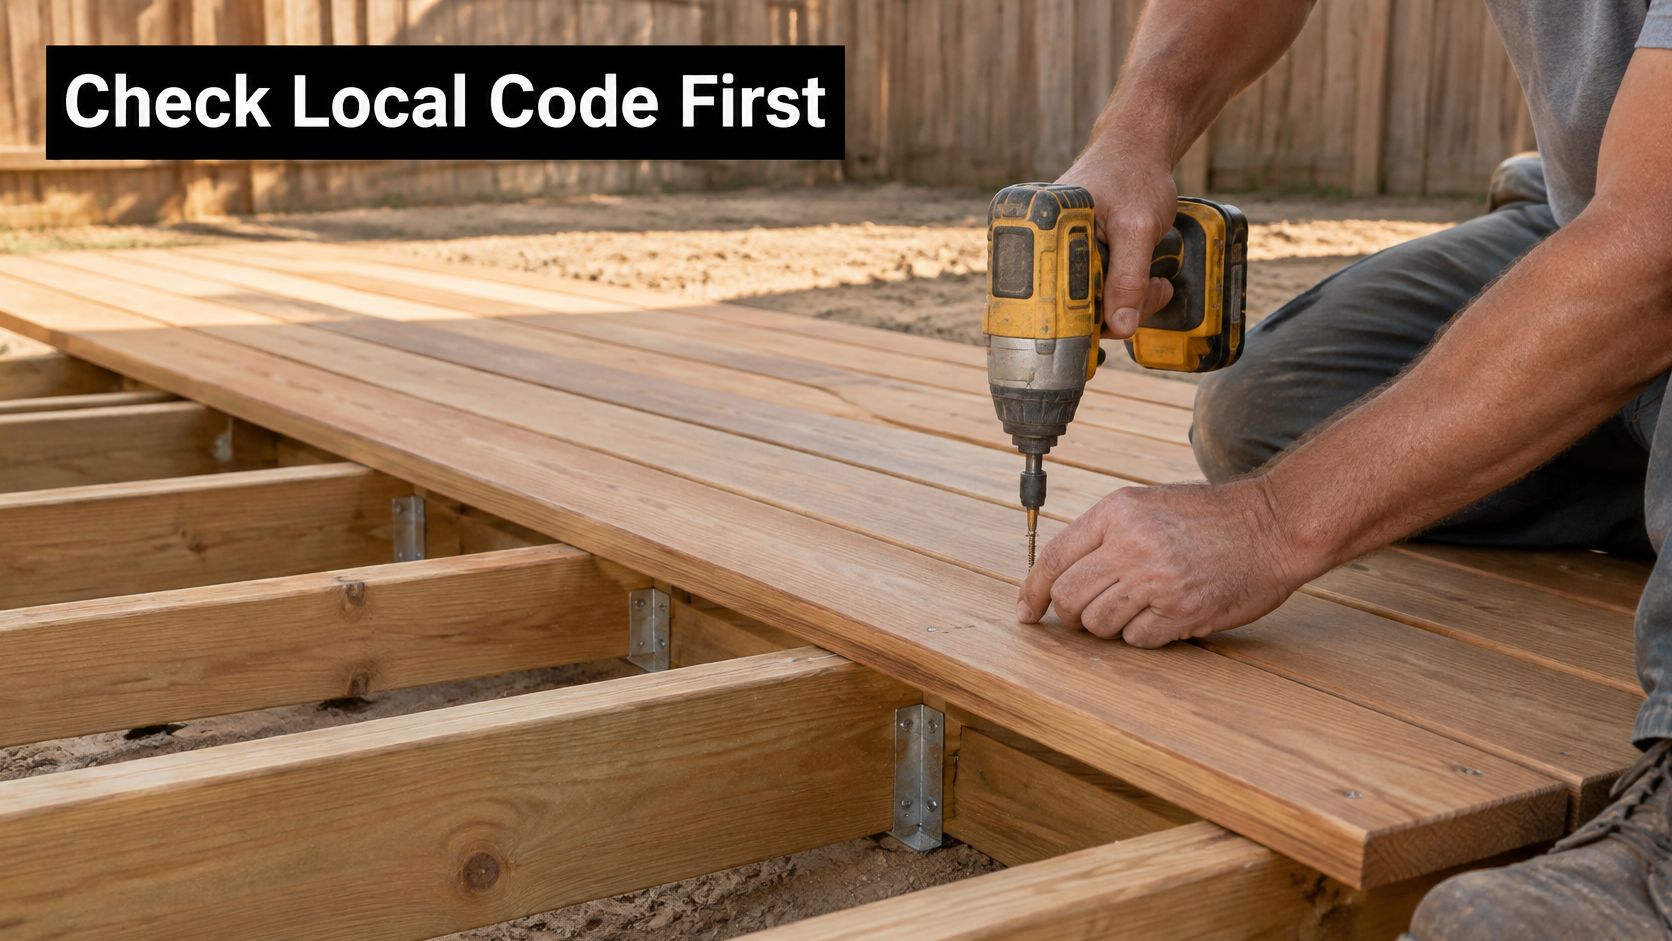
The same code also limits how far apart those joists may sit, so the screw pair and the framing work as one check. Mark every joist line across the boards and put a matched pair of corrosion-compatible screws on each line. In wildfire zones, local exposure rules can change both the gap and the layout, so confirm them before you lock the row.
Gap Planning for Face Screws and Hidden Fasteners
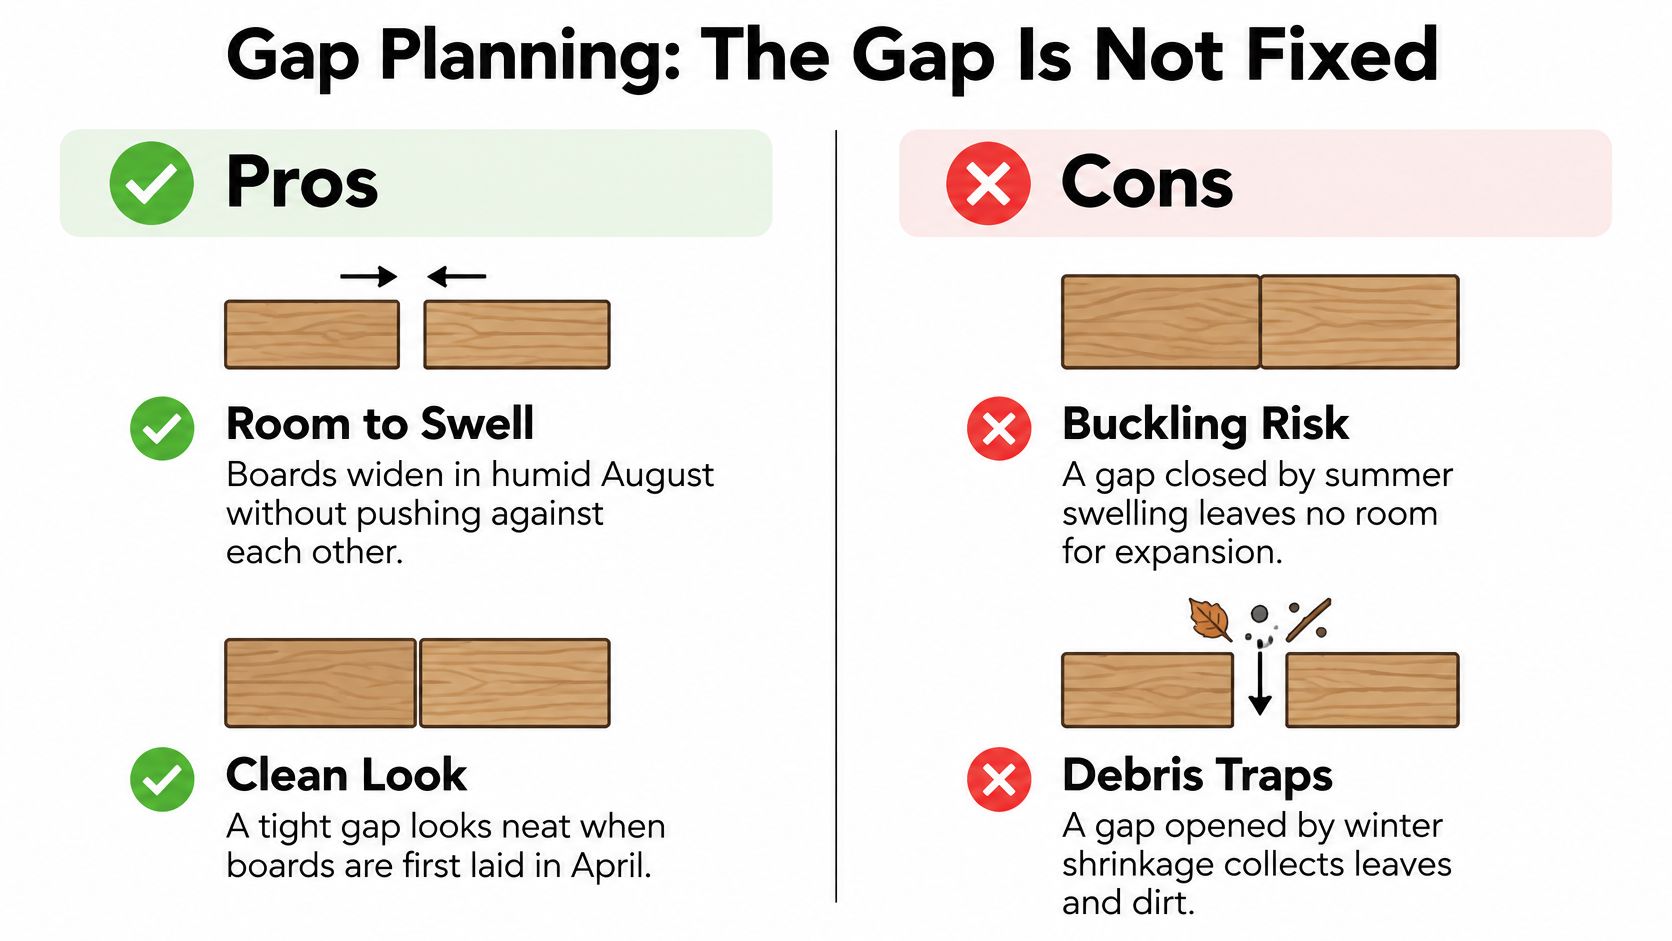
Screw spacing starts as a joist-layout problem. Mark the joist lines, count how many each board crosses, then decide the gap those pairs will hold at every intersection. A gap that looks right in April can close in a humid August or open again in winter; wood moves across its width as moisture changes, and the gap is also the drain and air path that dries the deck after rain.
Face screws leave that gap in your hands. Set it with a spacer while the boards go down, because once a long run is fastened you cannot widen a tight board without pulling screws. Hidden clips and grooved boards lock the gap at the manufacturer's width, so the first straight row decides the whole field.
Printed product directions govern. Where none exist, 3/16 in (about 5 mm) of edge-to-edge clearance is a common default, not a promise for every board. In wildfire-zone work, check the local exposure rules before locking the spec; they can change the approved materials and framing assumptions behind the spacing choice.
| Factor | Face screws | Hidden fasteners |
|---|---|---|
| Gap set by | Installer spacer during install | Manufacturer's fixed width in the clip or groove |
| Cost and install speed | Cheaper and faster | Higher cost and slower install |
| Replacing one board | Easy, back out the screws | Harder, boards locked by clips |
| Surface appearance | Visible heads to check and re-drive | Clean surface with no heads to rust |
| Better fit | Budget builds with many boards | Feature surfaces rarely changed |
Practical rule: Choose face screws when you have a lot of boards and you expect to swap one later. Choose hidden fasteners when the surface is the feature and those boards will stay put.
Before the first row is locked, keep board width, joist count and gap in one check, on the manufacturer's sheet or on the page linked as a deck board spacing calculator. A clip system will not let you correct a bad gap board by board. Face-screw jobs stay flexible. Hidden jobs stay neat, and they punish a wrong first row.
Screw Placement and Install Sequence
Length and edge distance come from the board, not from a habit.
| Board size | Screw length | Placement across the board |
|---|---|---|
| 5/4 x 4 deck board | 2-1/2 in | Two screws, about 1 in from each edge |
| 5/4 x 6 deck board | 2-1/2 in | Two screws, 1 to 1-1/4 in from each edge |
| 2×6 decking | 3 in | Two screws, about 1-1/4 in from each edge |
A 5/4 x 4 is about 3-1/2 in wide, so 1 in from each edge still leaves a solid bite in the middle. A 5/4 x 6 is about 5-1/2 in wide, so 1 to 1-1/4 in from each edge keeps the pair from crowding the centre or the arris. Full 2×6 decking needs the 3 in screw so the threads reach well into the joist. Keep every screw at least 1 in from a board end, and never drive one into an end that is hanging past the last joist.
Species changes the pilot, not the layout. If you are choosing between softwood and a dense tropical board, the notes on best wood for decking from TimberSol Ltd are worth reading before you buy bits, because ipe and cumaru will split if you treat them like pine.
Check the frame before the box of screws
The Eureka deck permitting handout, written from California Residential Code provisions, shows why. Pressure-treated 2×6 joists in that example span 8 feet 10 inches at 12-inch spacing, 8 feet at 16-inch spacing, and 7 feet at 24-inch spacing. 2×8 joists span 11 feet 8 inches, 10 feet 7 inches, and 8 feet 8 inches at those same spacings. Maximum cantilever is one-fourth of the joist span or the table value, whichever is less. A 24-inch layout can be fine for one board and illegal for another. Screws cannot close that gap.
How far those threads should sit in the joist is a separate check from edge distance. The notes on how deep deck screws should go are the place to settle length before you open the first box.
Seven steps on the deck
- Confirm the joist span against the decking spec before you buy screws. If the framing is too open for the board, stop and reframe.
- Snap or chalk joist centrelines across the deck, then mark both screw lines on every board so the pairs stay in one straight row.
- Set the first gap with a 1/8 or 3/16 in spacer at each end. Recheck every few boards. A 1/32 in drift becomes a crooked field by the rim.
- Pre-drill a 1/8 in pilot in softwood or a 5/32 in pilot in hardwood, within 2 in of every board end and on every hole in dense species. Go through the board and a short way into the joist.
- Countersink lightly. Heads should sit flush or just below the face, with no crater that holds water.
- Drive two screws at each joist mark on a clutch or depth stop, at a steady pace. A fast spin strips heads and can crack the board.
- Walk the deck. Look for seated heads, split ends, a uniform gap, and two screws on every joist.
Start the first board dead straight. Every later board inherits that line, and spacers will not square a crooked start.
On thin 5/4 boards, offset the pair a little along the length so both screws are not on the same grain line. That small stagger is one of the few things that actually cuts end splits. The install sequence below is the pace I would use on a face-screwed softwood deck.
Work one bay at a time. Fasten, check the gap, then move to the next board. Saving all the driving for the end of the day is how missed joists and wandering gaps show up after the boards are already locked.
Common Problems and How to Fix Them
What you see on a finished deck usually points to one install mistake, not to "bad wood."
| Symptom | Likely cause | Fix |
|---|---|---|
| Board edges lifting or cupping | Screw too close to the edge, or only one screw on a joist | Add the missing screw and move the next pair 1 to 1-1/4 in from the edge; replace badly cupped boards |
| Split board ends | Screw driven without a pilot hole, or too close to the end | Pull the screw, pre-drill within 2 in of the end, and replace any split board |
| Screw heads popping up | Board shrinkage or wet joist wood when fastened | Drive a longer screw beside the old one after the wood dries; check joist moisture first |
| Boards touching or buckling in summer | Gap set tight, or boards installed wet | Plan the gap for dry-season install and widen it on the next board you replace |
| Screw missing the joist | Joist centreline not marked before driving | Remove the screw, mark the centreline, and drive the replacement on the joist |
| Stripped or twisted screw heads | Driver speed too high or wrong bit | Use a bit that fits the head, lower the clutch, and drive at a steady pace |
Afternoon fixes versus a new board
Re-driving a loose screw, adding the screw you skipped, or pulling a stripped head is an afternoon job. Split ends and badly cupped boards are not. Once the fibres are open or the cup is set, a new screw will not flatten that piece. Replace the board.
Cupped edges often mean the screw sat too close to the arris, or the second screw on that joist was never there. Count the fasteners on that joist before you blame the species.
Popped heads usually mean the board shrank, or the joist was wet when you fastened it. Do not hammer the head back down. That breaks the fibres around the shank and the screw will pop again. After the wood has dried, and after you have checked joist moisture, drive a longer screw beside the old one.
Boards that touch in July were set too tight, or they went down wet. Widen the gap on the next board you replace. Do not pull the whole field.
A missed joist is a layout miss. Find the centreline marks before you drive another screw. Pulling one from the wrong spot costs time and leaves a hole that collects water.
When Local Code and Wildfire Rules Change the Plan
More screws do not make a deck code-compliant, and they do not make it wildfire-compliant. The two-fastener minimum is a floor. Joist span limits are a separate floor. If the joists are too far apart for the board you chose, a denser screw pattern cannot stand in for framing.
Wildfire exposure adds a third check that generic spacing sheets skip. Embers can fall between boards, land on joists, or ignite debris stored underneath. Exposed decks in those areas are expected to use noncombustible or ignition-resistant assemblies, with the space under the deck kept clear. California guidance on exterior wildfire exposure treats an attached deck as part of the structure for the ember-resistant zone and calls for fuel management within 5 feet of that footprint.
Closing the gaps or adding a third screw will not convert ordinary combustible boards into an approved assembly. Material choice and a clear under-deck zone do that work. Before you order, ask the local building office and the fire authority which assembly applies on that lot, and keep the manufacturer spec in the job file.
Outside fire-prone regions the same habit still pays. Confirm the local code and the product sheet before you lock a screw pattern copied from another town.
Confirm the Spacing Before You Order Screws
Write four things down before you open a cart.
- Material and gap. Take the gap from the manufacturer or the local spec, using the material table at the top of this guide.
- Joist count. Count the joists under every board, multiply by two, and add a spare pack for splits and bad drives.
- Coating. Use exterior-rated coated screws in pressure-treated lumber. Use stainless steel where salt air or a coastal site will sit on the heads.
- Length. Match the placement table: 2-1/2 in screws for 5/4 boards, 3 in screws for 2×6 decking.
Coating and thread style are not the same decision as spacing. A short comparison of deck screws versus construction screws will stop you buying a general-purpose box that is the wrong length and the wrong coating for treated joists.
XTREME EDEALS INC. (xtremeedeals.ca) sells deck screws in multi-pack sizes, so the pack can follow your joist count and board width instead of a guess at the store. Write the gap, the joist count, the screw length, and the coating on one line, then place the order from that line.
XTREME EDEALS INC. carries deck screws, joist hardware, and the small fasteners a deck build uses up, sold in multi-packs sized for a full joist count. Match the pack to the board width and coating you just wrote down, then order before you start the first row. Visit XTREME EDEALS INC. to pick the screws that fit this spacing plan.