
The old stair rail wobbles when you grab it on the way down with a basket of laundry. The spindles look dated, the finish is chipped, and you want a cleaner flight that still feels solid every day. Before a photo of slim black bars or painted wood wins the argument, treat the whole assembly as one job. A baluster railing for stairs only works when the infill, top rail, posts, fasteners and the stair itself agree on height, openings and usable width.
Why Stair Balusters Deserve a Plan
You are standing on the landing with a screwdriver in one pocket and a wish list on your phone. The old rail rocks, a couple of spindles have split where they meet the tread, and the staircase looks heavier than the rest of the house. Paint will not fix that. What you are replacing is a small safety system, not a strip of decoration.
A baluster railing for stairs is more than a row of vertical pieces. The infill has to block a fall. The top rail has to stay comfortable in the hand. The posts and connectors have to hold when someone leans hard at the turn. Stair geometry decides how far that hardware can reach into the walking path. Change one part and the others shift with it.
Start the plan before you shop.
- Note the stair: Straight run, winder or landing break, and who uses it every day, including children.
- Name the job of each side: An open edge may need a full barrier. A wall side may only need something to grip.
- Watch the width: Rails, brackets and posts all steal clear passage. A handsome profile that sticks out too far makes the flight feel tight and can fail a simple walk-through.
Practical rule: Settle clearances, strength and layout first. Then choose a look that fits those limits, not the other way around.
That order keeps a weekend upgrade from turning into a tear-out after someone leans on a loose post.
Balusters Guards and Handrails Explained
Three names get mixed up on almost every stair job, and mixing them up is how people buy the wrong height.
Balusters are the infill members, the vertical pieces between the rail and the stair or shoe. A guard is the barrier that keeps someone from falling off an open side. A handrail is the piece your fingers wrap while you move up or down. Picture balusters as fence pickets, the guard as the fence that stops a fall, and the handrail as the handle you trust on a bad step.
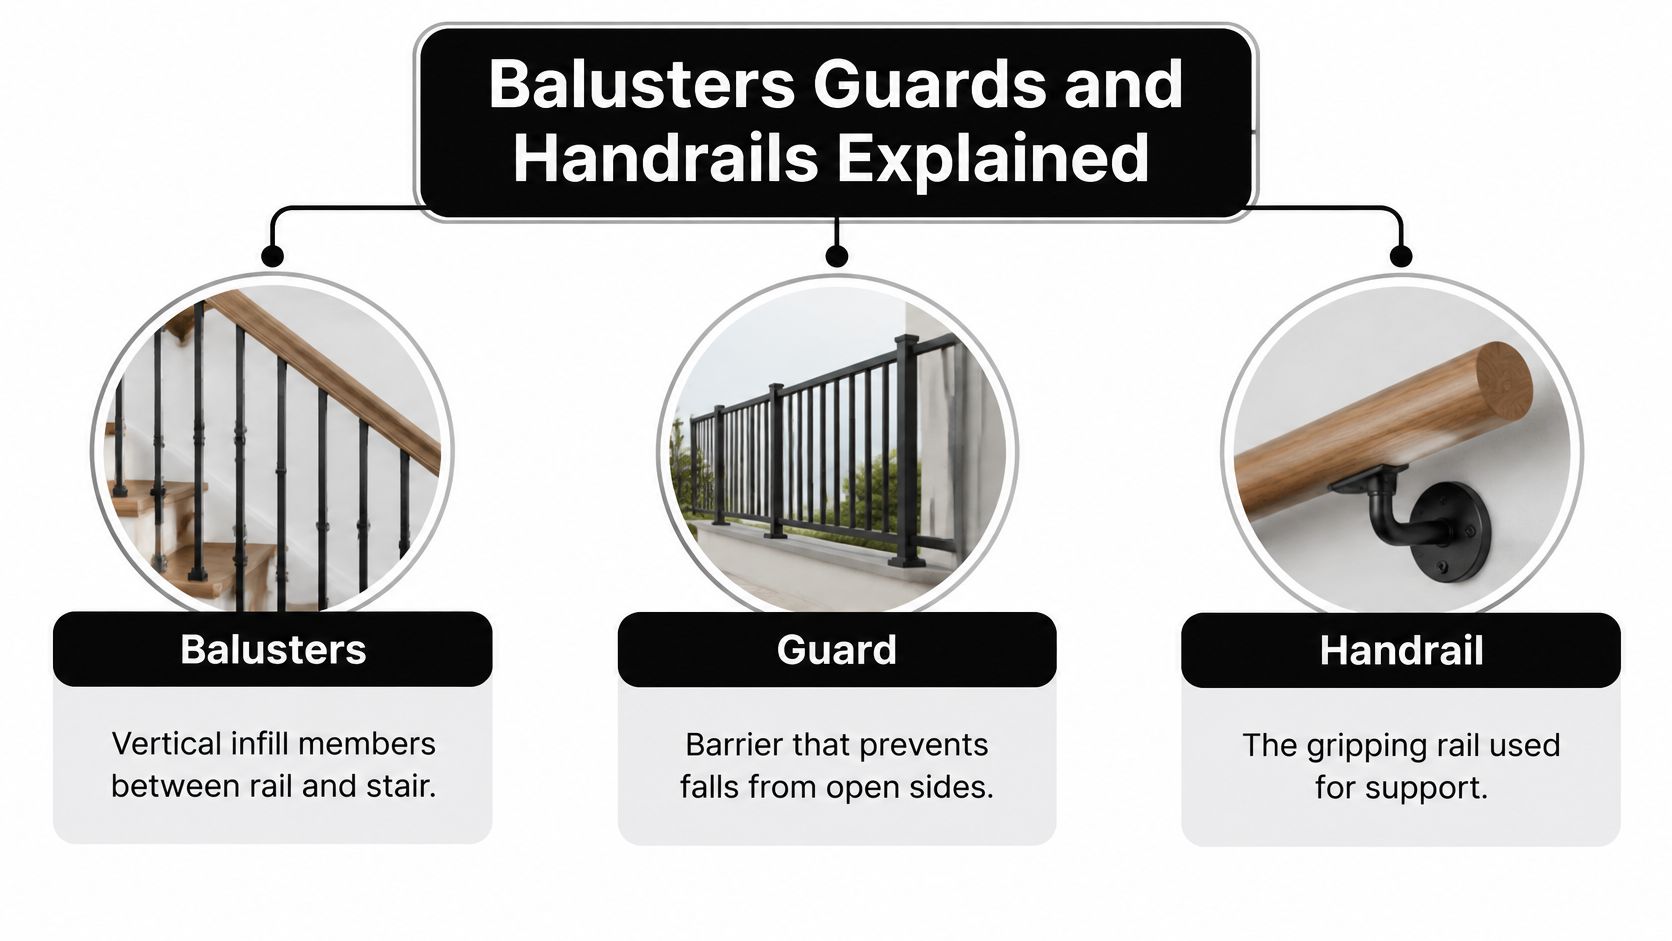
On a house stair, one sloped rail can do two jobs. It can be the guard and the handrail. A deck edge or an open landing is a different decision. It often wants a taller barrier that is not trying to be a comfortable grip.
San Bruno's residential deck guidance draws that line in measurable terms. Guards are generally required when an open-sided walking surface is more than 30 inches above the floor or grade. Deck guards commonly need a 42-inch minimum height, with openings that do not let a 4-inch sphere pass. Open-sided stairs can use a lower 34 to 38 inch rail when that rail also functions as the handrail.
Label the pieces on your own flight
Walk the stair once and mark four spots on a sketch before you price anything.
- Deck or porch edge: Treat this as a guard first. Height and openings come before style.
- Landing: If it is open and high, it follows the taller guard idea, not the lower stair-rail zone.
- Open stair side: Ask whether the top piece must also be graspable. If it must, the lower rail zone can apply.
- Wall side: You may only need a handrail, with room for a hand to pass between rail and wall.
Those are separate decisions. Averaging them into one height is how a nice landing rail ends up too short, or a stair rail ends up too clumsy to hold.
Materials Styles and Mounting Options
Style is the fun part, and it is also where a stair gets stuck with parts that will not mount cleanly. Compare the material against the room, the weather and the posts you already have.
Wood you can still shape on site
Wood balusters suit a warmer stair and a remodel where nothing is perfectly square. Square, turned and tapered profiles can be trimmed, plugged and stained so they meet an existing newel. Paint and outdoor sun are the trade-off. A primed piece lets you match trim, but it also means more sanding, and exterior wood wants a finish you are willing to renew.
Skill level matters here. If you are comfortable with a drill, a plumb bob and a bit of filler, wood forgives small layout errors. If the rail is already plowed for a square top, the baluster width has to match that groove. A pin top wants a different rail. Buying the pretty spindle first, then discovering the handrail cannot accept it, is a common stall.
Metal, mixed looks and how they attach
Metal balusters give a slimmer sightline. Straight bar, basket and belly profiles read lighter than a thick wood turning, which helps a dark hallway feel less closed in. Black finishes pair well with a wood rail and wood newels when you want contrast without replacing every post. Outdoors, the finish and the fasteners matter more than the silhouette. A coastal or wet deck will punish ordinary indoor screws long before the baluster itself looks tired.
An aluminium staircase railing is the lighter outdoor cousin of iron infill. It makes sense when you want a coated metal system that does not ask you to weld, and when the stair or deck is exposed rather than buried inside a finished hall.
Mounting is the quiet half of the choice.
- Pinned or dowelled wood: The baluster is set into the tread and into a plowed rail or shoe. It looks traditional and hides most fasteners, but the holes have to land on layout, not on hope.
- Shoes and drilled metal: Round or square bars sit in shoes or holes, often locked with set screws. Shoes can hide a slightly uneven cut. They also add a small visual break at the tread.
- Post-to-post versus over-the-post: In a post-to-post run the rail stops at the newels. Over-the-post, the rail flows over fittings. Your existing newels usually decide this before your taste does.
- Surface kits on landings: Useful where you are guarding a flat edge rather than following stair slope. Check that the posts can land on framing, not only on finish boards.
If the project is a remodel, measure the old newel, the rail thickness and the shoe before you fall for a profile. A basket baluster that will not enter the existing plow is not a style choice anymore. It is a second stair system.
Spacing Height and Load Rules That Matter
Nominal spacing is the number people remember, and it is the number that most often lies. The opening that fails is rarely the tidy gap you set in the middle of a tread. It shows up at the first baluster, the last one before a newel, under a sloping rail, or in the triangle where tread, riser and bottom rail meet.
Chico's stair, handrail and guard handout, the sort of residential guidance California jurisdictions use, puts those checks in physical terms. Guards and ornamental patterns generally must stop a 4-inch-diameter sphere. The triangular opening at tread, riser and bottom rail may be allowed to pass a 6-inch sphere. Openings along stair sides can face a 4 3/8 inch limit, depending on the code provision in force. Confirm the adopted edition before you cut a full run.
Stair Baluster Safety Checks
| Check | Typical Benchmark | Field Tip |
|---|---|---|
| Guard and pattern openings | A 4-inch sphere must not pass | Test the widest clear gap, not the centre you marked |
| Tread, riser and bottom rail | A 6-inch sphere may be allowed through that triangle | Look under the slope, especially on the first and last step |
| Openings along the stair side | A 4 3/8 inch limit can apply | Recheck end bays beside newels, where the gap often grows |
| Equal layout | Even gaps after posts and returns | Dry-fit one bay before drilling the rest |
A template beats a guess. A short offcut sized to the sphere, or a taped wood disc, shows a problem a tape measure hides when the baluster is round, twisted or set on a slope. More bars are not automatically safer. Cramming extra infill can block a grip, shrink the walking width and push the end gaps out of line.
Strength is a chain, not a single spindle
A stout baluster still fails if the top rail racks, the post rocks, or the screws are only biting finish trim. Walk the load in your head from the hand, through the rail, into the post, then into the framing. Fascia-mounted screws and decorative brackets are a weak last link. Connectors and substrates have to be able to carry that lean into joists or stringers.
Our baluster spacing guide is a useful companion when you are turning those opening checks into a count of pieces, but it does not replace the local amendment. Workplace stairs and house stairs are not the same rulebook, and an altered stair is judged on the work you touch, not on how the house was built decades ago.
Push and pull the rail before you call the bay finished. Visible movement, a loose fastener, cracked wood or a shoe that spins means the load path is still open.
Measuring and Laying Out a Stair Run
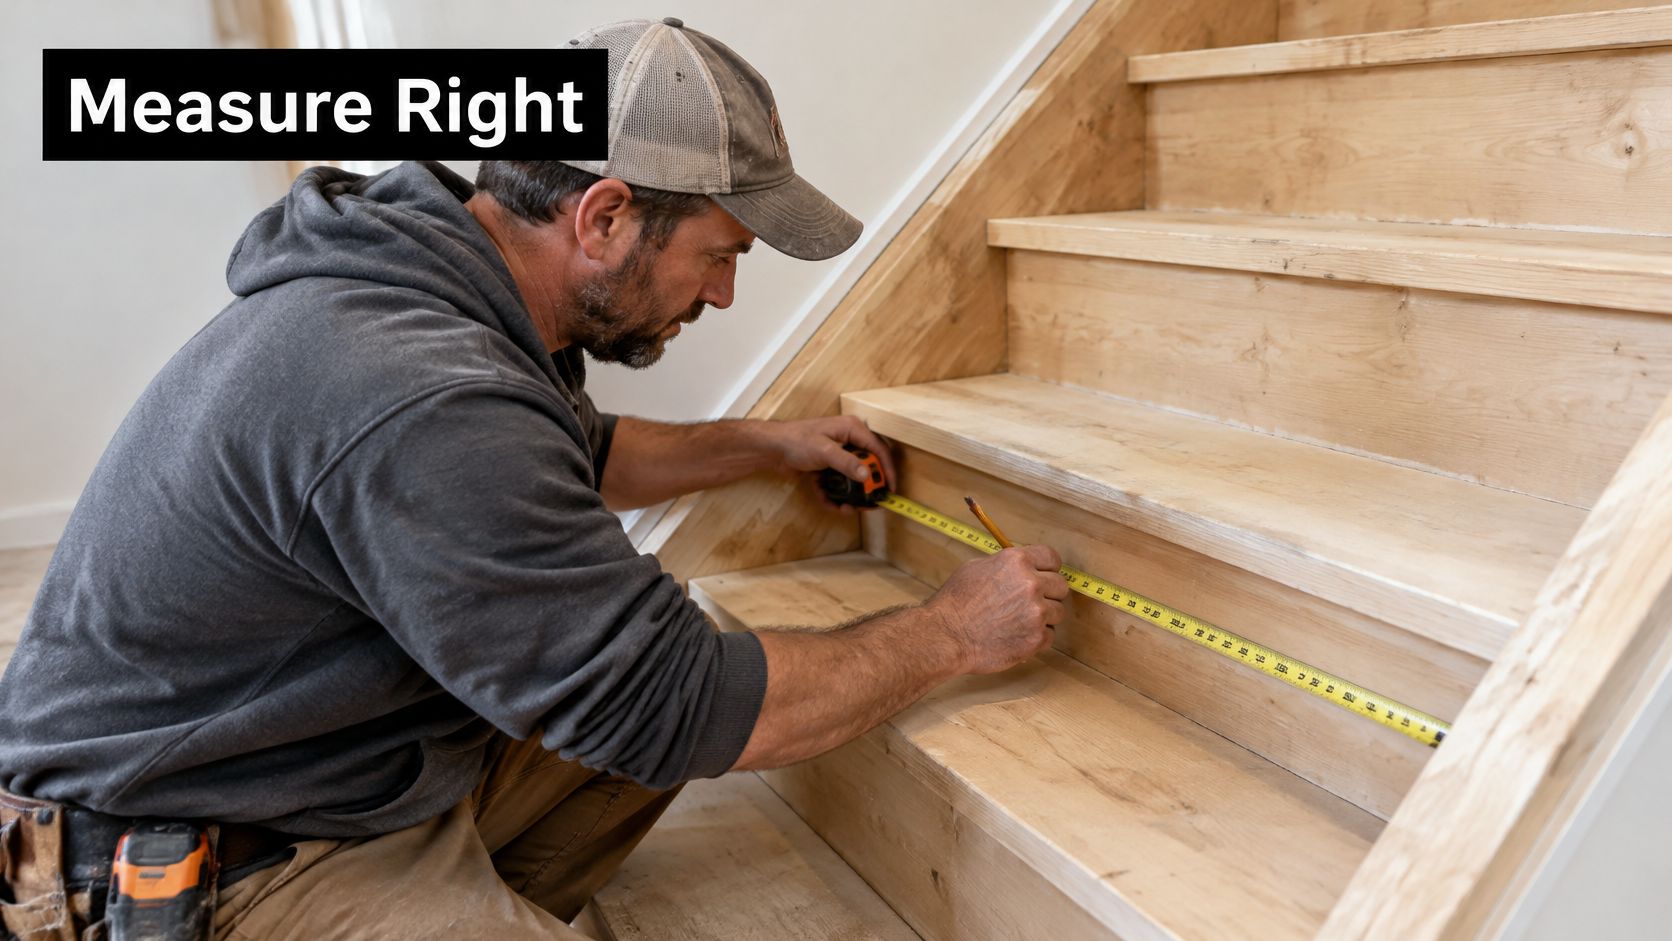
Layout is where a careful DIYer either saves the stair or drills a row of holes that will not forgive them. Mark the nosing line first. That is the sloped line through the front edge of each tread, and it is the line heights are measured from.
A tape on the slope will lie to you about height. Measure straight up from the nosing to the finished top of the rail. If the rail also breaks at a landing, lay that flat run out separately so the sloped piece does not drag the landing height with it.
A worksheet order that keeps the end gaps honest
- Measure the flight. Note rise, run, number of treads and where the rail starts and stops. Fix newel locations before you care about baluster centres.
- Subtract the hardware. Wall returns, shoes, plow fillets and post faces all eat space. The baluster run is what is left, not the full stringer length.
- Count bays, then equalise. Pick a target opening inside the sphere limit, divide the clear run, and adjust until the gaps match. Two balusters per tread is only a starting guess.
- Protect the ends. The first and last opening, and the space beside a newel, are where layouts drift wide. If those bays are the largest, the middle was spaced too loosely.
- Dry-fit one bay. Plumb it, check the underside of the sloped rail, then repeat. Drilling the whole stair first is how a small error becomes a pattern.
Width is the check most spacing articles skip. Placer County's residential stair guidance limits handrail projection to 4 1/2 inches on either side. It also asks for at least 31 1/2 inches of clear width at and below the handrail with one handrail, and 27 inches with handrails on both sides. State workplace guidance is tighter on projection, allowing up to 3 1/2 inches into the required width from each side. A floor or landing belongs at the top and bottom of every stairway, and that landing should be at least as wide as the flight it serves.
A short layout clip helps if you would rather see the nosing marks than imagine them.
Hold the finished rail and a sample baluster in place before you order a full box. If the projection already crowds the clear width, a slimmer bar or a different bracket is cheaper than rebuilding the stringers.
Choosing Baluster Railing for Stairs You Can Buy
Once the sketch has post locations, a baluster count and a note about indoors or out, shopping gets simpler. You are buying a load path, not a single pretty spindle.
The 2025 California Building Code, as summarised in the structural design chapter, requires handrails and guards to resist a 200-pound concentrated load applied in line with ASCE 7, plus a 50-pound-per-linear-foot uniform load. Those two cases do not have to act at the same time. Each baluster, panel filler and other guard infill piece must also resist a 50-pound concentrated load. A strong bar in a weak shoe still fails that test.
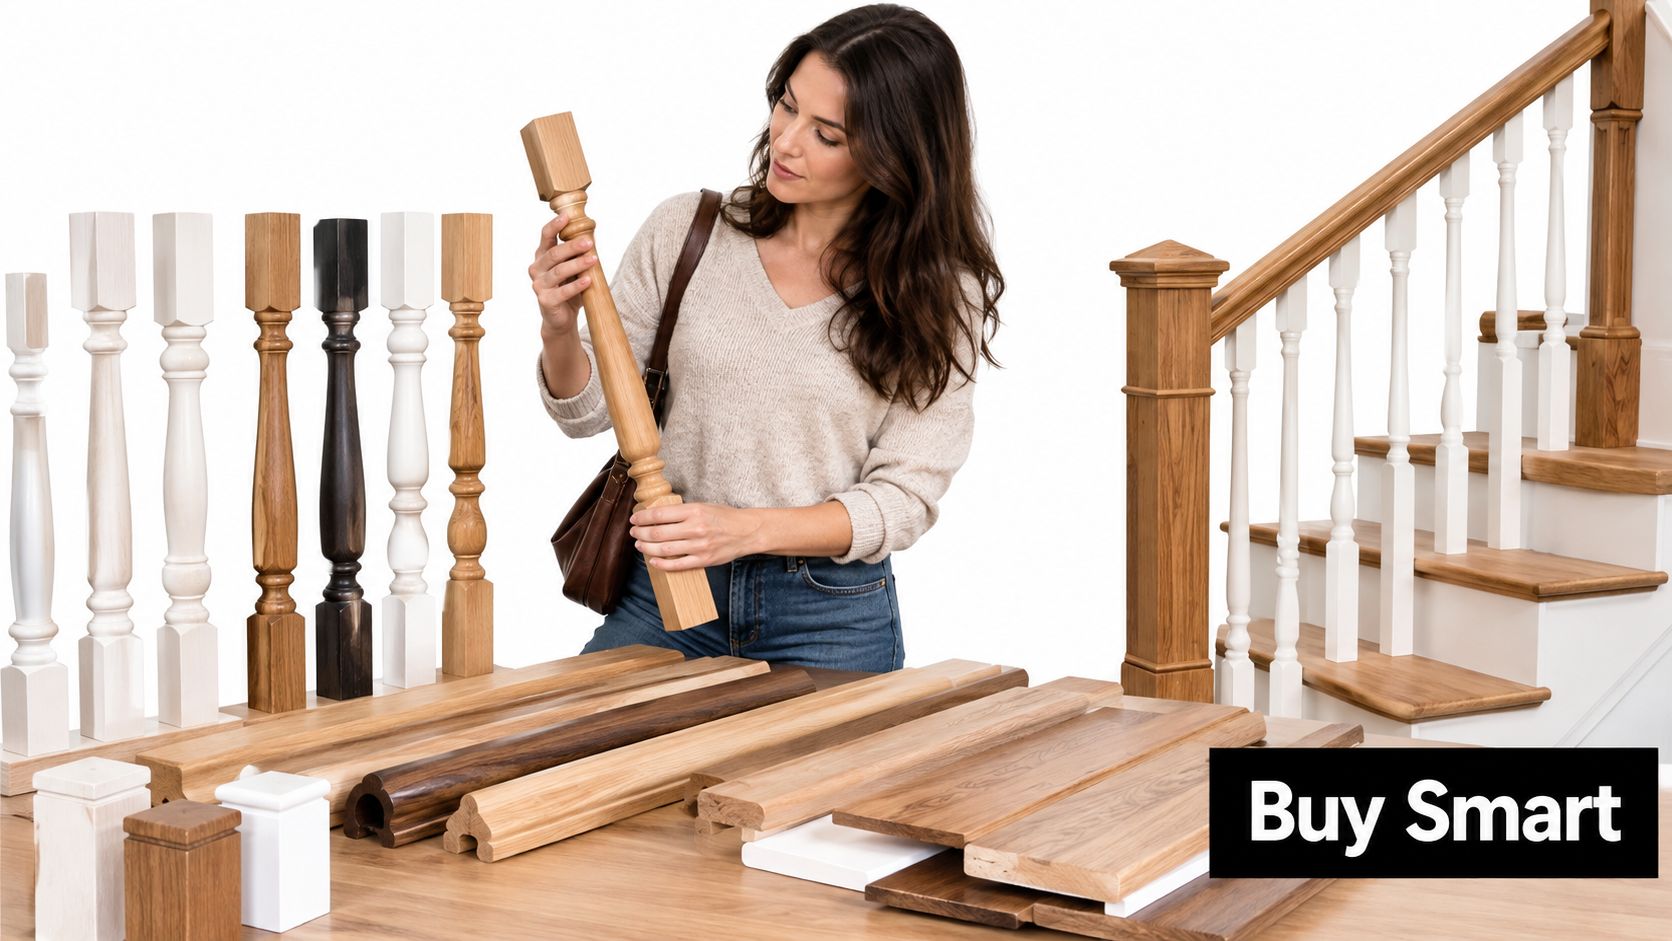
Turn the sketch into a parts list
Write the list in the order you will install, not the order a catalogue is browsed.
- Balusters: Count from the equal-gap layout, then add a spare or two for a bad cut. Slim black metal suits a modern open stair. Wood suits a rail and posts you still need to sand and stain.
- Shoes or connectors: Match the shoe to the bar, such as a flat base with a set screw for a round iron baluster. A shoe for the wrong diameter is not a minor swap.
- Rails, newels and caps: Post caps and finials finish the top, but they do not stiffen a loose newel. Size the rail for a real grip, not only for the look beside the baluster.
- Brackets and anchors: Post base brackets, hinges on a matching gate, and bolts or sleeve anchors have to reach framing. Multi-packs make sense once the count is real, not before.
- Fasteners: Exterior work wants corrosion-aware screws and bolts. The box already in the toolbox is often the wrong coating and the wrong length.
XTREME EDEALS INC. carries those categories together, including balusters, post caps, finials, hinges, post base brackets and fasteners, with Decorex Hardware among the brands on the shelf. Shoppers often set that hardware look beside Nuvo Iron, which many people use as the style comparison for slim metal infill. Neither label replaces the measurement. A stair railing kit can speed a straight landing or a simple run, provided the kit's post spacing still meets your opening check and your posts land on structure.
If the stair is part of a larger house update, it helps to see how other homeowners sequence the work. These notes on stairway updates for Michigan homeowners show why treads, rails and nearby finishes should be planned as one visit rather than three separate tear-outs. The same habit applies in California. New or altered work is what the inspector looks at, even when the rest of the house is older.
Match the connector to the rail and the framing you actually have. A decorative bracket that only grabs trim cannot stand in for a post base or a bolt into solid wood.
Safety Checks and Your Next Step
Do one last pass after the rail is up, or before you reorder parts for a stair that already feels wrong. Measure height straight up from the nosing line. Check every opening at its widest point, including the triangle and the bays beside newels. Where children use the stair, skip decorative horizontals that turn the guard into a ladder.
The grip is its own test. Humboldt County's handrail notes require at least 1 1/2 inches of clearance when a handrail sits next to a wall. A circular Type I handrail needs an outside diameter of at least 1 1/4 inches and no more than 2 inches. A noncircular handrail needs a perimeter of at least 4 inches and no more than 6 1/4 inches, with a cross-section no greater than 2 1/4 inches. An ornamental top that looks substantial can still be too large, or too close to the wall, to grasp.
Then check the structure you can see and the width you can feel.
- Posts and connectors: No rock at the newel, no spinning shoe, no screw that only holds trim.
- Clear passage: Walk the flight with a normal load in your arms. If your shoulder clips the rail, the projection was too greedy.
- Local permission: Repairing or replacing a house stair or its railing can need a permit. An altered flight is not grandfathered just because the stringers are old.
Sketch the stair, label guard segments separately from handrail segments, and write the parts list from that sketch. A careful layout is what makes the safer railing and the better-looking railing the same project.
XTREME EDEALS INC. stocks the balusters, shoes, post caps, brackets and fasteners that turn a measured stair layout into a complete railing. Bring your heights, opening checks and post sizes, then visit XTREME EDEALS INC. to match those pieces to your flight.