

You've finished the deck surface, the stairs are in place, and the railing looks like the last straightforward item on the list. Then an inspector notices that the balusters came from one supplier, the posts from another, and the handrail brackets were selected from a hardware bin without a matching load specification. The railing may look finished, but a loose collection of parts can still move, deflect, fail a spacing check, or leave the installer responsible for proving that the complete assembly is safe.
Aluminum handrail kits reduce that uncertainty by treating the railing as one coordinated system. The handrail, brackets, end caps, posts, infill, and fasteners need to work together, especially on raised decks and stair runs. A good kit doesn't replace proper measuring or local permit review, but it gives you a more reliable starting point than piecing together visually compatible components.
Why Engineered Kits Beat Pieced-Together Railings
A common inspection failure starts with a reasonable shortcut. A homeowner finds an attractive aluminium rail at a building supply shop, adds posts that appear to fit, then uses general-purpose screws because the supplied hardware is missing. The finished railing may be straight and neatly painted, yet the connections weren't designed as one assembly. When the inspector pushes against it, the problem becomes obvious at the post base, bracket joint, or rail splice.
That approach also creates a documentation problem. With unrelated components, you may have no clear engineering information showing how the handrail transfers force through the brackets and into the deck framing. A contractor can spend more time explaining substitutions than installing the original system would have taken.
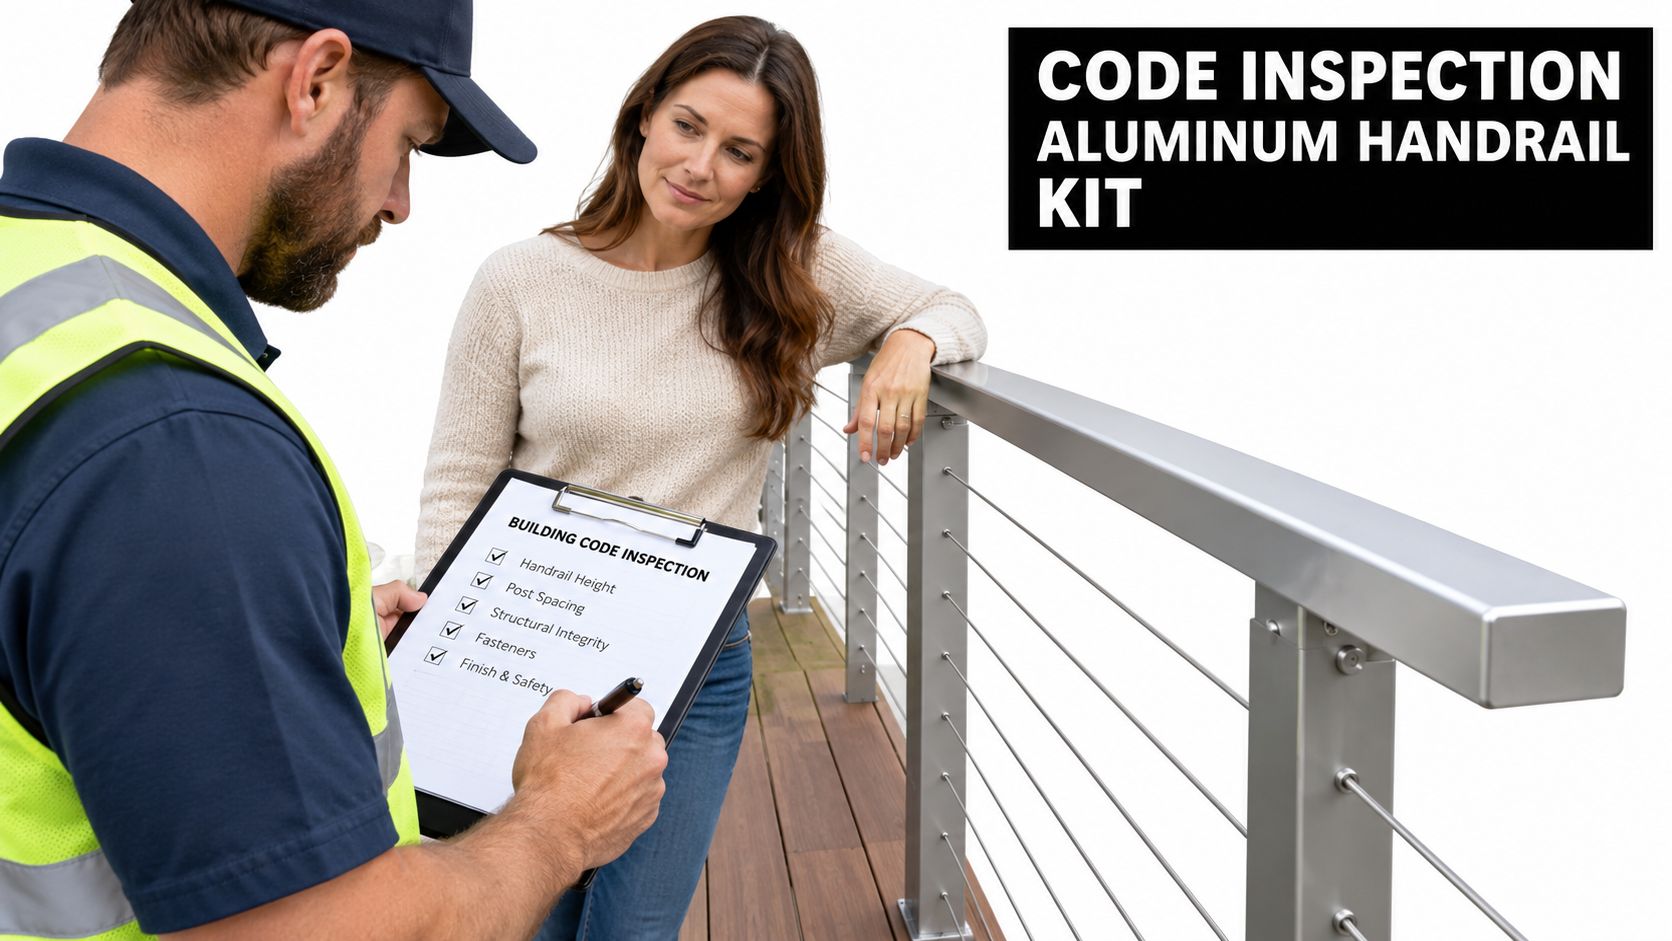
The weak point is usually the connection
An engineered kit helps because each component has a defined job:
- The rail provides the gripping surface: Its profile is selected for hand contact and intended for the supplied brackets.
- The brackets transfer force: They connect the rail to the posts or supporting surface without relying on improvised holes or thin decorative fittings.
- The fasteners complete the load path: The specified screw, lag, bolt, or anchor is part of the system, not an interchangeable afterthought.
- The end caps and splices finish the run: They protect open tube ends and help create a cleaner, more controlled transition.
This doesn't mean every boxed kit suits every project. A kit designed for a straight deck edge may be the wrong choice for a stair transition, a masonry landing, or a multifamily balcony. It does mean you can evaluate one system against the project instead of trying to prove that several unrelated products happen to work together.
Practical rule: If you can't identify how the rail, bracket, post, and fastener transfer force into the structure, you haven't finished selecting the railing.
Pieced-together hardware can work in limited situations when an experienced installer has verified every component and connection. For most DIY projects, however, the savings are fragile. A coordinated kit removes guesswork, makes missing parts easier to spot, and gives the installer a much clearer path to a rigid, inspectable result.
Anatomy of a Complete Aluminum Handrail Kit
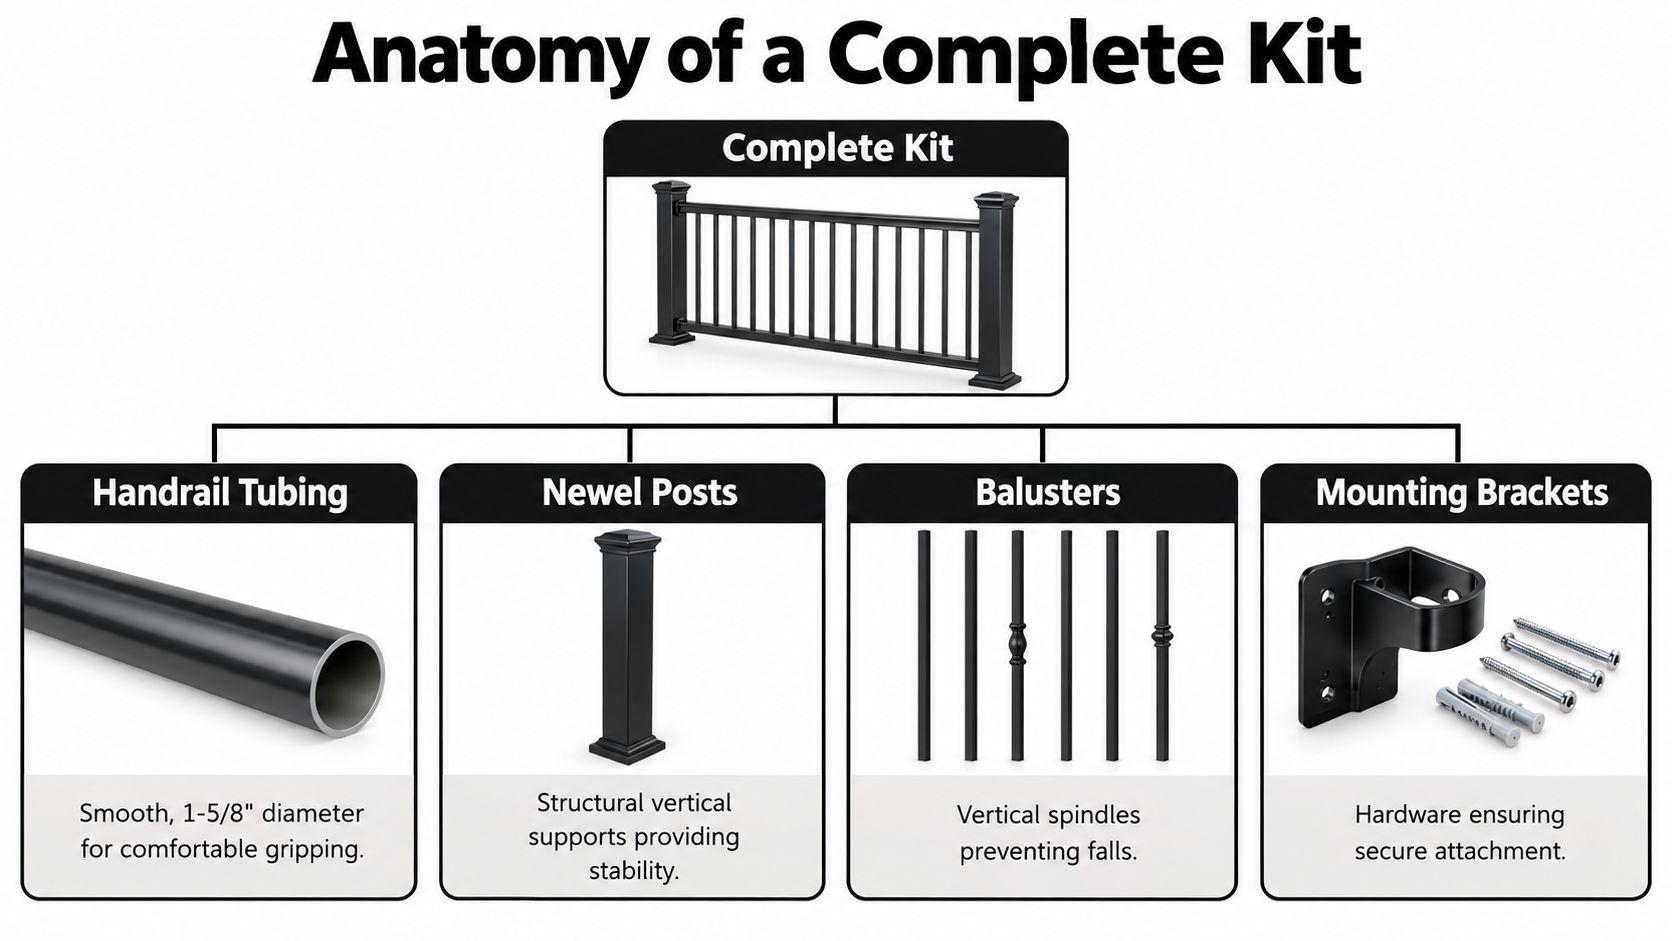
Before buying, open the product listing and audit the contents. A handrail kit should be more than a length of tubing with attractive end caps. You need to know what supports the rail, what attaches it to the structure, and whether the supplied fasteners suit the substrate.
Start with the load path
The handrail is the part a person grips, but it isn't the part that makes the installation structurally sound by itself. Brackets must hold it at the intended orientation, and the posts or wall surface must receive the force without excessive movement. On a guard system, infill components such as balusters or panels also need controlled spacing and secure attachment.
A representative product listing for an 8-foot kit includes 1 handrail, 2 end caps, 3 brackets, 6 #8 x 1-inch screws, 1 splice, and 6 1/4-inch x 3-inch lag screws. The aluminum handrail kit parts listing illustrates why a detailed bill of materials matters. You can identify what comes in the box, compare it with the length and mounting condition, and determine whether additional posts or substrate-specific anchors are needed.
Audit each piece before installation
Brackets should sit firmly against the rail and supporting surface. A bracket that rocks, compresses the tube, or requires an unplanned shim can introduce movement that won't disappear after the finish is applied.
End caps close the exposed tube ends and provide a finished edge. Check whether they press-fit, screw on, or require another fixing method. Don't assume a cap from a different rail profile will fit because both products are labelled aluminium.
Splices deserve particular attention on longer runs. The joint should align the rail sections and remain compatible with the bracket arrangement. A splice placed where the rail receives concentrated force can become a noticeable weak point if the system doesn't provide adequate support.
Fasteners should stay with the system unless the manufacturer or project engineer specifies an approved substitute. Generic screws may have the wrong thread, length, head style, or corrosion resistance. A fastener that looks stronger can still perform poorly if it doesn't engage the post, blocking, or masonry correctly.
You can also review outdoor handrail hardware when a project needs compatible brackets, connectors, or finishing components. The important point is compatibility, not just matching the colour. Record the rail profile, bracket type, substrate, and fastener material before adding parts to the order.
Navigating Height and Load Code Requirements
For a California project, code is not a detail to check after purchasing the kit. It determines whether the product can be used at all. The 2025 California Residential Code became effective January 1, 2026, and project requirements still depend on the building type, occupancy, and local amendments. The California deck railing guidance explains the residential thresholds that directly affect kit selection.
A guard is generally required when the deck surface is more than 30 inches above grade, and many California residential decks and balconies require a guard height of 42 inches. Openings must be controlled so a 4-inch sphere can't pass through. Those measurements affect the rail height, baluster layout, panel selection, and transition details. Buying a shorter standard kit and attempting to raise it on site can create both structural and approval problems.

Loads affect the whole assembly
California guidance identifies a 200-pound point load for guard systems, while intermediate rails, panel fillers, fasteners, and connections must be designed for a 50-pound concentrated load, as documented in California deck-detail requirements. These figures explain why an aluminum railing should be evaluated as a complete assembly. A strong-looking top rail won't compensate for undersized posts, weak blocking, inadequate brackets, or poorly selected anchors.
The practical inspection questions are straightforward:
- Guard height: Does the installed system reach the required height for the project type?
- Opening control: Do the balusters, panels, and transitions maintain the allowable opening limit?
- Post resistance: Can the posts transfer force into the framing without rocking or splitting the supporting material?
- Connection design: Do the brackets, fasteners, splices, and end conditions match the system documentation?
- Permit category: Is the kit intended for a one- and two-family dwelling, or does the project fall under different provisions?
Uniform force also matters. A rail can feel solid at one location and still deflect along the middle of a long run if the support arrangement is inadequate. Use the manufacturer's installation requirements, confirm the framing condition before ordering, and ask the building department what documents it expects during permit review.
A video can help visualise the relationship between dimensions, loads, and installation details, but it shouldn't replace project-specific approval or the kit's technical documents.
Aluminum Versus Wood Steel and Composite
Aluminium occupies a useful middle ground for outdoor railings. It offers a lighter installation experience than steel and usually requires less ongoing surface care than wood, while still providing a rigid framework when the posts and connections are properly designed. It also suits coastal or wet environments where corrosion concerns make material selection more demanding, although the finish, fasteners, cut ends, and contact with dissimilar metals still need attention.
Wood remains attractive when the deck design calls for warmth, visible grain, and easy field modification. It can be cut and adjusted with ordinary carpentry tools, but exposed wood demands a maintenance plan. Moisture, coating failure, movement, and local damage can affect both appearance and connection performance.
Steel gives a substantial feel and can suit heavy-duty or industrial designs. Its weight makes handling and post installation more demanding, and unprotected steel needs careful corrosion management. Composite systems offer consistent colour and a clean appearance, but the installer must follow the product's rules for compatible framing, fasteners, expansion, and transitions.
Railing Material Comparison
| Material | Maintenance Level | Corrosion Resistance | Installation Weight |
|---|---|---|---|
| Aluminium | Low to moderate, depending on finish and exposure | Good when the finish and hardware are suited to the environment | Light |
| Wood | Moderate to high, with regular inspection and finish care | Not a corrosion issue, but moisture and decay require attention | Moderate |
| Steel | Moderate, with close attention to coating and exposed edges | Variable, depending on protection and site conditions | Heavy |
| Composite | Low to moderate, with product-specific cleaning and inspection | Generally resistant to common outdoor moisture issues | Moderate |
The right choice depends on what you value. Wood makes sense when appearance and field flexibility lead the decision. Steel works where weight and a substantial visual character are priorities. Composite can suit a coordinated low-maintenance deck, provided the entire support system is compatible.
For a lighter system with a more controlled installation process, review aluminum deck materials alongside the rail design. Don't choose the material in isolation. Match it to the deck framing, climate, expected maintenance, desired appearance, and the skill level of the person doing the installation.
Mounting Options and Structural Anchorage
A good rail can fail at the deck edge if the mounting surface can't hold it. Before drilling, expose or confirm the framing beneath the decking and identify where each post base or bracket will land. Surface mounting on thin decking alone may produce a neat result at first, but the rail can loosen when force reaches the fasteners.
Choose the mounting condition first
Surface-mount posts sit on top of the deck and are practical when the framing below allows a direct, strong connection. They need adequate blocking or framing beneath the base so the load doesn't rely on the decking boards.
Side-mount or fascia-mount posts attach to the outside face of the deck structure. They can preserve walking surface space and work well where the rim framing is substantial, but the fascia must be more than a cosmetic cover. Confirm that the post bolts or structural fasteners engage the actual framing.
Wall-mounted handrails transfer force into a wall, stringer, or landing structure. The bracket location must be selected around studs, blocking, masonry, or another verified support. Hollow finishes and thin cladding aren't structural anchorage.

Build the support before the finish
If the planned post locations fall between joists, install solid blocking or redesign the layout before the deck boards are closed. A post base that misses the framing can't be rescued by tightening the screws harder. On a stair, verify the stringer width, direction of force, and available edge distance before selecting the mounting bracket.
Use structural bolts or approved structural fasteners where the substrate and system require them. Ordinary wood screws can be appropriate for some nonstructural trim, but they shouldn't be treated as a universal substitute for post anchorage. Masonry requires a compatible anchor type, sound material, correct hole preparation, and adequate embedment. The discussion of sleeve anchors versus wedge anchors is useful when a concrete or masonry landing changes the fastening decision.
Set out the complete run with a tape, level, square, drill, and the manufacturer's layout dimensions. Check the post alignment before tightening anything, then test the rail for movement after the full assembly is connected. If the rail flexes noticeably, look first at the substrate, blocking, post base, and bracket spacing. Adding a decorative cap or sealant won't correct a weak load path.
A rigid rail starts below the finish surface. If the framing is wrong, the most polished aluminium kit will still feel loose.
Sizing Compatibility and Stair Geometry
Straight deck runs are forgiving compared with stairs. A stair handrail changes direction, follows a slope, and must remain usable through the entire flight. A standard horizontal kit may have the correct colour and tube profile but still be impossible to connect cleanly to the stair brackets or landing transitions.
Begin with a measured drawing rather than an estimate. Record the stair direction, landing locations, rail start and stop points, and the angle of each sloped run. A digital angle finder can help confirm the slope, while a straightedge and level reveal whether the stringer or landing has irregularities that will affect the bracket fit.
Check the profile before ordering
California stair guidance requires a continuous handrail for the full length of the flight. The rail must sit 34 to 38 inches above the tread nosing or landing, extend at least 12 inches beyond the top riser, and continue one tread depth beyond the bottom riser, as set out in California stair handrail requirements. These extensions need to be included in the rail length, not treated as spare material after the main run has been measured.
The grip shape also matters. For California applications, a circular handrail profile must have an outside diameter between 1.25 and 2 inches. A noncircular profile must provide a perimeter between 4 and 6.25 inches, have a maximum cross-sectional dimension of 2.25 inches, and meet the applicable edge-radius requirements, according to California handrail configuration provisions.
Audit the listing in this order
- Rail length: Include the required extensions, bends, returns, and waste allowance.
- Bracket type: Confirm that the bracket pivots or adjusts for the measured stair angle.
- Transitions: Check whether the landing requires an elbow, return, splice, or separate straight section.
- Profile compatibility: Match the bracket opening and end cap to the actual rail shape.
- Mounting surface: Verify that the stair stringer, wall, or newel can receive the supplied fasteners.
- Continuous grip: Eliminate gaps or abrupt terminations that make the rail difficult to use.
Don't order a straight-run kit first and hope an installer can improvise the stair connection. Measure the entire route, identify every change in direction, and ask for a component drawing when the listing doesn't show how the parts connect.
Verifying Compliance for Your Specific Project
A product page may describe a kit as code-compliant, but that phrase doesn't automatically make it suitable for every building. California requirements differ according to project type, occupancy, and local amendments. A one- and two-family dwelling, a multifamily balcony, and a commercial stair can require different documentation or design treatment.
The California railing compliance guidance for project types highlights the question buyers should ask before placing an order: Is this kit intended for a one- and two-family dwelling, or does it need to meet different provisions for multifamily or commercial work? That question is more useful than relying on a generic badge or a short product description.
Match four documents to four conditions
Project classification comes first. Confirm the occupancy, building type, and whether the work is new construction, a remodel, or a replacement. Your local permit office can tell you which code path applies and whether municipal amendments affect the installation.
Kit documentation should identify the rail profile, post arrangement, bracket details, fasteners, allowable configurations, and any limits on span or substrate. If the listing only shows finished photographs, request the installation guide before buying.
Site structure must match the design. Inspect the deck rim, joists, stair stringers, landing, wall, or masonry before finalising the post layout. A compliant component installed into inadequate framing is still a poor installation.
Inspection evidence should be organised before the work is covered. Keep the product instructions, engineering information, fastener details, permit documents, and photographs of blocking or anchorage where they can be retrieved easily.
Don't assume that changing a bracket or substituting an anchor is harmless. A different fastener can alter the connection, and a different infill can change opening control. If the project falls outside the kit's stated application, stop and obtain written guidance from the manufacturer, a qualified designer, or the authority having jurisdiction.
For compatible brackets, balusters, fasteners, post bases, and related deck hardware, XTREME EDEALS INC. offers product options for DIYers and contractors through its online catalogue. Visit XTREME EDEALS INC. with your measurements, substrate details, and required components ready so you can build a complete order instead of filling structural gaps with random hardware.