
You're on the deck with a tape measure in one hand, balusters in the other, and a nagging question in the back of your mind. The posts are set, the railing run looks straightforward, and still the spacing has to be right the first time because a bad layout isn't just ugly, it can fail a safety check. That's where a baluster spacing calculator earns its keep, it turns the code rule into a layout you can build.
Why Baluster Spacing Is a Safety Decision, Not a Design Choice
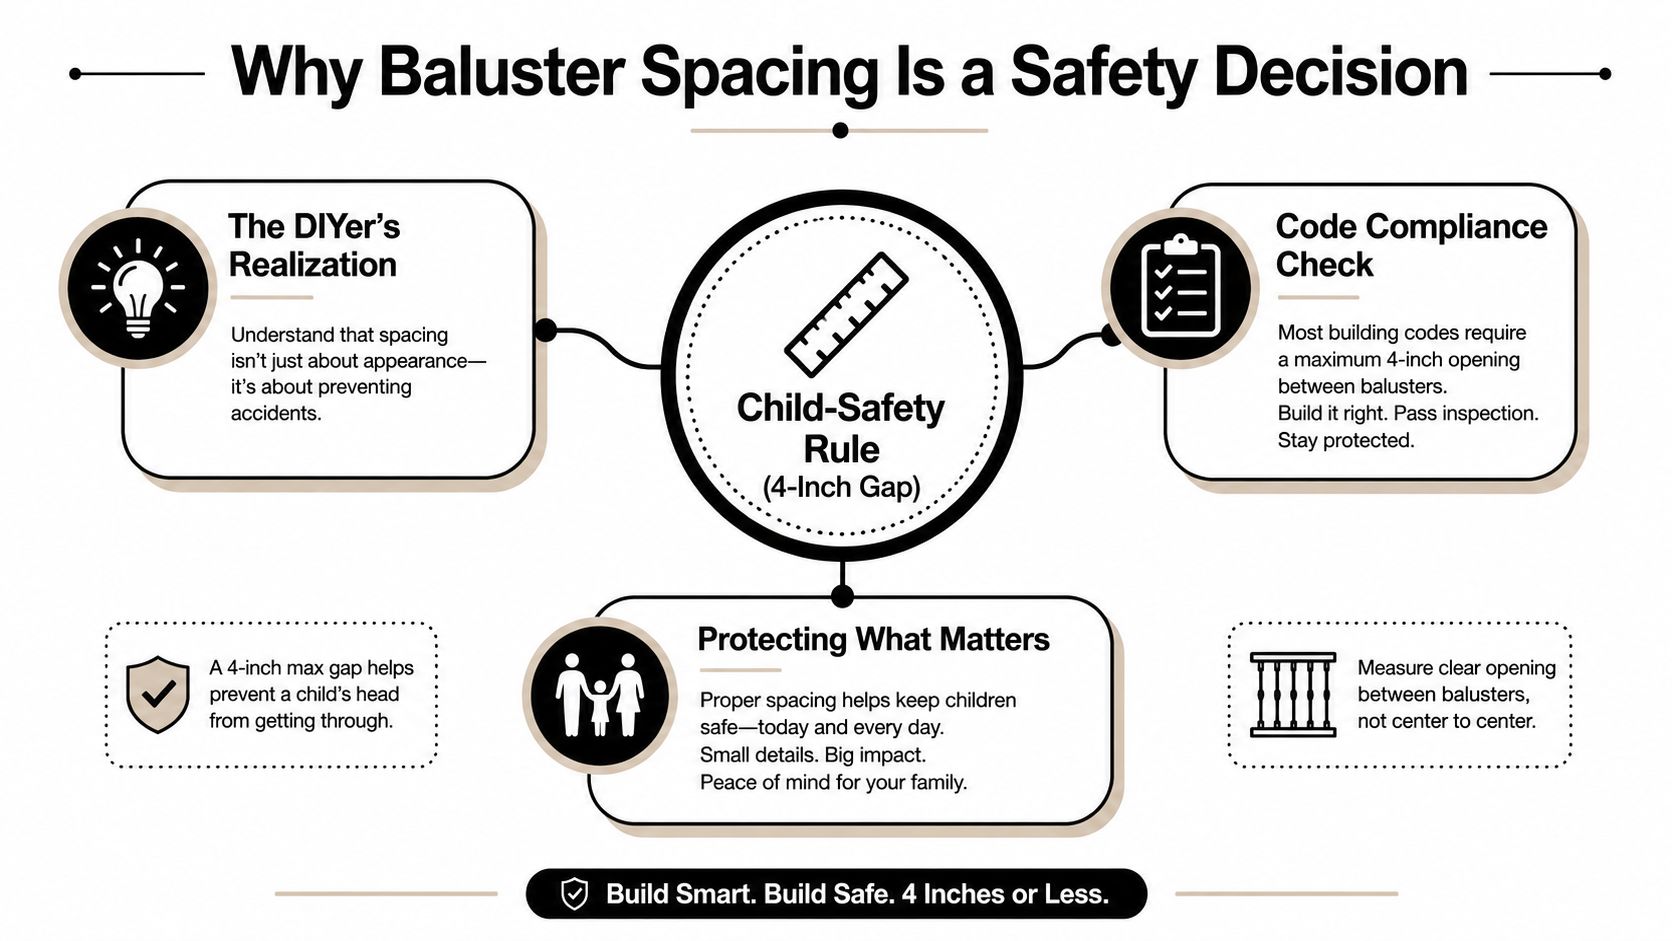
A railing can look fine from ten feet away and still fail the first real check, whether a child can slip through the opening. That is why baluster spacing starts with the 4-inch sphere safety standard, not with pattern preference. The opening in the guard has to block a 4-inch sphere, so the usable gap between balusters usually lands at about 3-15/16 inches or less in practice. For a straight code explanation, see California baluster spacing code guidance.
The inspector is not judging symmetry first. The layout has to hold at the post face, between each baluster, and through the full run, because one oversize gap is enough to cause a fail. A baluster spacing calculator matters here because it turns the code limit into a repeatable layout number you can mark on the rail instead of guessing with a tape measure.
The real job on site
The point usually becomes clear once the posts are set and the cut balusters are sitting on the deck. At that stage, the question is not which pattern looks best, it is whether the opening stays legal, clean, and even enough to pass a close inspection. The safety side of the build often starts to overlap with stair use as well, and making wooden stairs safer is a useful companion read for that reason.
Practical rule: treat spacing as a code problem first and a design problem second.
California details can be tighter than the loose rule of thumb many people copy online, so a local check belongs in the workflow before material is ordered. Once that is clear, the calculator stops acting like a shortcut and becomes a fast way to confirm the layout before any balusters are cut.
The Manual Formula Every Calculator Is Hiding
A clean calculator screen can make the layout look simpler than it is. On site, the numbers still have to satisfy the maximum clear gap allowed by code, the baluster width, and the full post-to-post run length. Builders keep the hand math nearby because it tells you whether the calculator output is believable before you start cutting balusters.
The job on site
The first check is the 4-inch sphere rule, which pushes the clear opening to about 3-15/16 inches or less in California work, as discussed earlier. That limit is what shapes the layout, not the other way around. A common field example is a 3/4-inch baluster paired with a 3.5-inch clear gap, which works out to about 4.25 inches on centre. That is the mark you carry down the rail.
The manual formula is straightforward in the shop, but each step matters:
- Measure the post-to-post opening.
- Pick the clear gap you want, and keep it under the code limit.
- Add the baluster width to that gap to get the on-centre spacing.
- Divide the run by that spacing to estimate how many spaces fit.
- Check the leftover space so the end gaps stay even.
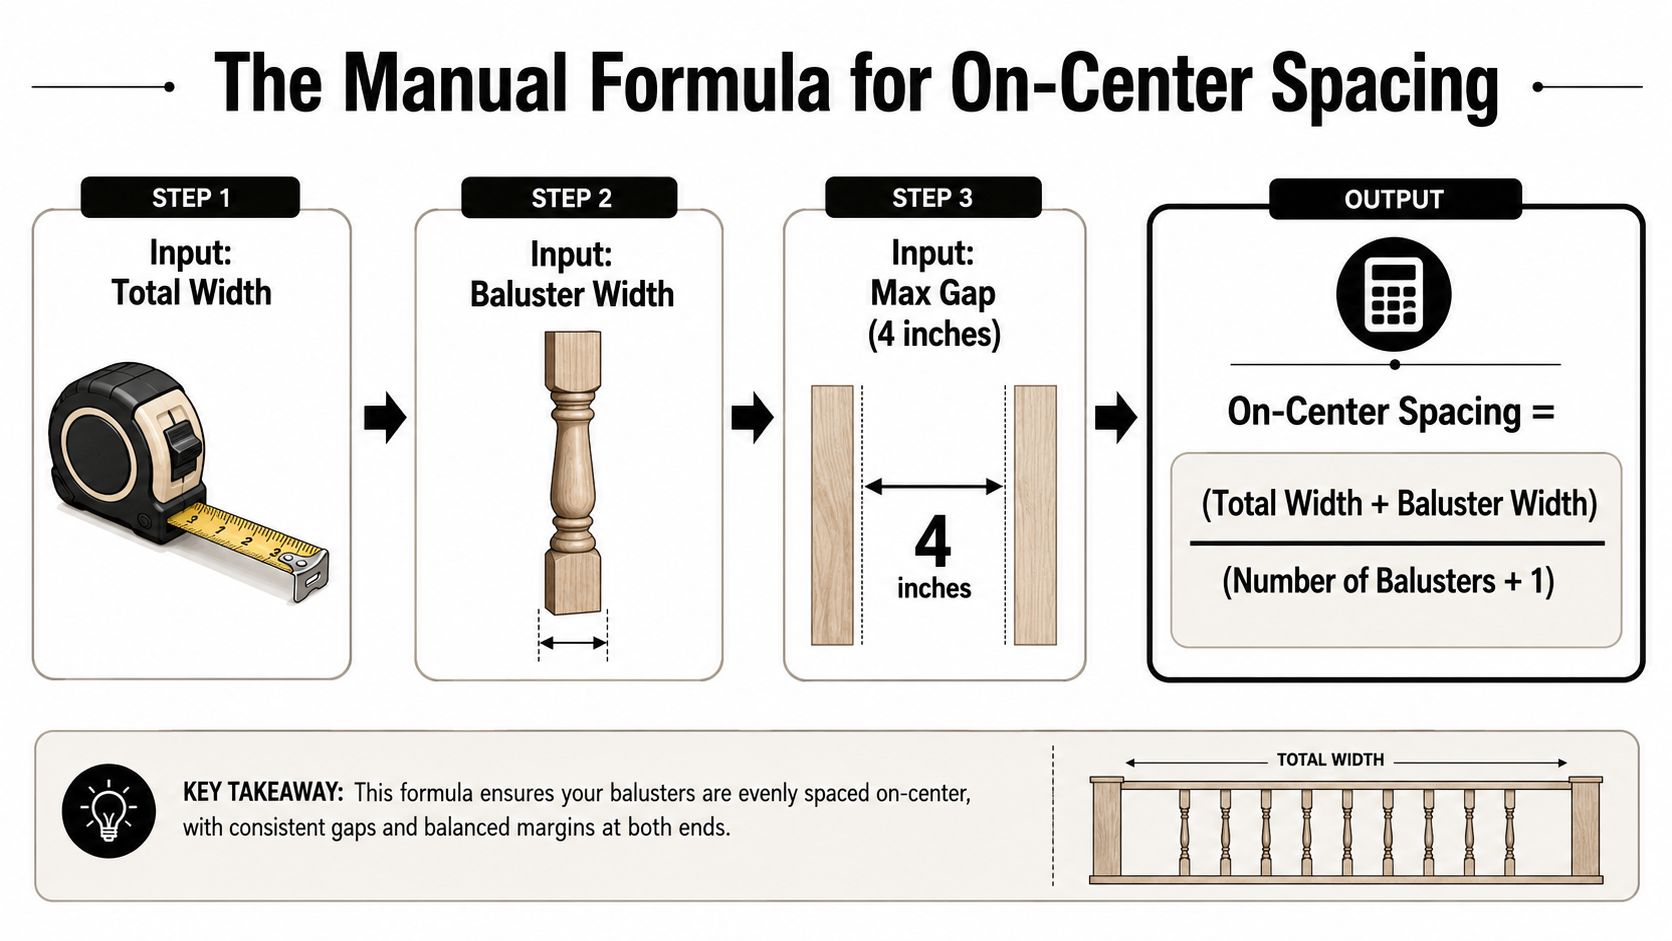
A calculator should land on the same answer the hand math suggests. If it spits out a spacing that forces one tight end and one wide end, the layout still needs a second look. The check is whether the result can be marked on the rail and repeated without crowding the balusters near a post or opening the gap too far at the opposite end.
Sanity-checking the layout
Keep the calculator honest by comparing its output against the actual parts in your hand. A thin baluster, a wider baluster, and a stair transition can all change the layout even when the run length stays the same. That is where the quick math pays off, because it shows whether the spacing is really safe or only looks tidy on a screen.
Stairs demand extra caution because the slope changes the way the openings read from one step to the next. A spacing pattern that works on a flat rail can start to drift once the balusters follow the angle, so the opening at the top or bottom deserves a direct check against the sphere rule. If the pattern holds there, it usually holds everywhere else on the run.
Worked Example Using a 10-Foot Railing Run
A 10-foot rail is the kind of run that looks easy until you start dividing it up. For this example, use a 120-inch post-to-post opening, 1.5-inch square balusters, and a 3.875-inch clear gap, which stays just under the code threshold discussed earlier. The goal is simple, make the spacing equal, keep the end gaps balanced, and finish with a layout that won't create a surprise at inspection.
Laying out the run
Start by subtracting one baluster width from the full run when you're thinking in total open space. That leaves the room that can be distributed as gaps between balusters and at the two ends. Once the opening is divided into equal spaces, the layout becomes predictable, because the same spacing repeats across the whole section rather than bunching up at one post.
For a 10-foot run, the practical way to work is to mark your first and last baluster positions carefully, then split the remainder evenly so the end gaps match the interior pattern. If the leftover fraction is small, don't force it into one end. Spread it across the layout so the rail looks intentional instead of patched together.
Keep the final gaps balanced. One oversized end gap is the mistake people notice first, even when the middle of the run is perfect.
What the calculator should confirm
A calculator should tell you the same story the tape measure already hinted at, a consistent pattern with no opening creeping past the code limit. For this example, the 1.5-inch baluster paired with the 3.875-inch clear gap keeps the layout inside the safety boundary and gives you a repeatable centre-to-centre mark for the whole run. The payoff is consistency, because a clean post-to-post layout is easier to install, easier to inspect, and easier to explain to a homeowner who's standing there watching every mark.
On a jobsite, I always verify the post faces first, then the actual finished spacing, then the end gaps. That order matters because the calculator can only be as honest as the measurements you feed it.
How Baluster Width Changes Your Layout
A railing layout can look right on paper and still fail once the balusters are in hand. Width changes the math, the count, and how much forgiveness you have if a post is slightly out or the run has a small taper. That is why a baluster spacing calculator asks for width, not just length, because width affects the code layout as much as the finished look.
Comparison on a 10-foot railing run
| Baluster Width | On-Centre Spacing | Balusters Needed | Code Compliant |
|---|---|---|---|
| 0.75 in | about 4.25 in | about 30 for a 10-foot section, a common shop estimate is about 3 balusters per linear foot | Yes, if the clear gap stays under the 4-inch limit |
| 1.0 in | wider than the 3/4-inch layout | more than the narrow-baluster layout | Yes, if the clear gap stays under the 4-inch limit |
| 1.5 in | wider still, with fewer repeats per run | fewer than the narrow-baluster layout | Yes, if the clear gap stays under the 4-inch limit |
| 2.0 in | the widest of these common options | fewer still | Yes, if the clear gap stays under the 4-inch limit |
Wider balusters consume open space faster. The count drops as the width goes up, so the layout has to be recalculated instead of guessed. That matters most on a run where the posts are not perfectly square, because a wider infill gives you less room to hide small layout errors.
Field note: a wider baluster can suit a modern railing, but it leaves less room for adjustment when the posts are slightly out.
The choice also affects what you order and how much trimming or re-spacing you end up doing on site. If you are comparing styles and want to see how slimmer and heavier profiles change the finished look, the baluster options at Deck baluster styles and parts are worth checking after you have settled on the spacing math. The cleanest layouts are the ones where the material choice and the calculator agree before the first bracket goes on.
Where Generic Calculators Fall Short
Generic calculators are useful, but they assume a perfect world. Real decks don't cooperate like that, especially when a run turns into stairs, a retrofit starts with fixed posts, or decorative infill changes width from one piece to the next. A calculator can still help, but it can't replace a physical check on the finished assembly.
Stair runs need different eyes
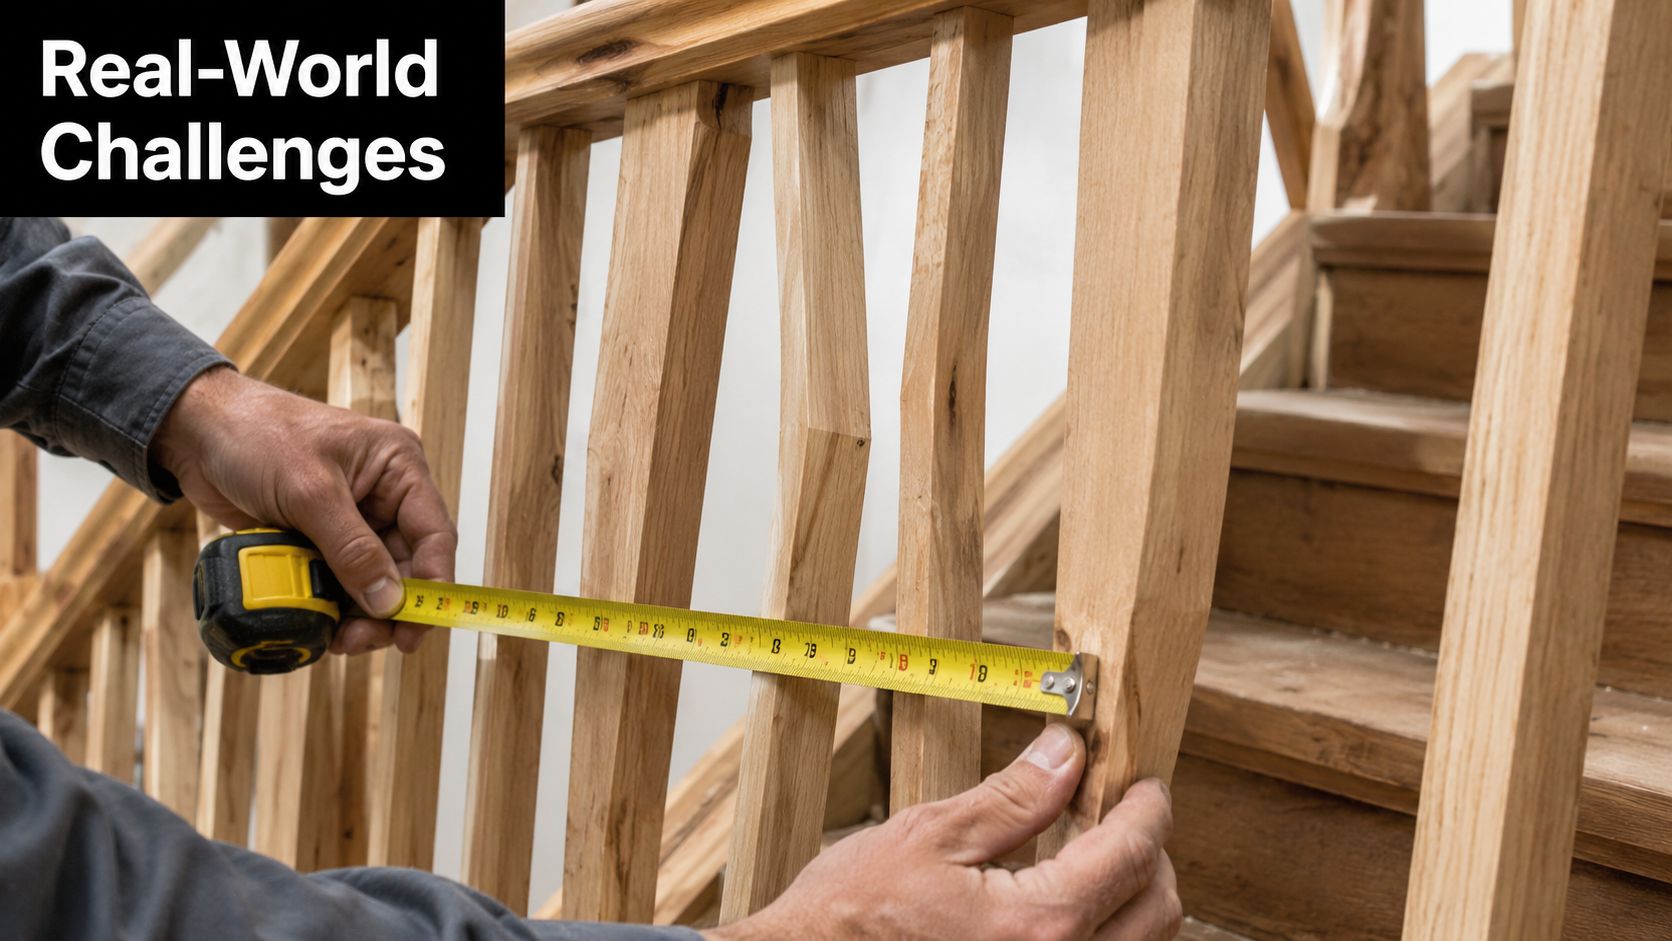
On stairs, the spacing has to be measured against the stair geometry, not treated like a flat deck segment. The balusters sit on an angle, so a straight horizontal guess can look fine on paper and still go wrong at the tread line. That's where a physical sphere test and a careful measurement perpendicular to the tread help confirm that the opening really does stay within the safe range.
California makes this even more important because local plan-check interpretations can be more demanding than a generic 4-inch number on a screen. A calculator can't tell you how your local building department will read decorative infill, stair guard transitions, or a retrofit where the posts are already fixed. The safe move is to confirm the layout before buying the full material list.
Where to distrust the first answer
A tool is least trustworthy when:
- The run isn't straight, because a slight change in post spacing can shift the end gaps.
- The balusters vary in width, because decorative pieces don't always behave like standard stock.
- The job is a retrofit, because existing posts may force a less elegant pattern.
- The stair and deck sections meet, because the transition can make one tidy calculation split into two separate layouts.
Use the calculator for the first pass, then put a tape measure and a real sphere-sized check on the finished spacing before you commit. That's the point where the tool stops being an estimate and becomes a field decision.
Troubleshooting Spacing Problems on Site
Even a good layout can go sideways once the first few balusters are fastened. The usual problems are not mysterious, they're the result of uneven posts, a fraction that got ignored, or a stair transition that changed the geometry halfway through the run. A contractor's fix is usually simple, but it has to be applied before the whole section is locked in.
Common jobsite fixes
- Angled stairs. Recheck the angle first, then recalculate the run before you cut any more pieces. A digital angle finder saves time here because the stair line changes the true spacing.
- Uneven post spacing. Distribute the error across all gaps instead of forcing it into the last opening. That keeps the rail from looking lopsided and avoids a single bad gap at the end.
- Hitting a stud or blocking. Shift the entire run rather than trimming one baluster to fit an obstruction. One forced piece usually creates two more problems down the line.
- Final gap is too small. Start over on the spacing pattern rather than squeezing the last baluster into place. A tight last gap can look neat but still throw off the rest of the section.
Why the small errors matter
A tiny mismatch is easy to ignore when you're holding parts in your hand. It's harder to ignore when the run is installed and one end looks pinched while the other end opens up. The more uniform the spacing is from the start, the less likely you are to fight the last few inches of the rail.
Re-space early, not late. Once the brackets and fasteners are committed, a small mistake turns into a slow fix.
If you're stuck between two layout options, choose the one that keeps every opening comfortably inside the safety limit, not the one that saves a single baluster. The calculator can help you see the numbers, but the jobsite teaches you which number gives the cleanest and safest finish.
Putting It Together and Picking the Right Hardware
The cleanest workflow is the one builders repeat without thinking. Measure post-to-post, confirm the clear gap, run the formula, check the calculator, then do a physical sphere test before any order goes in. That sequence keeps the project grounded in the 4-inch sphere rule and prevents the common mistake of buying parts before the layout is proven.
A useful product search starts after the spacing is set. At that point, the right baluster style, post cap shape, and fastening hardware all become easier to match because the build already has a fixed layout. For a broader project view, the deck-and-baluster collection at https://xtremeedeals.ca/deck-with-balusters/ is a practical place to compare components once the dimensions are locked.
What to match after the layout
You're usually choosing from a few connected parts:
- Square and decorative balusters that fit the look and spacing you've already planned.
- Post caps in pyramid, ball, and finial styles for wood and metal posts.
- Joist hangers, post base brackets, and structural screws that keep the assembly anchored properly.
The best builds don't start with shopping, they start with spacing. Once the calculator and the tape measure agree, the rest of the hardware selection becomes straightforward instead of speculative.
Practical rule: order the balusters after the layout is confirmed, not before. That one decision saves rework, returns, and awkward field adjustments.
If you're ready to turn the layout into a finished railing, XTREME EDEALS INC. carries the deck and fencing hardware, balusters, post caps, and structural accessories that fit this kind of project. Visit XTREME EDEALS INC. to line up the parts for your railing, compare options, and get the hardware that matches the spacing you've already confirmed.