
You're standing in the hardware aisle with a cart of lumber, a rough sketch, and several brackets that all look suitable. The post fits, the steel looks substantial, and you'd like to get home before the weather turns. But before you buy a 4×4 post holder, answer the question that matters most: what is that post holding?
A fence panel, a swinging gate, a deck guard, and a deck beam aren't interchangeable jobs. Buy for the connection and the site first, then check the dimensions. That's how you avoid bringing back a bracket that looked right but couldn't do the work.
What You Are Mounting
A fence post, gate hinge post, deck guard, and deck beam support need different connections. Identify the post's job before choosing a holder. A decorative post finishes a project; a structural column carries part of it. A deck guard may not support the deck floor, but its connection still helps protect people from a fall.
The familiar hardware-aisle setup can hide the decision that matters.
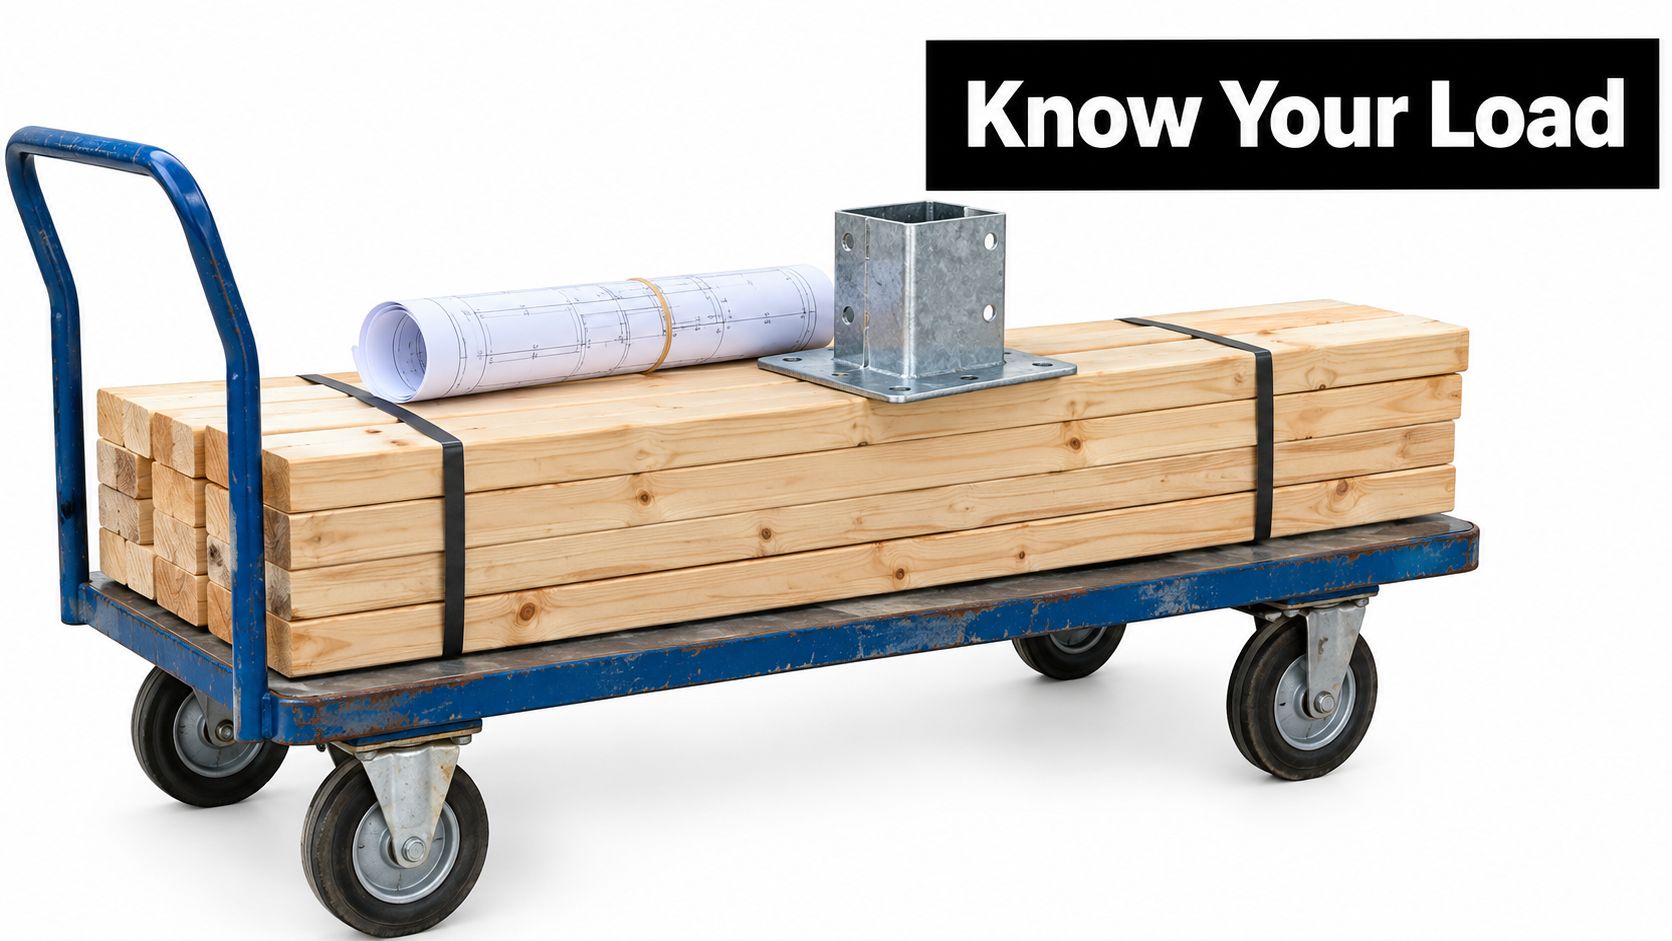
Match the Holder to the Job
- Fence line: Choose a connection suited to the panels, wind exposure, and supporting ground. A post that stays upright during assembly may still be poorly supported.
- Gate post: Check the connection for the gate's weight and movement. A holder suitable for a fence line may not suit a hinge post.
- Deck guard: Treat the post, holder, blocking, and framing attachment as one safety assembly.
- Deck beam support: Confirm the required post size and structural connection before buying a base.
Canadian municipal deck guidance can call for larger support posts as the structure's height and duty change. Don't keep a nominal 4×4 in the design just because you've already bought the lumber.
Counter rule: If the post carries a beam or protects someone from falling, choose from an approved connection detail, not appearance.
A post base connects the bottom of a post to its support. A post cap connects the top to a beam. They do different jobs, and a structural column may need both. Decorative caps are finishing accessories, not beam connectors.
Surface Mount Versus Embedded Anchor
A surface-mounted base attaches to existing concrete or approved wood framing. An embedded base is positioned in a concrete pour. A drilled-in anchor is another fastening method, but it isn't automatically equivalent to a cast-in connector.
Use this comparison to distinguish the installation arrangements, then check the actual product instructions.
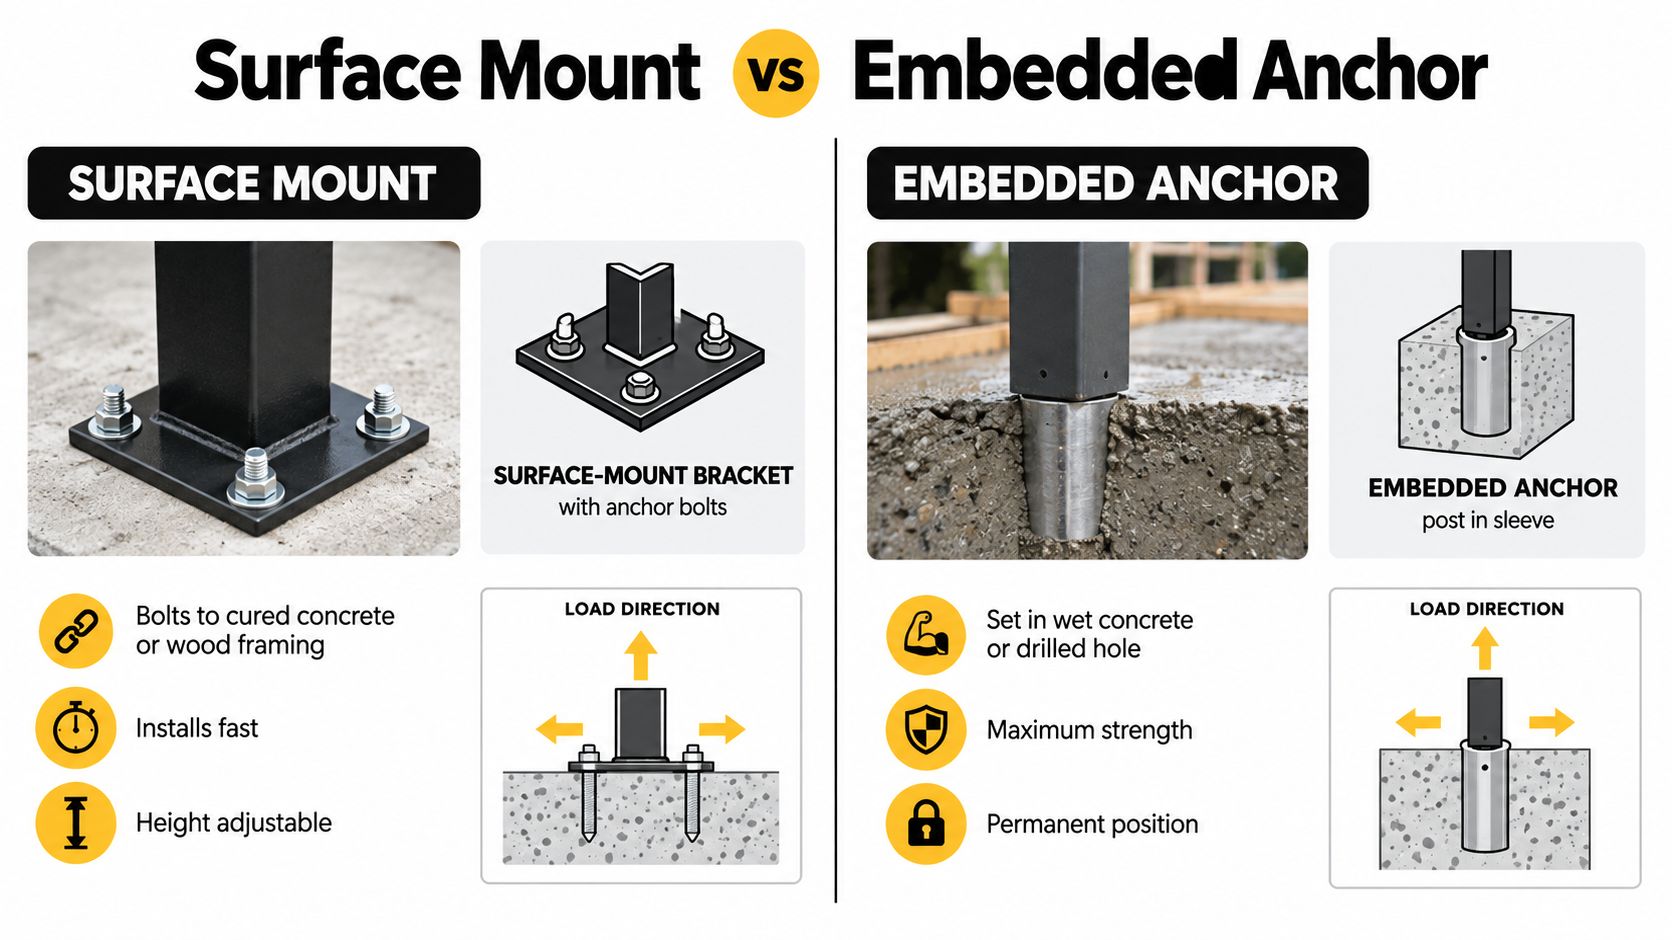
| Installation | Sensible starting point | Stop and check |
|---|---|---|
| Surface mount | An existing substrate that can accept the specified anchors | Concrete condition, framing attachment, lateral restraint |
| Cast-in base | A new footing with an established post location | Position, elevation, alignment, approved embedment |
| Drilled-in anchor | Existing concrete with a specified anchoring detail | Anchor compatibility, hole preparation, edge distance |
Let the Site Decide
Typical footing depths are reported at 1.2–1.8 m in Winnipeg and Regina, 0.9–1.5 m in Calgary and Edmonton, and 0.6–1.2 m in Toronto and Ottawa, with minimal frost depth in coastal British Columbia, according to this Canadian post-hole drilling guide. Those are regional reference ranges, not permission to skip local footing requirements.
Ask the local building authority about frost protection and footing design before choosing the bracket. A pad in Winnipeg needs a different site assessment from one in coastal British Columbia. Neither location excuses an unsuitable substrate.
For a U-shaped saddle, verify the supported-post detail. For a standoff base, check how the post seats above the substrate. Choose an adjustable standoff only when its permitted adjustment solves a real installation issue.
Don't accept “heavy duty” as a load rating. For gates, exposed structures, and pergolas, ask about uplift, rotation, and lateral restraint. If you're considering a driven support instead, review the 4×4 ground spike options separately rather than treating a spike as a universal footing replacement.
Getting the Fit Right
Nominal size is a product category, not a measurement you should trust without checking. Measure the finished post and compare it with the holder's stated internal dimensions. Imported posts, true-dimension lumber, and moisture-variable treated wood can complicate an otherwise straightforward purchase.
More than half of Canadian home-improvement projects in 2025 were completed through DIY methods, while about one-quarter combined DIY and contractor work, according to the Canadian home-improvement project activity tracker. A measurement checklist is more useful than another reminder to buy the correct size.
Take These Measurements Before Ordering
- Measure every face: Use a tape measure or callipers at the end that will enter the holder. Check for taper, twist, and uneven surfaces.
- Read the internal dimensions: Look beyond “fits 4×4” on the listing. Confirm the usable opening and required bearing surface.
- Check the finished condition: Account for treatment wetness, paint, and any finish that will remain inside the bracket.
- Confirm access: Make sure you can reach the specified fastening holes after seating the post.
- Dry-fit before fastening: The post should seat without being hammered into place or spreading the bracket.
A snug fit confirms fit. It doesn't confirm structural capacity.
If the post is too tight, don't immediately plane away material to make the purchase work. Check whether you have the wrong holder, an oversized post, or a moisture-related fit problem.
If it's loose, don't improvise a stack of scraps as shims. Use only a manufacturer-approved adjustment or packing detail. There's no universal acceptable gap that applies to every post holder, and the fastening schedule still has to work after any adjustment.
Coatings, Materials, and Site Exposure
Buy the corrosion specification, not the black finish. Powder coating, galvanizing, and stainless steel describe different material or protection choices. A product's appearance doesn't establish whether it belongs outdoors, beside treated lumber, or near salt exposure.
An Ontario municipal deck guide specifies stainless steel or galvanized connectors with a G-185 coating, equivalent to 1.85 oz of zinc per square foot, in its deck construction guidance. That's a useful benchmark, but still check the selected connector's specifications and your local requirements.
Coating and Material Quick Reference
| Substrate / Treatment | Bracket Coating | Fastener Class | Notes |
|---|---|---|---|
| Exterior treated lumber | Approved galvanized or stainless option | Manufacturer-specified compatible fasteners | Check the preservative and exposure approval |
| Weather-exposed concrete base | Documented exterior corrosion protection | Specified exterior anchors | Confirm bracket and anchor compatibility |
| Coastal or persistently wet site | Stainless option approved for the exposure | Compatible stainless fastening system | Verify the stated grade and application |
| Decorative black finish | Documented protection beneath the finish | Fasteners approved for the complete connector | Colour alone isn't a corrosion specification |
Check the Wood and Hardware Together
Canadian federal guidance requires pressure-treated wood preservatives to be registered for their intended use, with treatment following the approved label, as explained in the Canadian wood-preservation regulatory framework. Ask which treatment the post received and whether the hardware manufacturer approves that pairing.
Don't assume plain zinc-plated hardware becomes suitable because a porch is covered. Likewise, don't choose a stainless grade by name alone without checking its documented use.
For the broader material decision, NorCal Construction's deck material advice provides another resource to consult alongside connector specifications. Use the galvanized versus stainless steel guide when comparing hardware options, then verify the complete bracket-and-fastener combination before ordering.
Installing on Concrete, Wood, and Decks
Lay out the connection before drilling. You need the post centreline, anchor locations, tools, and manufacturer's installation instructions within reach. Don't start with a convenient hole position and try to make the structure fit it afterwards.
On concrete, careful positioning comes before fastening.
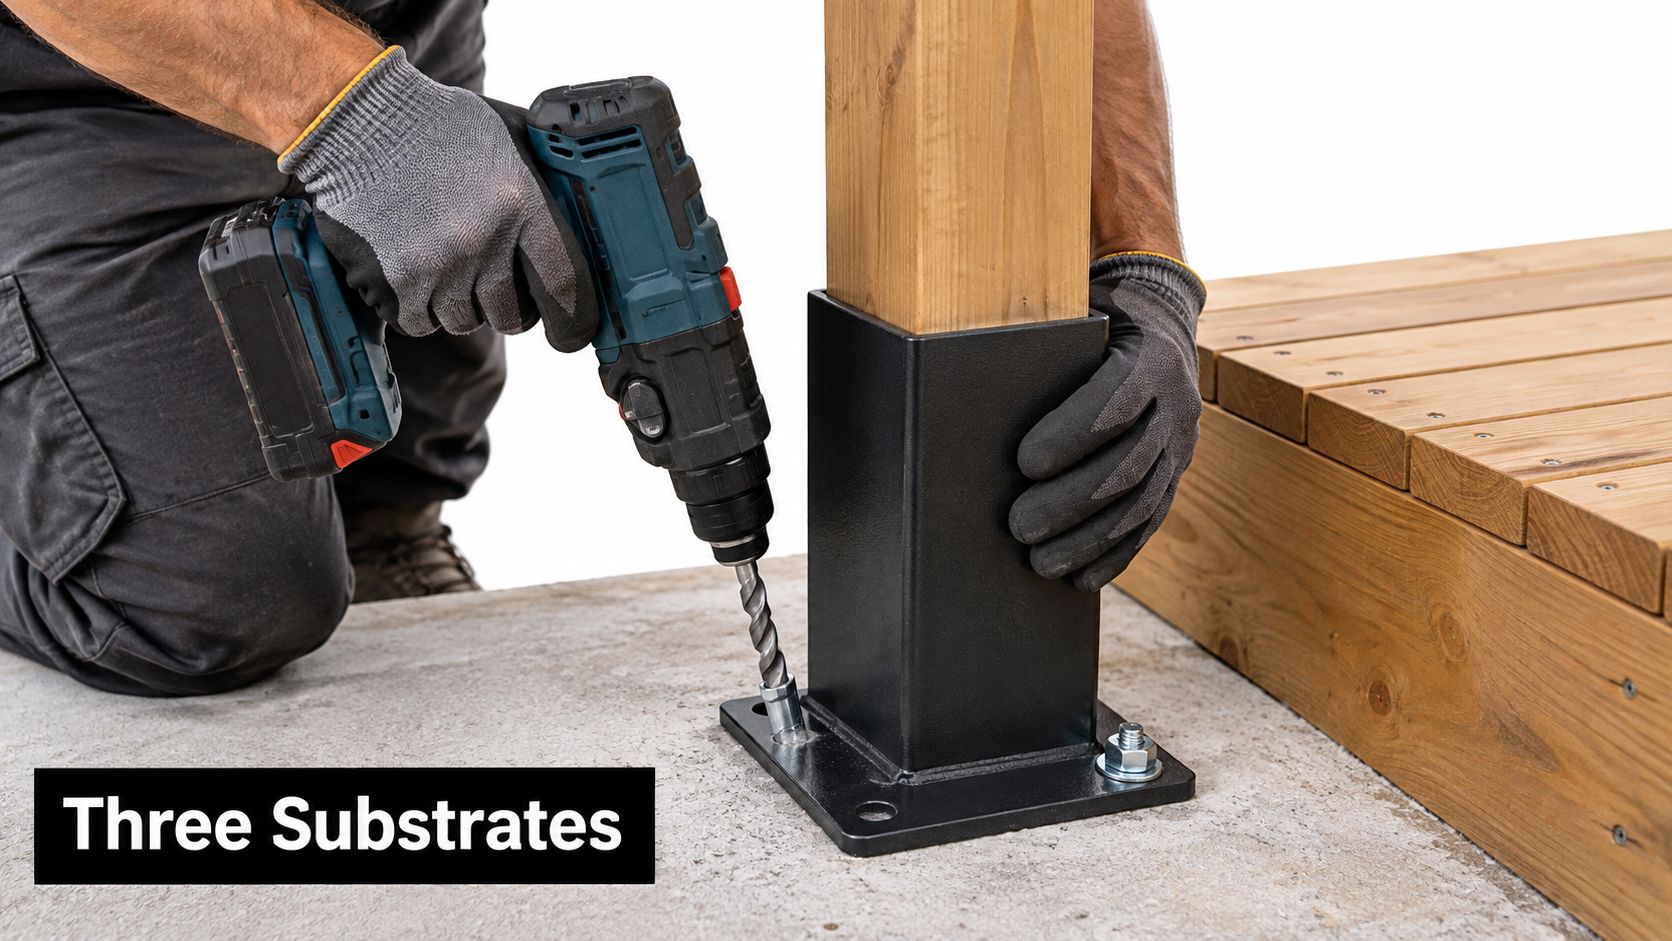
Concrete and Wood Require Different Details
On cured concrete, establish the fence line with corner stakes and string, then mark each holder on the centreline. Verify that the substrate is sound and level before selecting the specified wedge, sleeve, or other approved anchor. Follow the required diameter, embedment, spacing, edge distance, hole preparation, and tightening procedure.
On wood framing, confirm what sits beneath the mounting surface. Deck boards aren't a substitute for an approved framing attachment. Use the specified structural screws or bolts, with blocking where the connection detail requires it; don't substitute general-purpose screws because they fit the holes.
Seat the post, check it with a level on adjacent faces, and brace it temporarily. Attach rails or panels only after confirming the line and alignment.
The Canadian General Standards Board fencing requirements require footings or embedded mechanical devices to resist the specified terminal- and line-post loads in the actual soil or rock conditions, and require posts to be plumb and accurately aligned. Check the standard's scope and the requirements applicable to your project rather than treating it as a universal residential detail.
Keep Deck Connections Distinct
For structural deck work, follow the approved beam-to-post connection, whether that calls for a structural post cap or an accepted notched-and-bolted arrangement. Guard posts need their own framing connection. Don't borrow a decorative fence-base detail for either job.
For project context, H-Towne & Around Katy deck projects from H-Towne & Around Remodelers, Inc. are a resource to consult, not a replacement for Canadian approvals. For the concrete fastening decision, review anchoring posts to concrete alongside your anchor instructions.
Use the installation video as a visual companion, not as permission to substitute hardware.
Mistakes That Void the Whole Job
A heavier bracket isn't a repair plan. Before blaming the holder, inspect the concrete, anchors, wood condition, and connection layout. Some mistakes invalidate an installation detail; whether they void a warranty depends on the actual warranty terms.
These are the warning signs to catch before covering the connection.
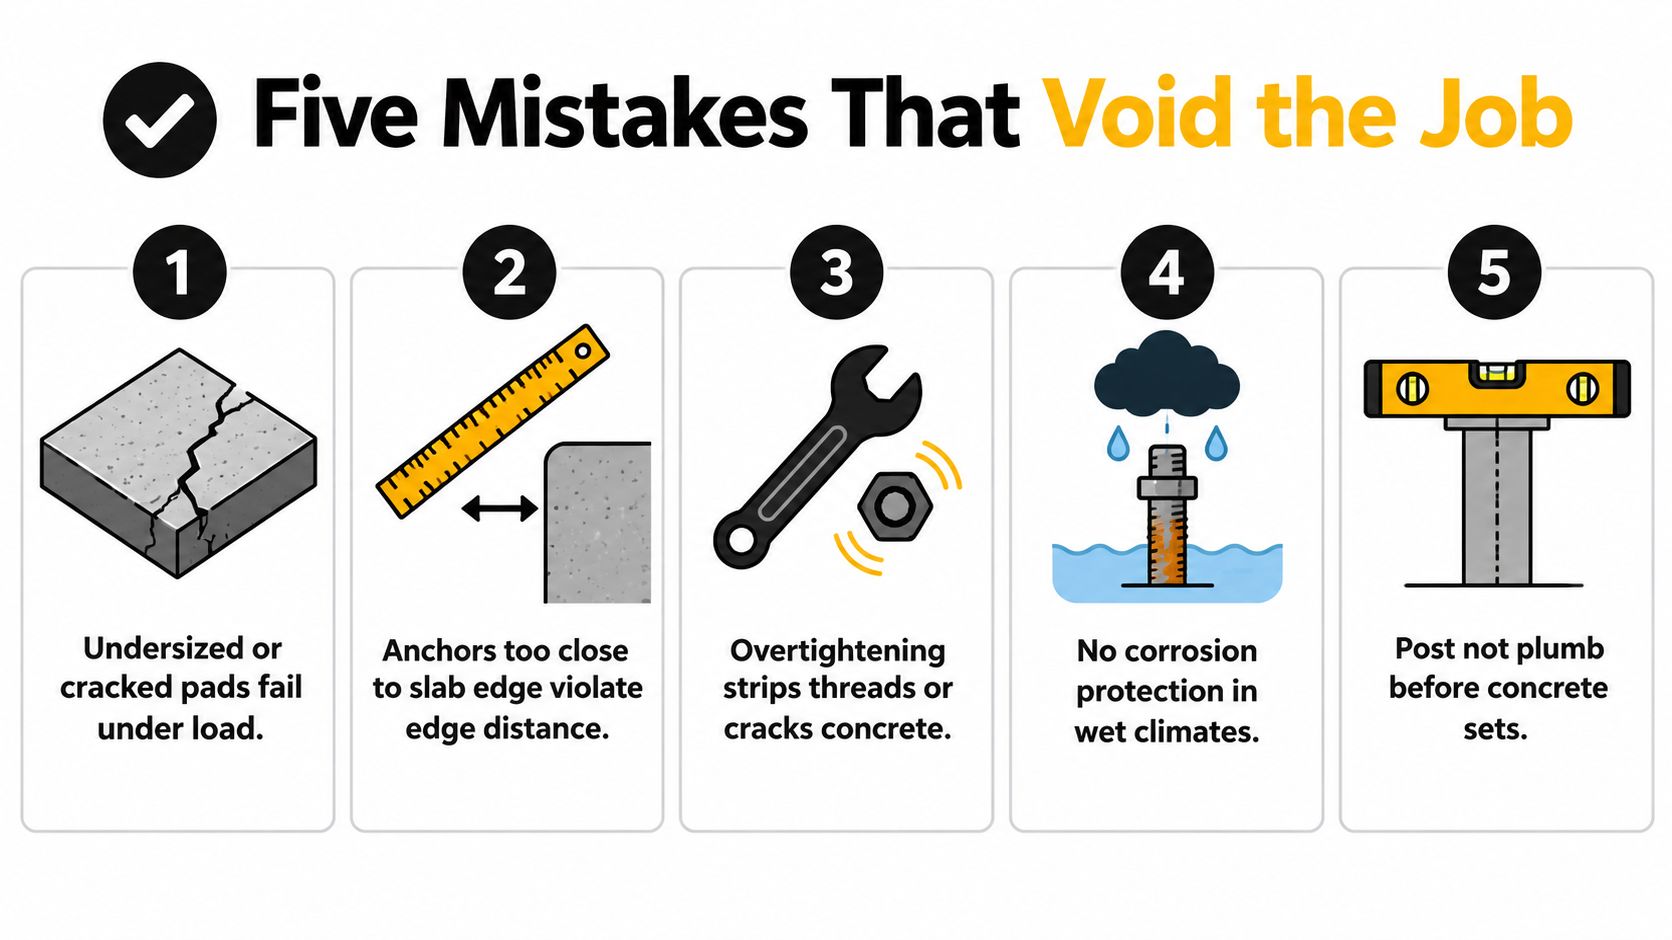
Diagnose Before You Tighten Anything
- Undersized or cracked pad: Stop installing. Have the substrate assessed instead of adding anchors around the damage.
- Insufficient edge distance: Change the approved layout or support detail. Don't squeeze an anchor nearer the edge to keep the post centred.
- Incompatible metals: Replace the mismatched fasteners with the specified class.
- Unprotected cut end: Follow the lumber supplier's approved field-treatment instructions before final assembly.
- Movement blamed on the bracket: Investigate the footing and load path rather than buying thicker steel.
Post height is another specification you can't improvise. California guidance permits a maximum of 6 feet 9 inches for a 4×4 post supporting a single-level wood-framed deck when the beam follows the applicable code table, as stated in the Eureka deck permitting handout. That conditional California allowance isn't Canadian approval.
Don't tighten harder to solve movement you haven't diagnosed.
Audit the Completed Connection
Check for rotation, evidence of uplift during gate operation, and a continuous beam-to-post connection. Confirm anchor engagement, post alignment, and the required restraint before attaching the final railing or panel.
If anything moves unexpectedly, stop using the assembly until the cause is assessed. A connection that looks finished can still be incomplete.
Buyer's Checklist and FAQ
Keep the buying decision simple: define the duty, confirm the support arrangement, measure the post, and select a documented hardware system. Don't let a sale price decide the connection.
Screenshot This Before Shopping
- Purpose: Fence, gate, guard, decorative post, or beam support.
- Mounting: Surface-mounted, cast-in, or another approved arrangement.
- Fit: Measured post dimensions matched to the holder's internal opening.
- Protection: Coating and fasteners approved for treatment and exposure.
- Installation: Substrate-specific anchors and accessible fastening locations.
- Completion: Alignment and required connections checked before finishing.
Wood condition belongs on that list too. In a stated historical test, untreated red-pine posts remained serviceable for approximately 4.5 years, compared with 40–48 years for creosote-treated posts, roughly 9–11 times longer, according to Health Canada's wood-preservative guidance. Those figures concern the wood, not the metal holder, and aren't a modern product-life promise.
Common Buying Questions
What if the post is too tight or too loose?
Recheck the dimensions and use the manufacturer's permitted remedy. Don't force the post or invent a shim allowance.
When should I choose a 6×6 holder?
When the approved design requires that post size. Upgrade the complete connection, not just the bracket.
Can I reuse a holder after the post rots?
Only after checking its condition, anchors, and suitability for the replacement installation. Investigate why the wood failed.
Can I surface-mount a gate post?
Only with a suitable rated connection and supporting substrate. A fence-line bracket isn't automatic gate-post approval.
For sourcing, compare Decorex Hardware with Nuvo Iron alternatives using dimensions and installation specifications, not brand familiarity alone. Match the base, fasteners, and finishing cap as a package, while keeping decorative and structural caps distinct.
XTREME EDEALS INC. offers post bases, anchors, fasteners, and post caps, including Decorex Hardware options for deck and fencing projects. Visit XTREME EDEALS INC. with your post measurements and approved connection requirements, then choose the bracket and matching hardware for the job you're building.