
You've set the posts, the frame is square, and the only thing left at the bottom of each one is a galvanized bracket, a couple of bolt heads, and a smear of concrete dust. That is usually the moment a homeowner starts looking at a 4×4 post base cover: something to make the connection look finished, hide the hardware, and keep splash water from darkening the wood grain.
Then the parcel arrives and the cover won't go on. Or it goes on so snugly that it holds a puddle against the post for a week after every rain. Both outcomes come from the same root problem. We buy these covers by the lumber label and by looks, when the things that decide success are the actual measured post size, the connector underneath it, the site exposure, and in a growing number of jurisdictions, the fire zone.
I would treat the cover as the last five percent of the job and the easiest part to get wrong. Work through it in order: measure the post, inspect what's underneath, choose a material the site can live with, then install it so water leaves instead of staying.
Matching Cover Size to Your Actual Post
Nominal Is a Label, Not a Measurement
The sizing error that starts most returns is believing the label. A nominal 4×4 post is not 4 inches by 4 inches. Once the mill dresses the faces, it measures roughly 3.5 by 3.5 inches, and covers, caps and brackets are built to that dressed size. Order a 4×4 cover for a 4×4 post and you've ordered a part that's half an inch too big on both faces.
The same shrinkage applies up the range. A 4×6 is closer to 3.5 by 5.5 inches, and a 6×6 measures around 5.5 by 5.5 inches. Rough-sawn and pressure-treated stock can wander a couple of millimetres from those figures, which is why the tape measure, not the product title, is the final authority.
| Nominal post | Actual dimension | Cover to order | Fit note |
|---|---|---|---|
| 4×4 nominal | 3.5 x 3.5 in | 3.5 x 3.5 in cover | Undersized covers bind; check the actual size first |
| 4×6 nominal | 3.5 x 5.5 in | 3.5 x 5.5 in cover | Measure both faces; the long side can vary |
| 6×6 nominal | 5.5 x 5.5 in | 5.5 x 5.5 in cover | Oversized covers rattle and trap debris |
Why the Wrong Size Fails in Both Directions
An undersized cover binds on the post. You push it down, it grabs halfway, and then you do what everyone does and tap it with a mallet or lever it with a pry bar. Thin aluminium dents, polymer cracks at the corner, and a split cover will never sit flush again. Worse, forcing it can score the post's surface treatment right where water sits.
An oversized one fails. It rattles in wind, it opens a gap at the base wide enough to collect leaves and grass clippings, and it lets the post shift inside the sleeve instead of being held. Both failures look cosmetic for a season and then turn into a moisture problem you can't see.
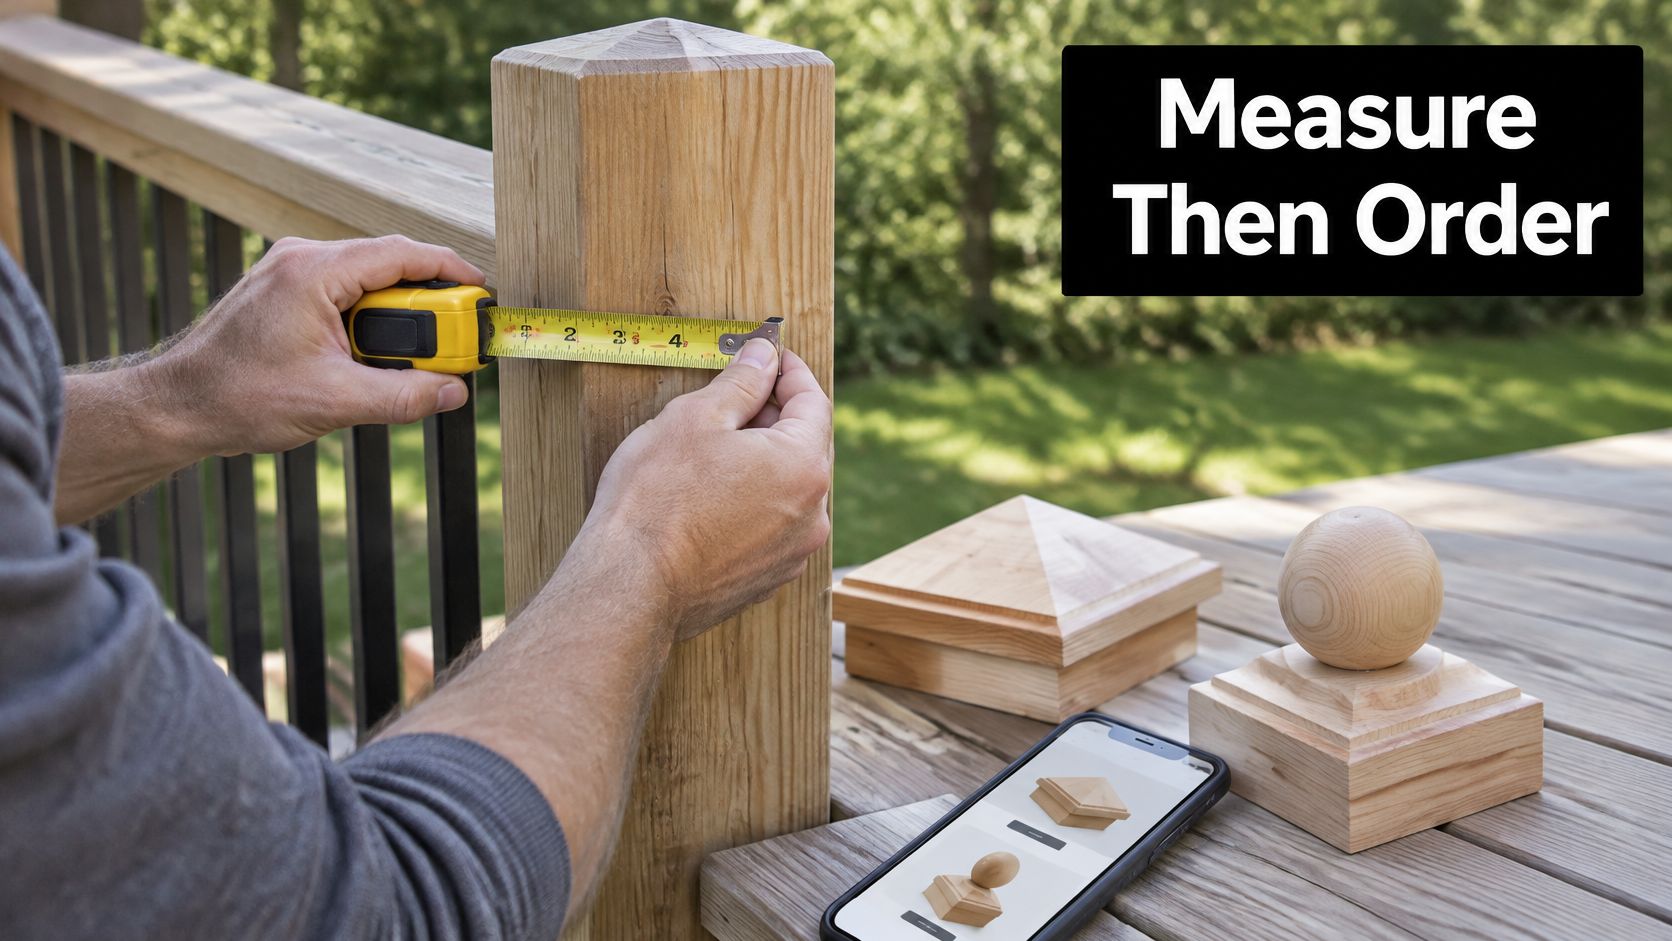
How to Measure in Three Steps
- Tape across the post face at the top, just below any chamfer or cut, where the timber is still full dimension.
- Measure both faces, and measure more than one post if you're ordering a set. Pressure-treated lumber and rough-sawn stock can differ by a few millimetres from post to post.
- Record the larger reading and compare it with the cover listing before you add anything to a cart.
Finally, run the fit test in the dry before you commit. The cover should slide on with light resistance, sit flush at the base with no visible gap, and come back off without tools.
Practical rule: one measured number, written down, beats any amount of squinting at a product photo.
Structural Role of the Post Base Versus the Cover
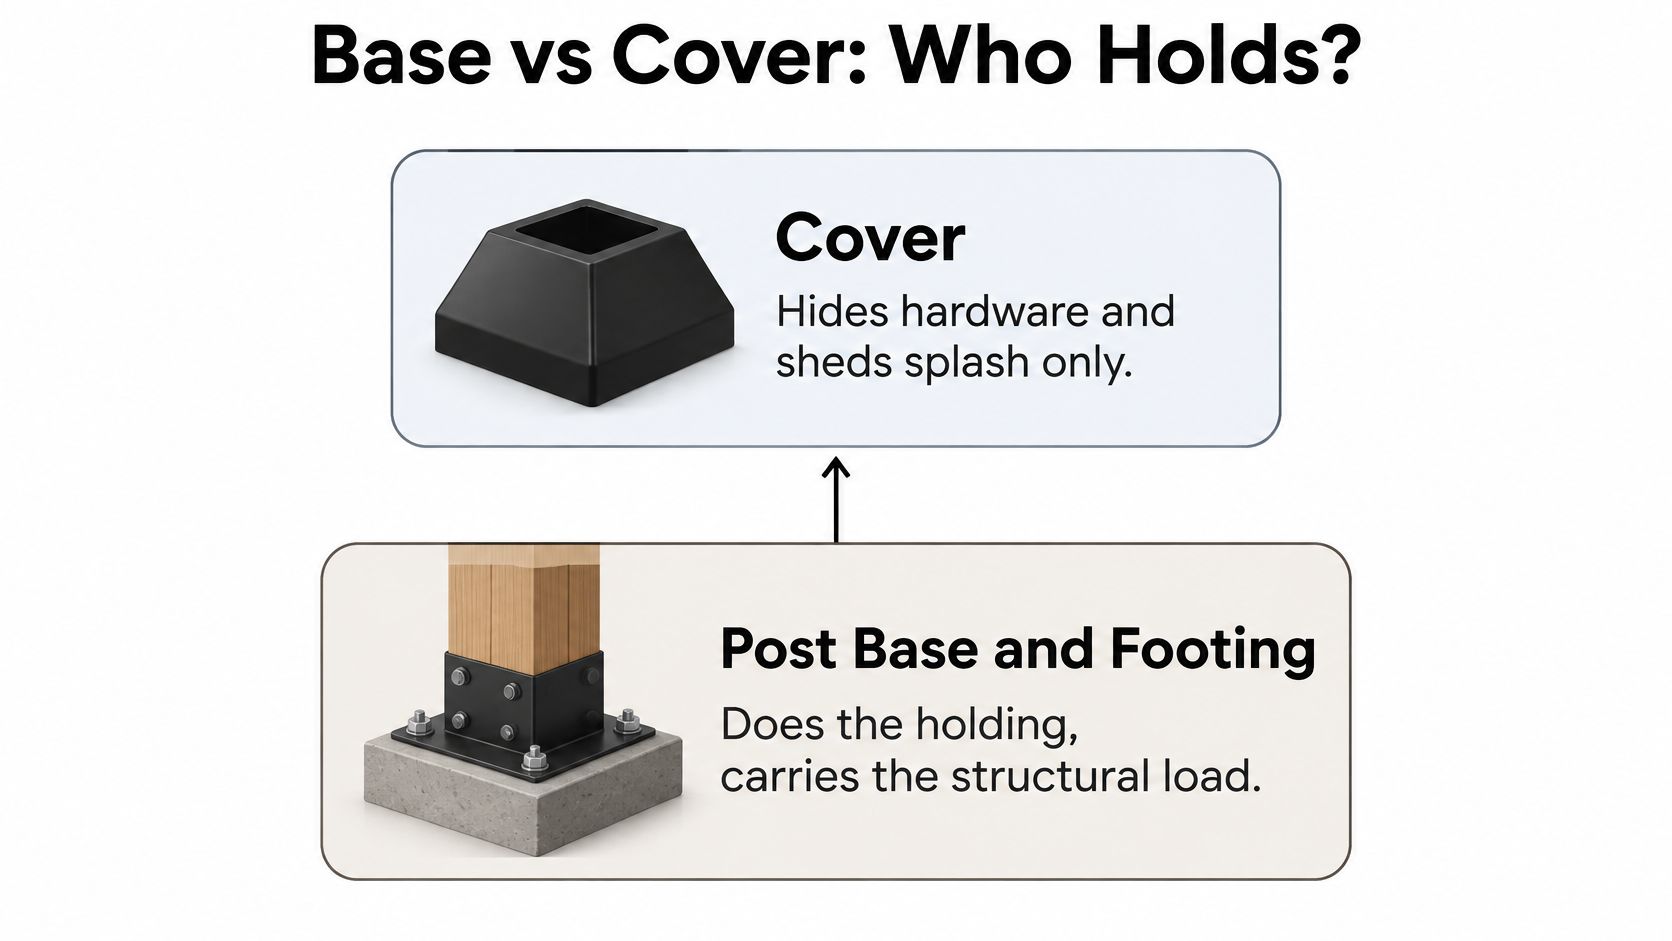
A homeowner slides a black sleeve down a 4×4, steps back, and the base looks finished. The bolts disappear. So does any rust on the plate, and so does the gap where water can sit against the wood. The post base, the anchor, and the footing still carry the deck. The cover only changes how the joint looks, how splash hits the timber, and whether you can still inspect the hardware.
What the Code Expects Underneath
The structure that matters sits below that finish. Escondido's residential deck guidance, built on California Residential Code provisions, requires deck posts to be at least 4×4 inches and anchored at their lower ends, calls for adequate drainage, and sets 12 inches as the minimum footing depth into natural grade, with concrete at a minimum compressive strength of 2,000 psi.
That 4×4 is a structural size. The cover is a sleeve around a connection that should already be sound. Other jurisdictions add their own limits on post height, design loads, and connector hardware. Those limits govern the post and the base, not the trim you slip over them. A sleeve can fit the timber perfectly and still leave a wet cavity around a plate that is doing the work.
Load Carries, Finish Covers
| Component | Main job | Can a cover replace it? |
|---|---|---|
| Post base or connector | Carries load and resists uplift and lateral movement | No |
| Footing and concrete | Transfers load to soil or a pier | No |
| Flashing or standoff | Keeps wood off wet concrete | No |
| Decorative 4×4 cover | Conceals the connector and shields splash | It is the finish only |
The base is the part that has to survive wet concrete and seasonal humidity for years. If you are replacing a rusted bracket rather than dressing up a sound one, start with the hardware itself, such as 4×4 post base brackets, and treat the cover as a separate purchase. Paint and a tight sleeve will not stop corrosion that has already started on the plate.
The Check Before the Cover Goes On
Confirm the connector is installed, seated, and tight while you can still see it. Look at the bolts, the plate, and the cut end of the post. Standing water, white residue, or a nut that turns by hand is a repair, not a styling problem. I would leave the cover off until that connection is dry, tight, and free of active rust.
A cover that hides a loose bolt or a corroded plate does not stop the fault. It delays the day you notice it, usually after the post has started to move. Splash shielding only helps if water can leave the joint. A sleeve that seals over a damp plate holds that moisture in place.
Trade-off: a cover that conceals the hardware cleanly also conceals the first sign of trouble. A perfect fit is still a finish, not a structural fix.
Wildfire Zones and When Covers Must Be Rated
A polymer sleeve can slide over a post and look finished from the driveway, then fail the first question a fire inspector asks: what is it made of. California's Wildland-Urban Interface rules exist to cut flame and ember intrusion and property loss during vegetation fires. They set a floor, not a ceiling. Some local defensible-space rules require noncombustible material or fire-retardant-treated wood for fences and posts near a structure, and the state's wildfire building guidance is the baseline those local rules sit on.
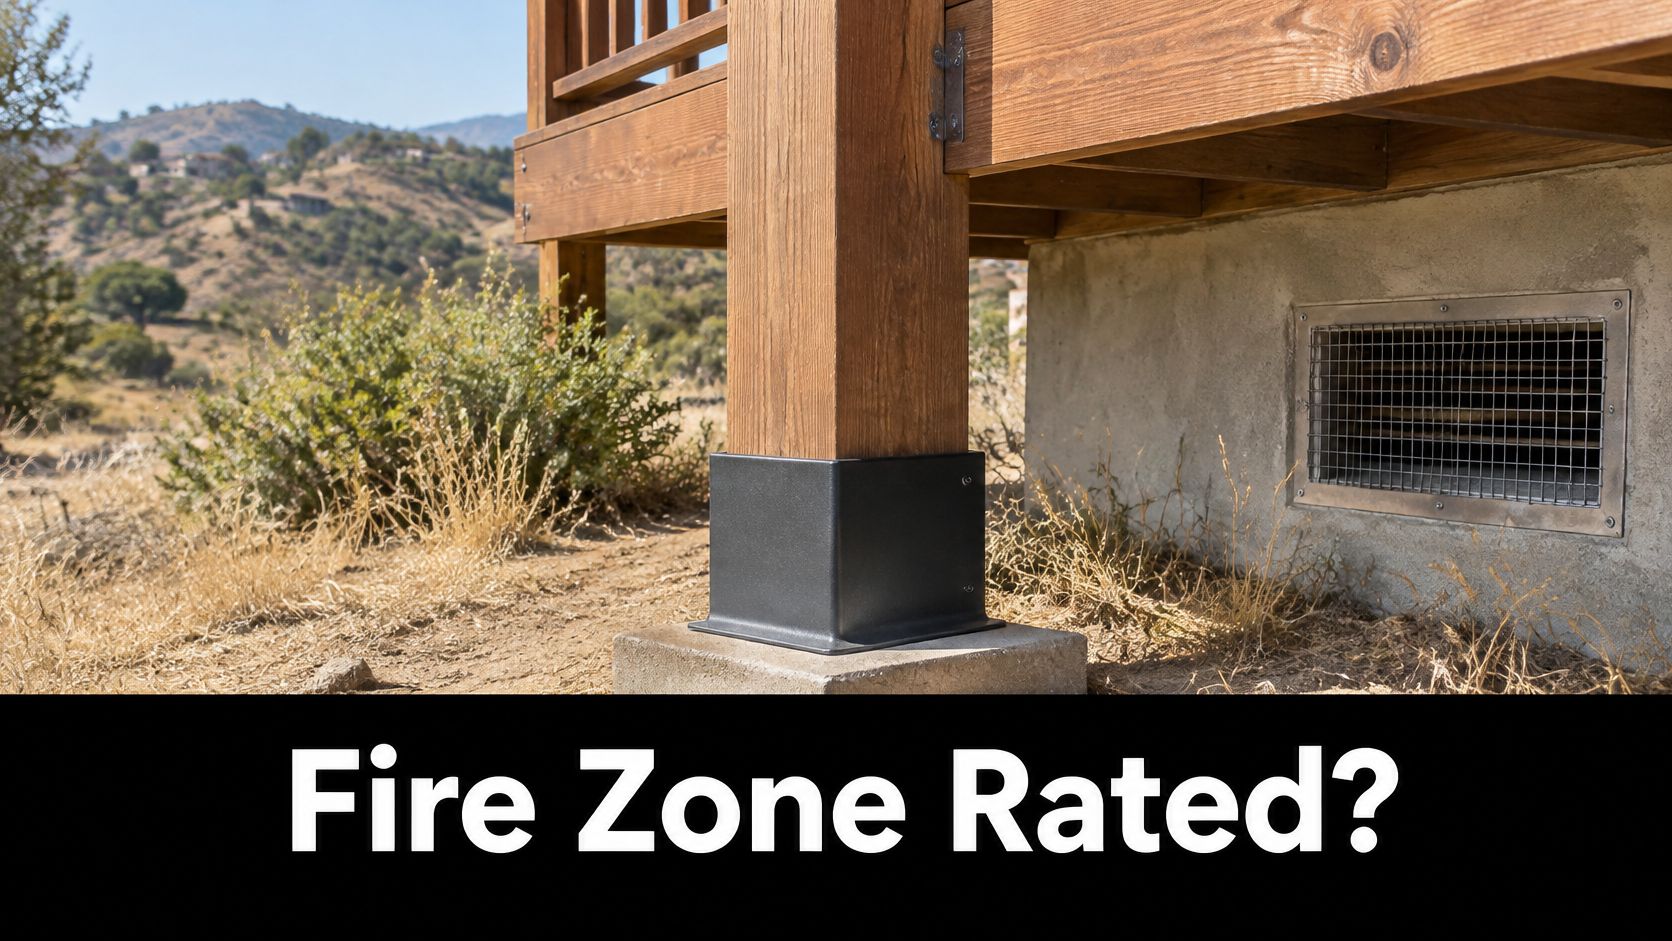
Read that against the product shelf. A wood-look polymer or resin cover can fit the post perfectly and still be the wrong specification in that zone. Fit is mechanical. Acceptance is what the authority having jurisdiction will allow.
Three Separate Questions
A weather-resistance claim tells you nothing about ember exposure. Marketing language is not an approval. Ask whether the cover carries a tested wildfire rating before you treat it as acceptable in a fire zone.
Shape is the next check. Any sleeve that traps leaves, twigs, or fine fuel near the base has added something to burn, whatever it is made of. A cover that fits tightly can still hold debris against the post and hide the start of corrosion at the anchor.
Access is the third test. If you cannot reach the anchor to check for corrosion or a loose fastener, the cover is working against you. Decorative concealment is not structural protection.
When the Simpler Cover Wins
The most enclosed, most durable-looking cover may be the poorer choice. A ventilated, cleanable design that lets you see the connection and sweep debris out from under it can outperform a sealed sleeve in fire country, even though it conceals less.
Where the local rule calls for noncombustible material, specify metal. Where it allows pressure-treated fire-retardant wood or an approved alternative, confirm the exact wording before ordering. Enforcement is jurisdiction-specific. A short call to the building or fire department settles the specification.
Choosing Material and Finish for Your Site
Start with the site, not the swatch book. A shaded inland deck that dries out by mid-morning asks completely different questions of a cover than a coastal yard where salt spray and a mis-aimed sprinkler head leave the post wet for days at a time. Salt, irrigation water and constant humidity are the three conditions that separate a five-year cover from a twenty-year one.
Start With the Site, Not the Swatch
| Material | Corrosion and weather | Finish options | Best fit |
|---|---|---|---|
| Aluminum | Resists rust; pits in salt air | Black, white, powder coat | Most inland decks and fences |
| Copper | Durable; forms a green patina | Natural or pre-patinated | Showpiece posts with low upkeep |
| Polymer or resin | Will not rust; can fade under UV | Wood-look and solid colours | Shaded, dry spots; confirm fire rating |
| Galvanized steel | Strong; rusts where scratched | Galvanized or painted | Heavy-duty connectors and exposed framing |
Aluminum is the sensible default for most inland work: it won't rust through, powder coat holds colour well, and it takes a knock. Near the coast, pitting is real, so plan on a fresh-water rinse every few months to clear salt film. Copper costs more and rewards you with a patina that hides minor scuffs, which suits a post at the front of the house rather than a service gate.
Polymer earns its place in shaded, sheltered spots where appearance matters and the sun never bakes it. It won't rust, but UV exposure fades colour over time and the material may be combustible, so it needs the fire-zone answer before it needs a colour choice. Galvanized steel is the strongest option and the least forgiving: a scratch through the zinc coating is where rust begins.
The Galvanic Detail
Where a cover touches a dissimilar metal connector, isolate the two. A stainless or copper cover sitting directly against a galvanized bracket, with rainwater between them, gives you a small battery and a faster corrosion rate on the less noble metal. A nylon washer or a gasket at the contact point breaks the circuit for pennies.
Matching corrosion resistance matters more than matching colour. Painting over a corroding bracket to make it presentable is the move that lets a post fail. If you're recoating hardware rather than replacing it, use protective coatings for deck hardware that are formulated for exterior metal, and only after the corrosion has been removed.
A cover that outlasts the bracket beneath it has solved the wrong problem.
Install Checks and Mistakes That Trap Water
A cover that slides on cleanly can still hold water against the post and hide a bracket that is already rusting. Treat the cover as a finish, not a repair. California law prohibits installing untreated wood posts in soil contact where the installation causes unreasonable decay, per California Civil Code section 896. Wood that touches earth still has to be naturally durable or preservative-treated. A sleeve will not correct a post that sits in soil, drains badly, or was never treated for that exposure.
I would run this sequence before the cover goes on.
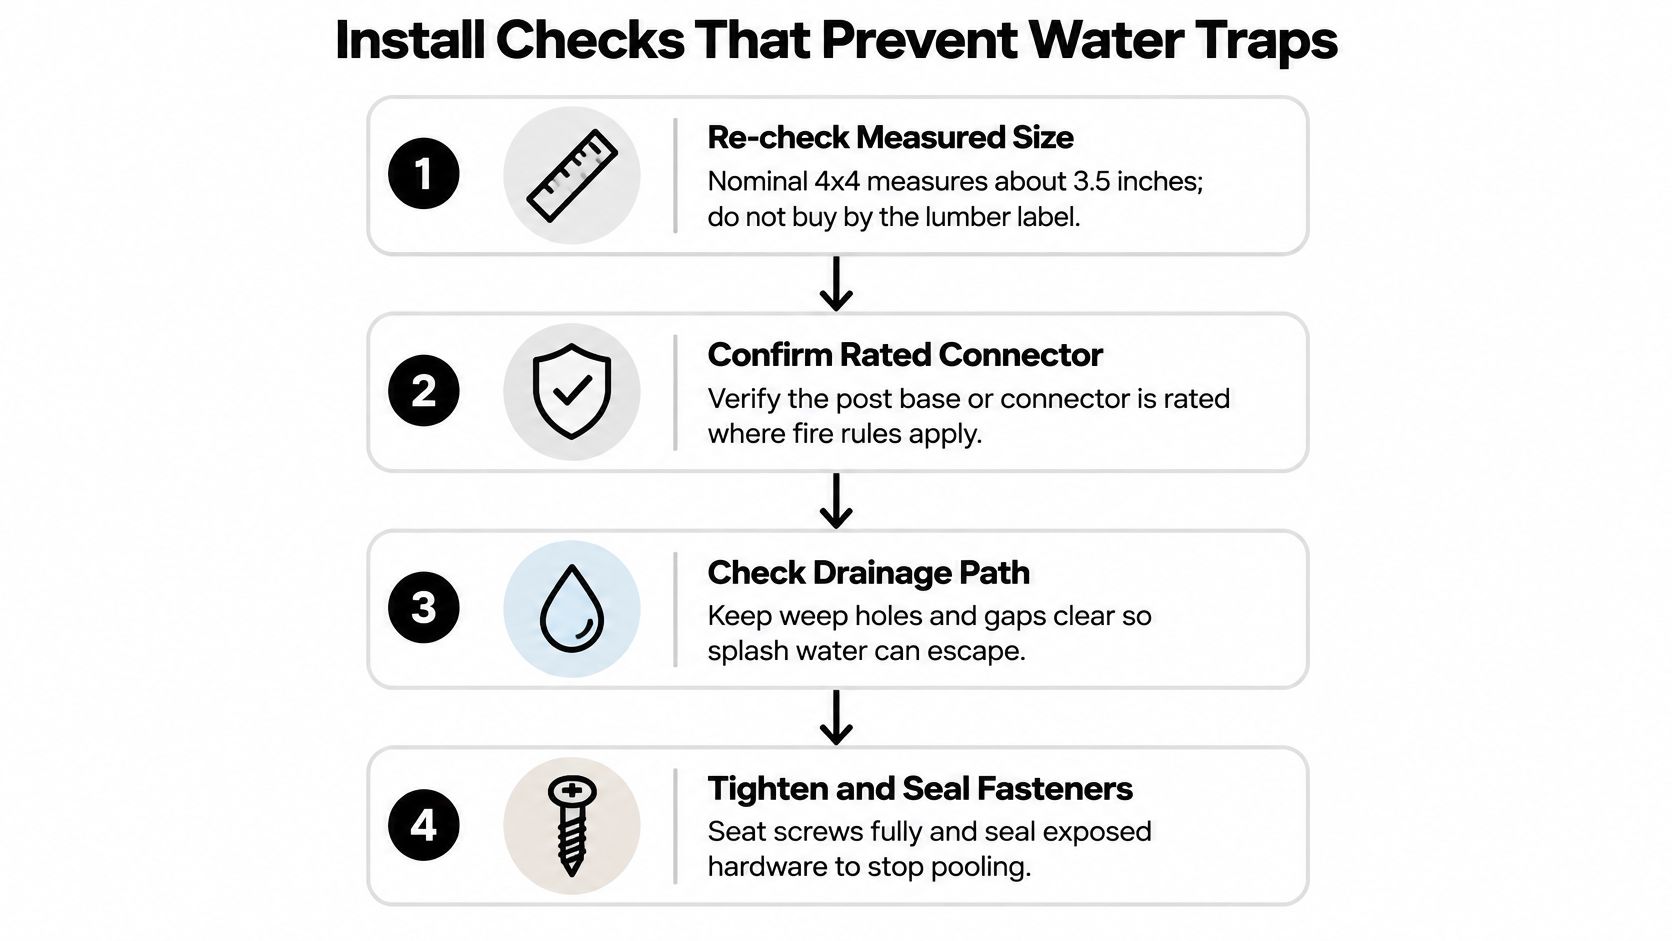
Six Checks Before the Cover Goes On
- Re-check the measured size against the label. Nominal 4×4 and actual 3.5-by-3.5 are different purchases, and that gap is why covers go back.
- Confirm the rated base or connector is sound. Look for movement, missing fasteners, and surface corrosion. Replace a failing bracket rather than dressing it. The cover must never be what hides a loose connection.
- Confirm the post is clear of soil contact. A post base with a standoff holds the end grain off concrete so it can dry. If the post runs straight into the ground, no sleeve stops the decay that follows.
- Confirm nothing has been cut to force a fit. Don't notch, drill, or shave a guard post to slide a cover over it. Size and frame guard posts to the local code, and leave the supporting framing intact. A cover that needs surgery on the post is the wrong cover.
- Confirm the slide-on fit, then follow the water. The cover should seat with light resistance. Splash should run off the cover, past the base, and away from the footing, not into the joint.
- Confirm inspection access. Leave enough clearance to see the anchor and get a driver onto the fasteners. If the cover has to come off for that, make sure it can.
Mistakes That Trap Water
Sealing the cover tight with caulk. Running a bead around the top and the bottom turns the cover into a cup. Water that gets behind it cannot leave. It wicks into end grain, and rot starts where you cannot see it. A small drainage gap at the low side beats a neat bead.
Ignoring standing water after the first rain. A puddle ring at the base a day later means the assembly is holding moisture. Fix the drainage path or change the cover. Waiting for the stain only confirms the damage.
Installing over untreated wood in soil. The cover makes the post look finished, which is the problem. Organic material in soil contact needs the treatment the code calls for before anything decorative goes near it. If you are treating bare timber yourself, start with wood post treatment and then match that work to the exposure the local rule requires.
Buying by appearance and forcing the fit. A dented aluminium or cracked polymer sleeve is a small loss. Marring a pressure-treated surface to make the cover fit is a bigger one, because you have opened the treatment right where water will sit.
If a check fails, take it back to the supplier or the building official before installation rather than after.
When to Stop and Call
Call a licensed contractor or the building department when the post is in soil, when the connector is missing or undersized, or when the deck attaches to a building. Those are structural and life-safety questions. No finish decision resolves them.
For anyone who wants the assembly side handled rather than DIY'd, Timber Lodge 365's installation service is worth knowing about, particularly where a deck or garden structure is going up alongside other timber work and the crew can sequence the posts properly.
If you'd rather see the order of operations before you pick up a driver, this walkthrough covers the base going down and the hardware going in.
Confirm the Fit and Order the Right Post Cap
The tape is still on the bench. The number on it is the only size that belongs in the cart. A board sold as a 4×4 may measure 3.5 inches across the face, so order for that face, not for the stamp on the lumber.
XTREME EDEALS INC. carries pyramid and ball post caps for wood and metal posts, in black and white aluminium and in solid copper for the larger sizes, priced in CAD. The post cap listings state what each cap fits. Set that line next to your measurement.
The black 3.5 x 3.5 inch heavy duty aluminium pyramid cap at $9.99 works only with actual 3.5 x 3.5 inch wood posts, not with actual 4 x 4 inch posts. The 4 x 6 inch heavy duty aluminium pyramid cap works only with actual 4 x 6 inch posts, not with 3.5 x 5.5 inch posts.
A cover that matches the measured face can still trap water on the end grain and hide corrosion under the sleeve. It is a finish. Structural protection stays with the connector. Before the cover goes on, look at that hardware and at whether the post can shed water once the sleeve is seated. Scaling metal remains a structural problem, and a decorative cap only conceals it.
Match material and finish to the exposure, then compare the listing dimensions with your number before the cap goes in the cart. Shipping and returns information is on the site if timing or an exchange matters. Keep the measurement sheet with the order and check the post again the day the box arrives, while the cover is still out and the top is easy to reach.
XTREME EDEALS INC. supplies post caps, post base brackets, anchors, and the deck and fence accessories that go with them, with CAD pricing and fit details on the post cap listings. Measure the posts you have, then visit XTREME EDEALS INC. and order the cover that matches that size.