
You're on a Saturday deck job, the posts are in, the rails are cut, and the balusters are stacked against the wall. The part that looks simple on paper is usually the part that eats the afternoon, because the railing has to look clean, stay plumb, and still pass the 4-inch sphere test when you're done. If you're figuring out how to install balusters on deck without turning the project into a callback, the trick is to treat layout, fastening, and inspection as one job, not three separate ones.
Why Baluster Work Trips People Up
The trouble usually starts when the railing looks finished from ten feet away, but one opening near a post is just wide enough for a sphere to slip through. At that point, the deck isn't done, it's just dressed up. In California, that's where the 4-inch sphere rule takes over the whole job, because the code applies to any opening in the guard, not just the face spacing between balusters California Residential Code summary.
The failure point nobody notices until the last minute
A crew can have every baluster cut to the same length and still fail the rail if the gap under the bottom rail opens up or the space near a post drifts wider than expected. That's why baluster work trips up experienced DIYers. The problem isn't usually the cut, it's the layout sequence, the fastening order, and whether the whole assembly was planned around the measurement the inspector will use.
On a weekend deck build, the decking often goes down quickly, then the railing slows everything down. You're working overhead, on a long run, with a dozen small chances to let spacing wander. One baluster that leans while you tighten it can throw off the next opening, and once that drift starts, you spend the rest of the run correcting it.
Practical rule: if the opening can be tested with a sphere, it has to be planned with a sphere in mind from the start.
That's why the best installs look repetitive. Repetition is the point. A good baluster run isn't decorative luck, it's controlled spacing, consistent fastening, and a final pass that proves the rail behaves the same way from one end to the other.
Code and Height Rules You Must Check First
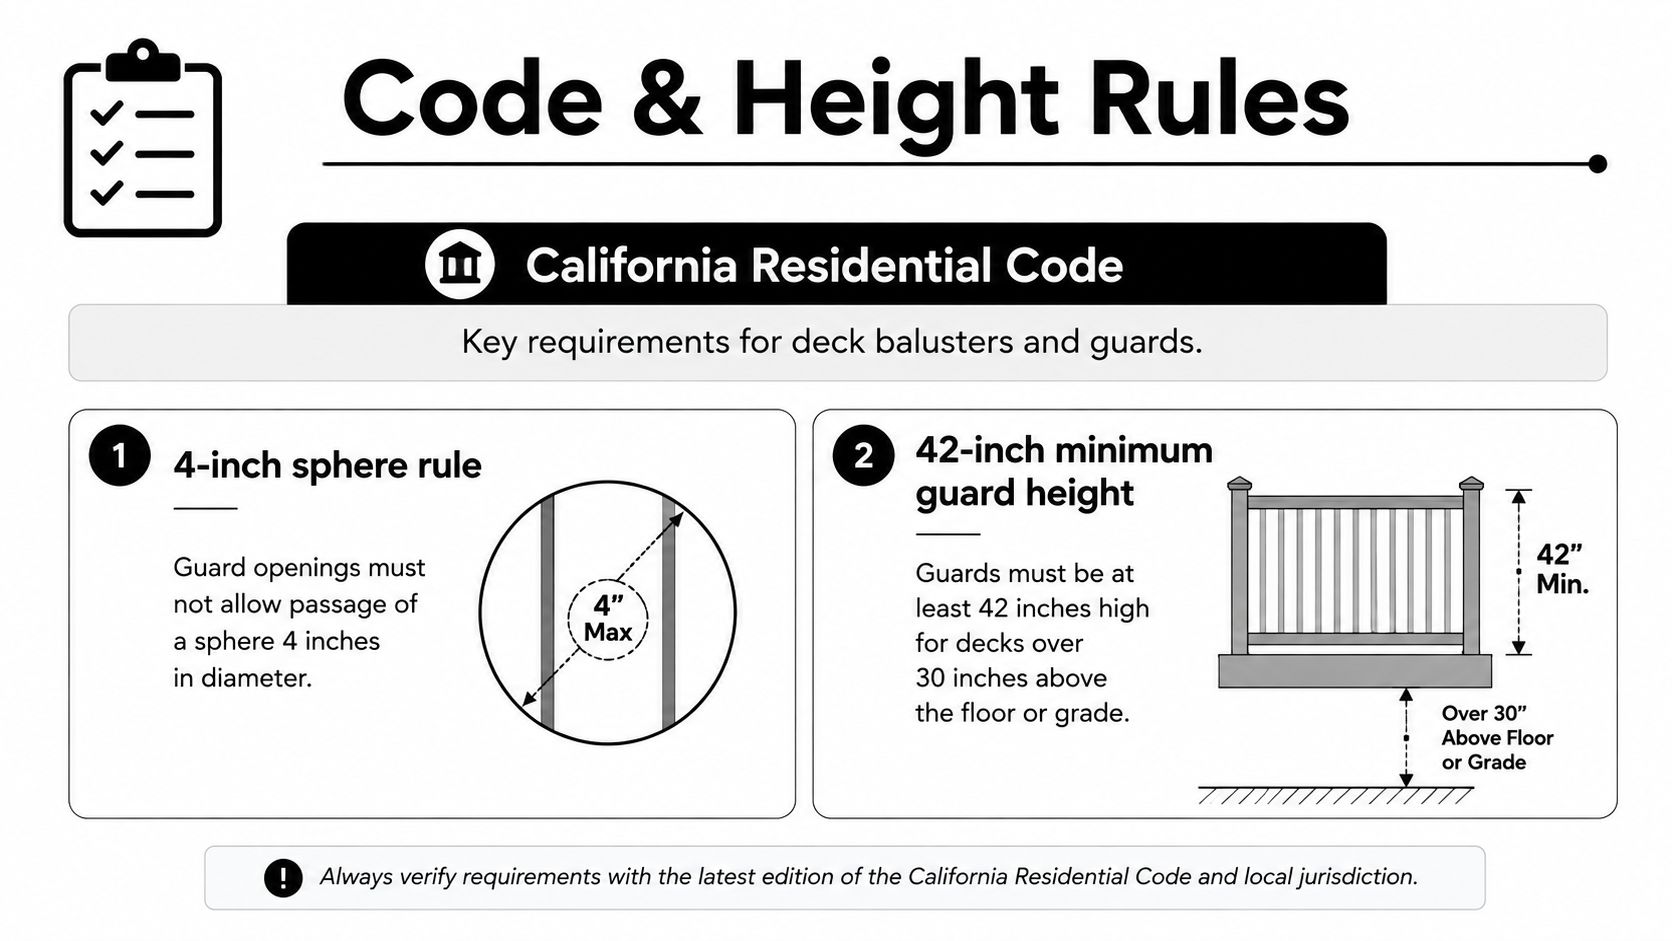
A deck rail can look square and still fail inspection if the layout ignores the two checks that matter most, the 4-inch-diameter sphere limit for guard openings and the 42-inch minimum guard height on the open side of decks more than 30 inches above grade California Residential Code summary. Build around those measurements from the start, or you end up reworking posts, rails, and balusters after the fact.
What the inspector is really checking
The sphere test does not stop at the balusters. It also applies to the space between the bottom rail and the deck surface, and to the openings around posts, because the rule covers any opening in the railing system California Residential Code summary. A run can look tight in the middle and still fail at the ends.
That is the part many DIYers miss. They check face spacing, call it good, and leave the lower gap or post pocket unplanned. If the bottom rail sits too high, or a post detail opens up at a corner, the rail fails the same way it would if the balusters themselves were spread too far apart. The code does not care whether the gap came from a cut, a bracket, or a layout mistake, only whether a 4-inch sphere gets through.
Use the same check every time before you cut a single baluster:
- Baluster-to-baluster gaps, keep them under the sphere limit.
- Gap under the bottom rail, treat it as its own opening.
- Openings near posts, especially where rail sections meet corners or transitions.
For a broader framing of railing compliance, the commercial railing code guide is a useful reference point, even though deck details and commercial systems are not identical. The common thread is simple, code follows the opening, not the look.
If you want a quick reference while you work, the baluster spacing code guide is worth keeping open on your phone. I use it as a layout check, then I set the spacer-block pattern to match that standard before anything gets fastened.
Tools, Fasteners, and Materials for the Job
The shopping list changes with the baluster material, so don't buy for a generic railing if you're only building one system. Wood wants one set of fasteners, metal wants its own connectors, and composite needs you to respect the manufacturer's hardware list. That difference matters because outdoor fasteners have to survive moisture, sun, and in many CA locations, coastal air.
The basic tools stay the same across most installs: tape measure, speed square, pencil, miter saw or jigsaw, drill/driver, matched drill bits for pilot holes, and at least one clamp to hold a baluster plumb while you fasten it. A level is handy too, but layout accuracy starts with the tape and the mark line, not the final check.
Material by material, buy for the system you're building
Wood balusters are the simplest to understand and the easiest to split if you rush the screws. That's where pilot holes and exterior-grade screws earn their keep. For many wood installs, 3-inch deck screws are the standard choice, driven through the rails into the centre of the baluster wood baluster fastener guidance. On this kind of job, economy hardware usually fails first at the threads or at the head finish.
Metal balusters work better when you stay inside the engineered system. Use the manufacturer-supplied connectors or brackets, because mixing brands can give you a fit that looks right until you tighten it. Composite balusters are similar, but the manufacturer's fastener list and any required spacing for movement have to be treated as part of the assembly, not an optional note.
If you're sourcing hardware, balusters, or connectors for a deck-and-fence project, XTREME EDEALS INC. carries railing-related components that fit this kind of work, including baluster accessories and deck hardware. Keep the whole system in mind when you build the cart.
| Baluster material | Fastener | Pilot hole | Typical note |
|---|---|---|---|
| Wood | 3-inch deck screws | Yes | Drive through rails into the baluster centre |
| Metal | Manufacturer connector or bracket | Follow system spec | Don't mix connector brands |
| Composite | Listed manufacturer fastener | As specified | Respect expansion and movement guidance |
If you need stainless hardware for outdoor work, the stainless steel deck screws page is a sensible place to match screw type to the environment.
Measuring, Spacing Math, and a Reusable Layout Template
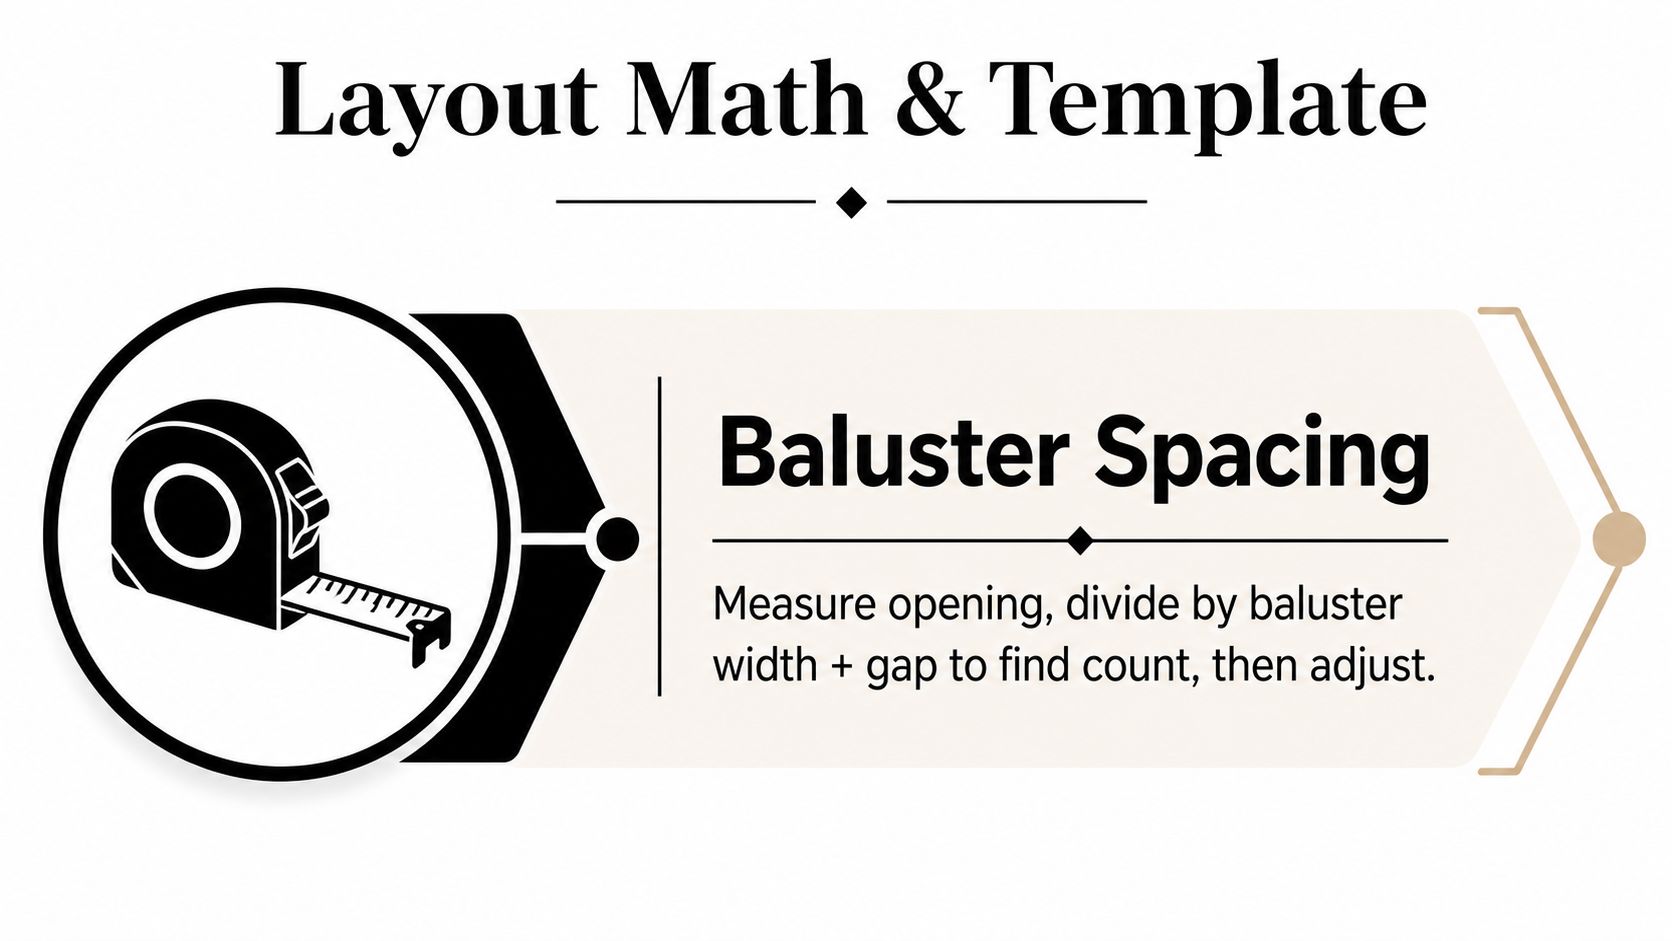
The cleanest railing runs start with a measured opening, not a guess. Measure post to post, then work out how many balusters fit once you account for the baluster width and the target gap. The important part is not chasing a clever number, it's making sure the finished openings stay inside the 4-inch limit and stay consistent all the way across the rail baluster spacing guide.
Build the run before you start fastening
A reusable spacer block makes the layout repeatable. Cut a scrap block that spans from the top rail to the bottom rail, then use the same offset against the post or the previous baluster every time spacing template guidance. That keeps the gaps from drifting as the run gets longer.
A spacer block beats a tape measure for speed once the first baluster is in place.
The second step is marking both rails at the same time. Mark the baluster centre lines on the top rail and bottom rail together so the pattern stays aligned from one end of the section to the other baluster layout guide. If you mark only one rail and transfer later, small differences creep in, and that's how a straight run starts looking tired halfway across.
A practical way to keep the process under control:
- Measure the opening, then decide on the baluster count.
- Divide the remainder evenly so the spaces stay uniform.
- Make one spacer block and use it for every repeated gap.
- Mark both rails together, then double-check the ends and the post pockets.
The best part of this method is that it reduces layout drift before you cut anything. That matters on long runs, where a small error at baluster three turns into a visible mismatch by baluster ten. If you want a quick planning tool, the baluster spacing calculator can help you sanity-check the layout before you commit to the cuts.
Cutting and Fastening Wood, Metal, and Composite Balusters
Once the layout is locked, the install becomes a material-by-material job. Wood goes fast if you pre-drill and keep the stick plumb. Metal and composite go faster when you stay inside the system the manufacturer designed, because the hardware is part of the fit.
Wood balusters need clean holes and steady pressure
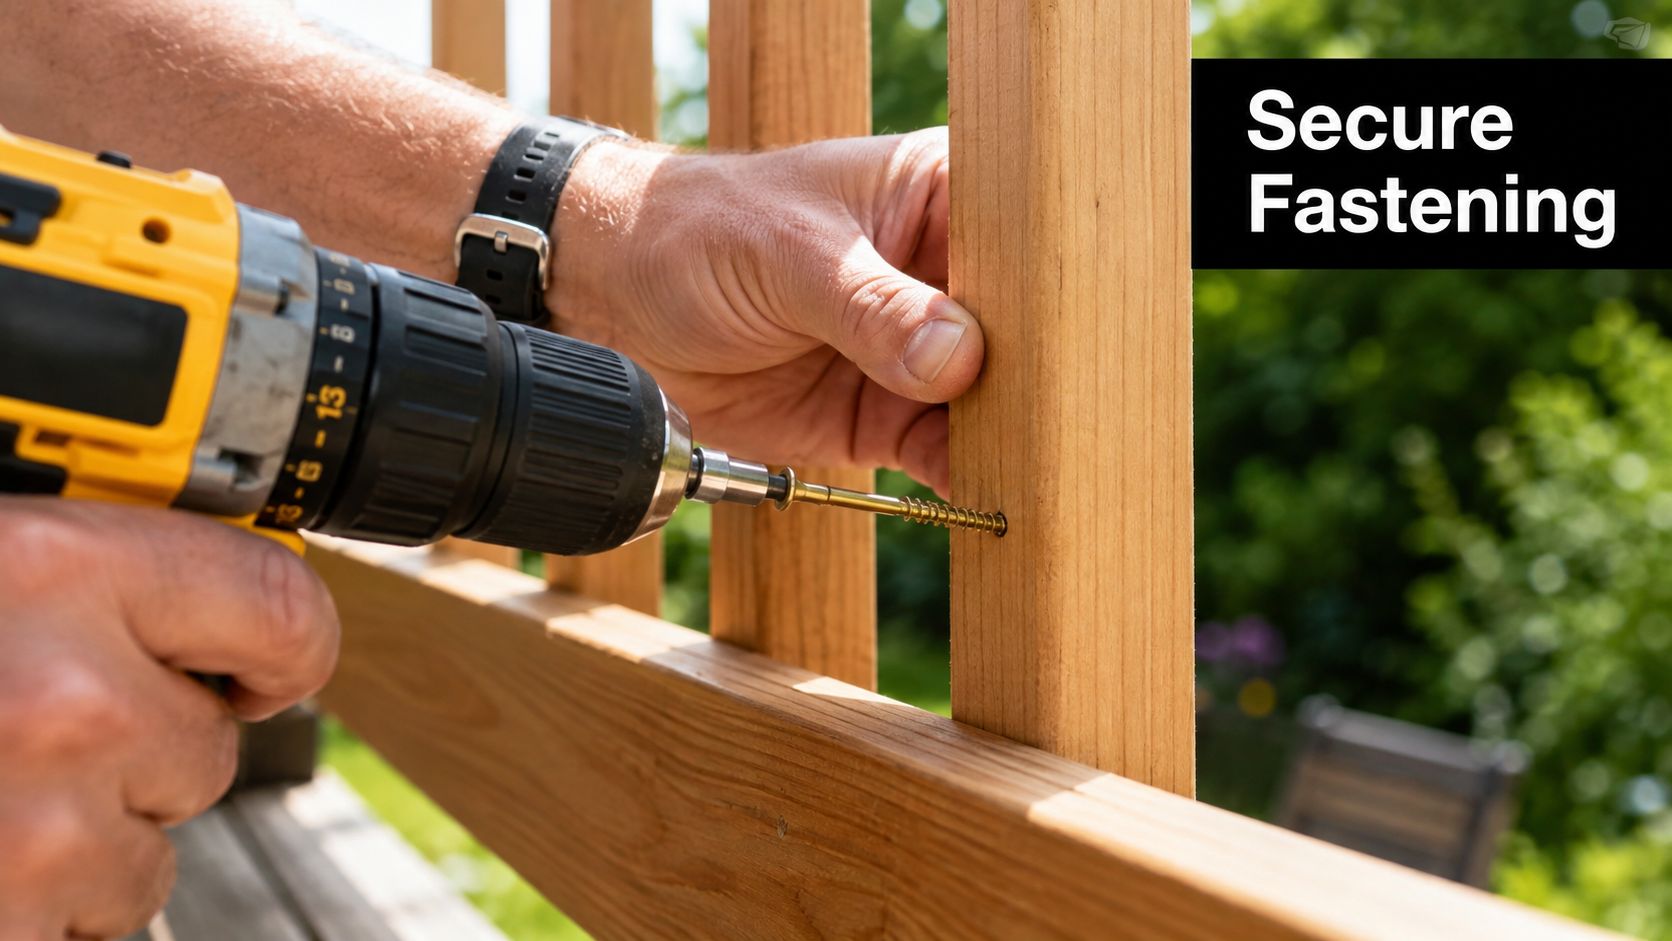
Cut the baluster to length, then pre-drill pilot holes at both rail contact points before you drive the screws wood baluster guidance. That small step keeps the wood from splitting and gives you a cleaner pull against the rails. Drive the screws through the rails into the centre of each baluster, and keep the piece clamped or held plumb as you tighten.
Start by tacking the bottom first. Once the lower end is caught, check plumb, then finish the top. That order keeps the baluster from walking sideways while the second screw goes in.
Metal and composite need the right hardware, not improvisation
Metal balusters usually belong to a pre-engineered railing kit. Use the manufacturer-supplied connectors or brackets and follow the fastening spec that comes with the system. If a connector looks close but isn't the matched part, don't force it.
Composite balusters need the same discipline. Use only the fasteners the manufacturer lists, and leave any required movement space alone. Composite reacts differently to heat and moisture than wood, so treating it like a lumber offcut is how you end up with a rail that looks tight on day one and stressed later.
A useful cutting note from the field, choose the blade for the material, not the saw you happen to own. For blade selection tips when you're trimming wood components, the how to pick a blade for wood guide is a practical reference.
Finish one baluster at a time
Don't fully tighten a whole section before checking the next piece. Set one baluster, check it, then move on. That slower rhythm is what keeps a section straight enough to pass the final sphere test without surprises.
Finishing Touches and the Sphere Test That Catches Mistakes
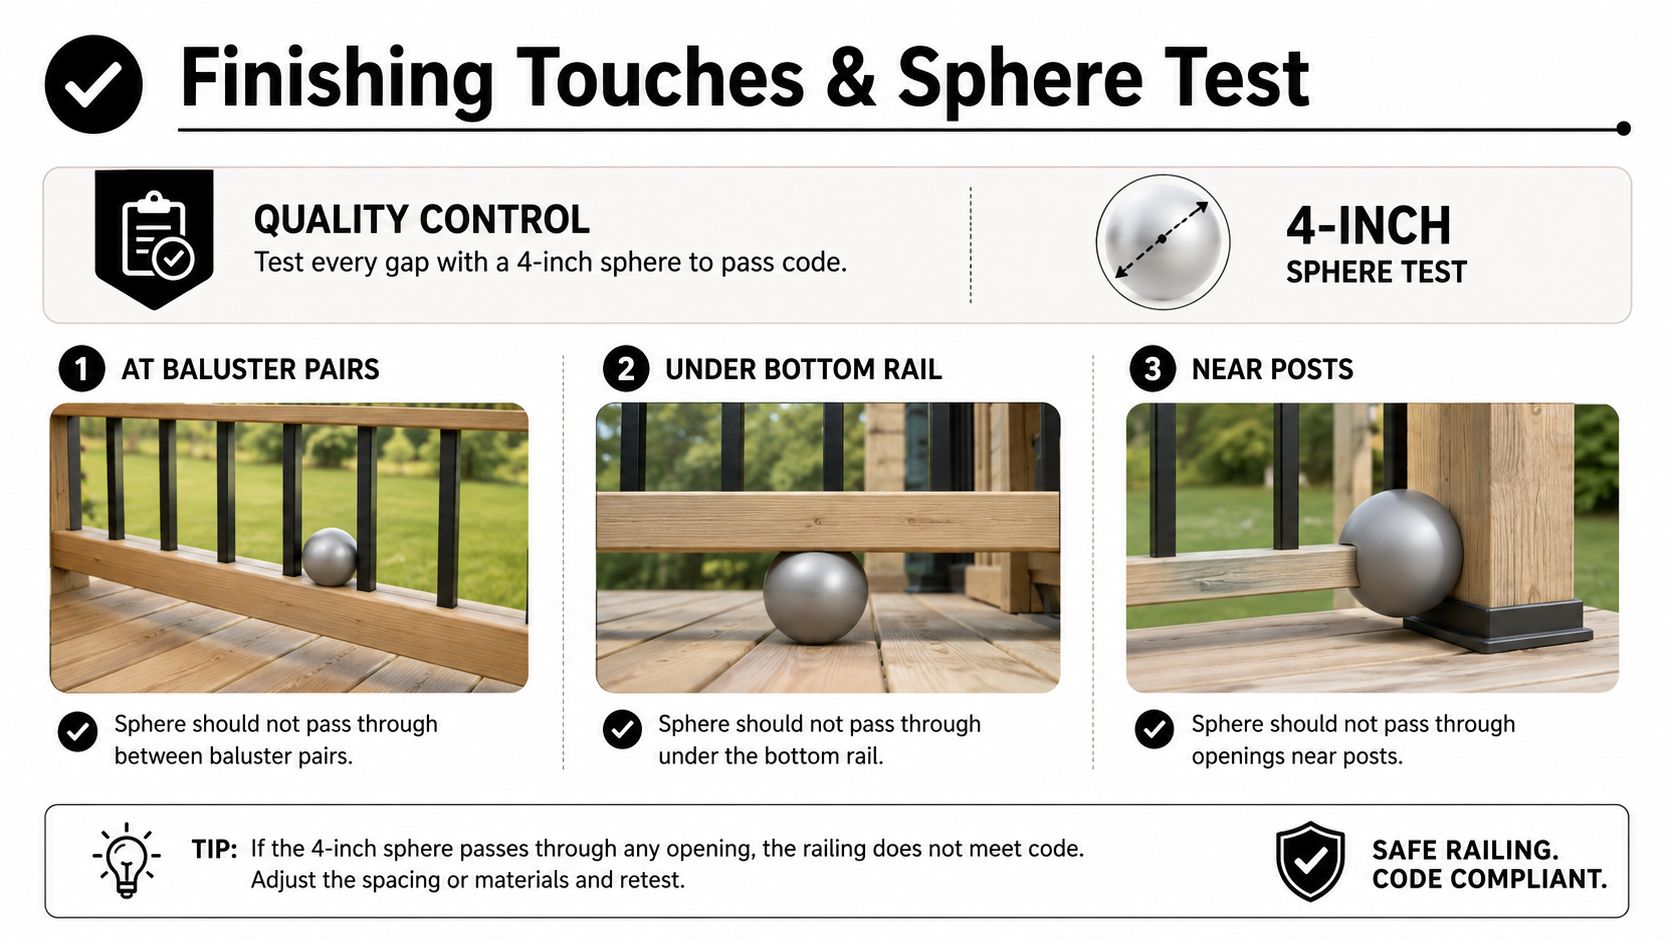
A rail can look done and still fail if nobody checks the openings the way the code does. The last pass is not about appearance, it is about proving the guard works the same at every point a child could reach through or slip through deck baluster verification guidance.
Check every opening, not just the face of the rail
Run the 4-inch ball test at the baluster pairs, under the bottom rail, and near each post. Those are separate openings, and each one can fail on its own. If the sphere slips through anywhere, the rail needs correction before the job is called done.
A level check on every fifth baluster catches drift before it gets obvious. After that, sight down the full top rail. You are looking for a consistent line, because a rail that waves visually often hides a spacing problem or a fastener that pulled a piece out of alignment.
The tape measure tells you what you built. The sphere test tells you whether it passes.
Finishing details still matter. Sand rough cut ends, seal exposed end grain on wood, touch up metal paint where the fasteners bite, and cap exposed screw heads if the system uses them. Those steps do not replace the inspection, but they keep moisture out and make the finished run look intentional instead of patched together. The same discipline applies to composite and other manufactured systems, follow the deck baluster verification guidance and use the matched hardware for the railing you installed.
The last check is visual. Squint down the line and look for gaps that catch the eye. Inspectors do the same thing, and guests will spot uneven spacing long before they measure it.
Maintenance and Troubleshooting After the Build
A railing that passed once can still drift after a season of weather. Freeze-thaw movement, fastener loosening, and small bumps from furniture or foot traffic all show up later, usually at one baluster before they show up everywhere else. The fix is a routine, not a panic.
Walk the rail once a year with a 4-inch sphere and a screwdriver. Tap each baluster lightly, listen for movement, and check the same openings you checked at install, especially the space under the bottom rail and around the posts. If one baluster is loose, retighten or replace that piece without disturbing the full run.
A few common problems show up again and again:
- Wobbly baluster, tighten the fasteners, then check whether the pilot holes are stripped.
- Gap drift on long runs, recheck the spacer block layout at the affected section and reset the alignment.
- Rusting fasteners, swap to exterior-grade hardware that suits the exposure.
- Composite discolouration, clean per the manufacturer's guidance and verify the fastener pattern isn't causing stress.
If the gap under the bottom rail opens beyond the limit, treat it like a code issue, not a cosmetic one. Adjust the rail, not just the baluster face. The goal is the same every season, a straight, safe run that still passes the same sphere test it had to pass on day one.
If you want balusters, fasteners, post caps, and railing hardware from one source, XTREME EDEALS INC. carries deck-and-fence components that fit this kind of project. Visit XTREME EDEALS INC. to source the parts before your next railing install, then build the run once and check it with the sphere test before you call it finished.