
The most popular advice about a 4×4 ground spike is also the advice that causes the most leaning fences: drive the spike, drop in the post, and assume the job is finished. A metal anchor isn't a universal substitute for concrete. It works best where the soil is competent, the post carries a modest load, and local requirements allow a spike-only installation. It performs poorly in loose fill, wet ground, shallow rock, frost-prone soil, and high-stress locations such as gates and corners.
A durable installation depends on three decisions made before the first blow with a mallet: whether the ground can hold the anchor, whether the wood treatment matches ground-contact exposure, and whether the fence needs a footing with more resistance than a driven spike can provide. The shortcuts that save digging can create a much larger repair when a post shifts, rots, or pulls out.
Evaluating Site Conditions Before Driving Spikes
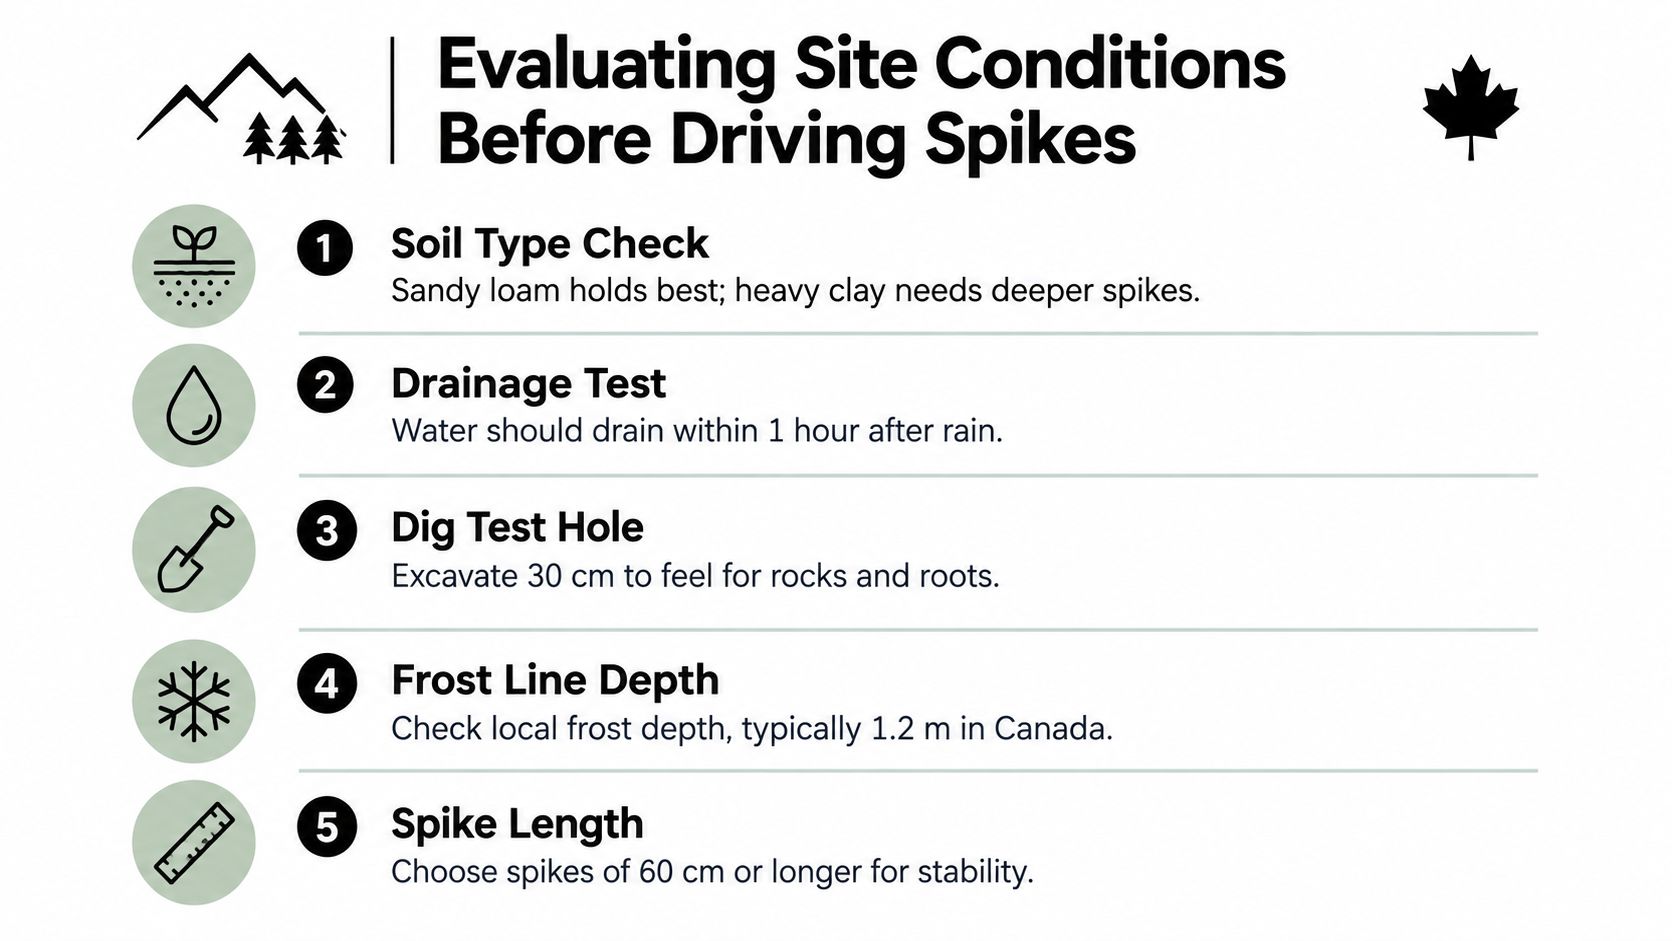
A ground spike is only as stable as the soil around its shaft. Undisturbed natural ground or properly compacted fill can provide useful lateral resistance, while loose backfill, organic topsoil, and recently disturbed soil may let the anchor move under wind or the prying force of a fence panel. Don't judge the site by how hard the surface feels. A compacted crust can conceal soft material underneath.
Start by checking utilities, property lines, drainage, and the proposed fence height. Remove organic topsoil at the post location and investigate whether you're dealing with heavy clay, saturated soil, unconsolidated fill, shallow bedrock, or buried construction debris. A spike driven into poor material may reach an impressive depth and still have little dependable holding power.
Soil and code checks that prevent rework
Local rules decide whether a spike is acceptable. San Diego County guidance describes wood posts supported by 12-inch-diameter concrete footings extending at least 24 inches into undisturbed natural ground or properly compacted fill, with 3 inches of loose gravel below the footing. That benchmark demonstrates why a spike shouldn't automatically be treated as equivalent to a code-compliant footing for a tall, heavily loaded, or wind-exposed fence. California fence guidance also makes clear that local building requirements govern.
Fontana takes a similarly footing-based approach, requiring fence posts to be encased in concrete footings 12 inches in diameter and 2 feet deep, with at least 18 inches of post embedment in the concrete. San Diego County and Coronado use a 24-inch embedment benchmark in their published guidance, but that isn't a universal California rule. Fontana's fencing requirements and local permitting offices should be checked before choosing a spike-only method.
Practical rule: If the authority requires a concrete footing, a spike isn't a clever workaround. It's the wrong support system.
For Canadian projects, use the site assessment guidance in this fencing resource for Canada as a starting point, then confirm the local frost, soil, and permit requirements. Stop the spike plan when the post supports a tall privacy fence, a gate, a corner transition, or a structure exposed to substantial wind loads and the ground can't provide reliable resistance.
Matching Wood Treatment to Metal Hardware
The steel collar protects the post from direct soil contact, but it doesn't make ordinary above-ground lumber suitable for the joint. Water can collect at the socket, and landscaping can hold damp debris against the wood. If the post isn't treated for its exposure, decay can begin where inspection is difficult.
Wood Preservation Canada classifies fence, deck, and guardrail posts exposed to ground contact or freshwater as UC4.1 where decay risk is normal or low. UC4.1 addresses exposure to weather cycles and deterioration from decay fungi, soft-rot fungi, and insects. UC4.2 is intended for high-decay-risk applications, critical structural components, or posts that are difficult to replace. A light fence in ordinary, well-drained conditions may suit UC4.1, while a persistently wet, heavily loaded, or structurally critical post deserves evaluation for UC4.2. The Wood Preservation Canada specification guide provides the category distinction.
Treatment, moisture, and corrosion at the socket
Canadian pressure-treated wood requirements follow the CSA CAN/CSA O80 Series, and preservative uses are regulated by Health Canada's Pest Management Regulatory Agency, as outlined by Wood Preservation Canada. Read the treatment label instead of assuming that any green-coloured lumber is suitable for ground contact.
California guidance reaches the same practical conclusion from another direction. Wood exposed to earth must be naturally durable against decay and termites or preservative-treated for soil or freshwater use under AWPA U1 requirements. Metal pedestals and concrete supports should also separate wood from persistent moisture, and pressure-treated lumber is required where wood is embedded in or directly contacts earth under the cited municipal provisions. The California moisture and ground-contact guidance explains why separation and treatment work together.
Copper-based treatments can accelerate corrosion in incompatible steel. Match the spike finish and fasteners to the treatment, using corrosion-resistant hardware rather than relying on a thin decorative coating. A treated post can also trap moisture at the steel collar, so a barrier washer or suitable separation detail remains useful even when the lumber is correctly rated.
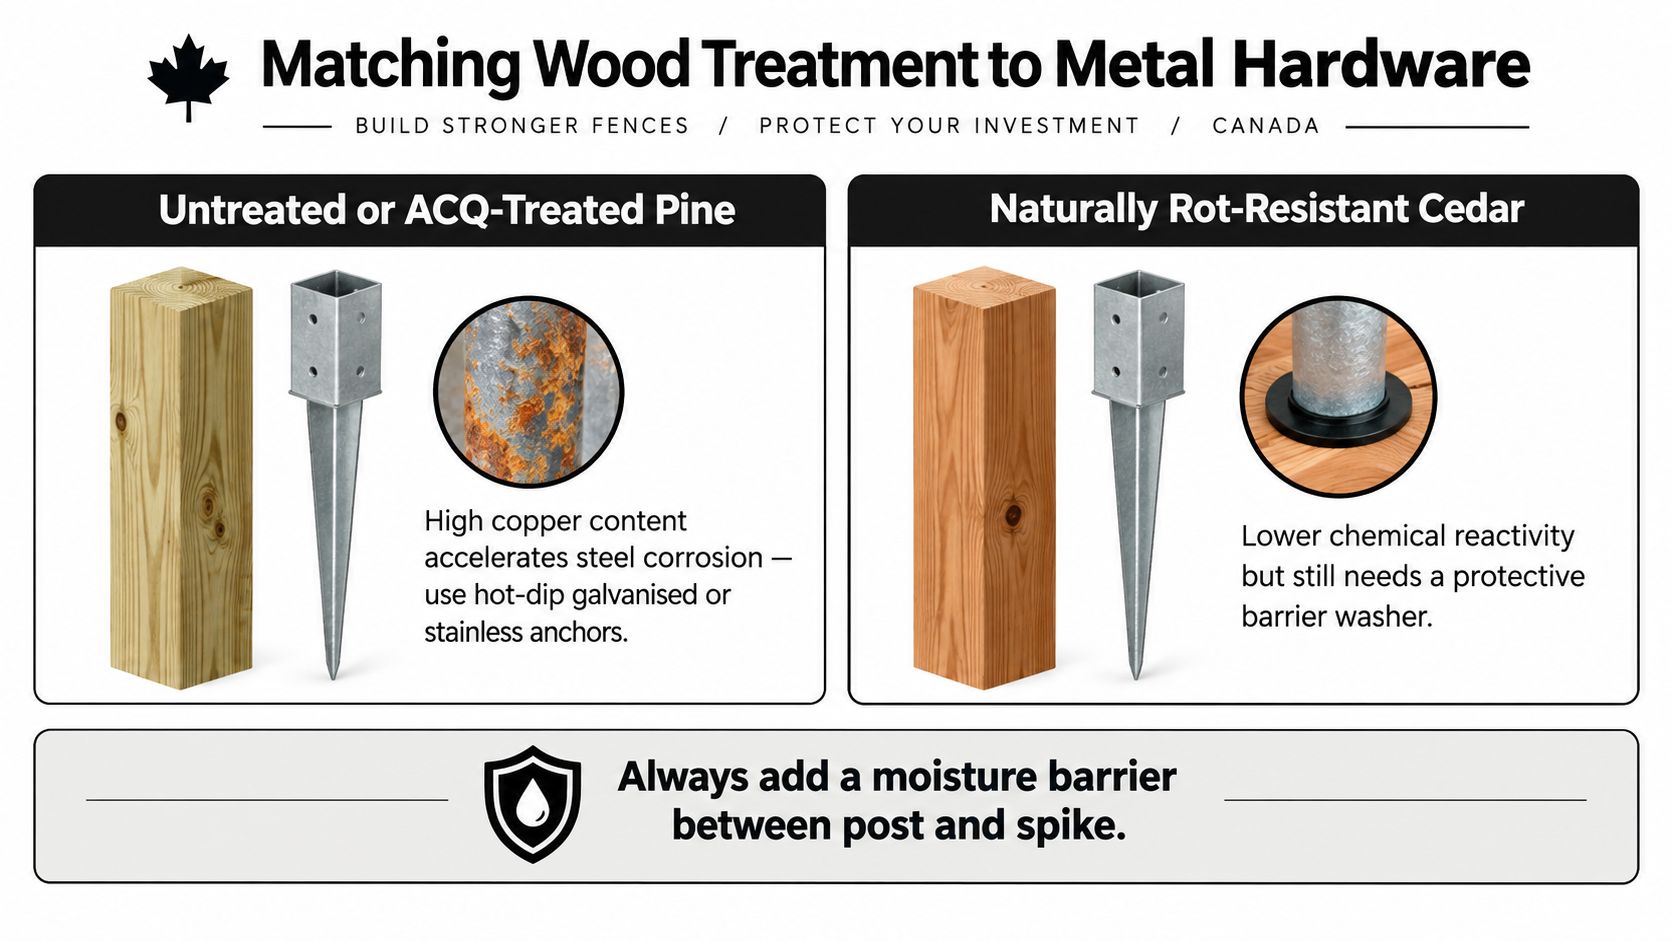
For more detail on choosing exposure-appropriate lumber, see this guide to wood post treatment. The finish should resist the actual environment, including wet clay, road salt, coastal air, fertilizer, and repeated freeze-thaw exposure. “Rust-resistant” isn't a complete specification. The product's coating, fasteners, washers, and contact with treated wood all matter.
Executing a Plumb and Secure Installation
A spike installation should be treated as a controlled alignment job, not a hammering contest. Confirm the soil first, then select a socket that fits the actual post. A nominal 4×4 usually measures about 3.5 by 3.5 inches, so the internal socket must accept that finished dimension without forcing a swollen or twisted post.
A reliable sequence in the field
Mark the position carefully. Confirm the property line and utility clearance before disturbing the ground. A misplaced anchor is difficult to relocate once the shaft is buried.
Remove organic material. Strip away roots, sod, mulch, and loose topsoil until the driving point reaches competent soil. Don't use a spike to bridge soft landscaping material.
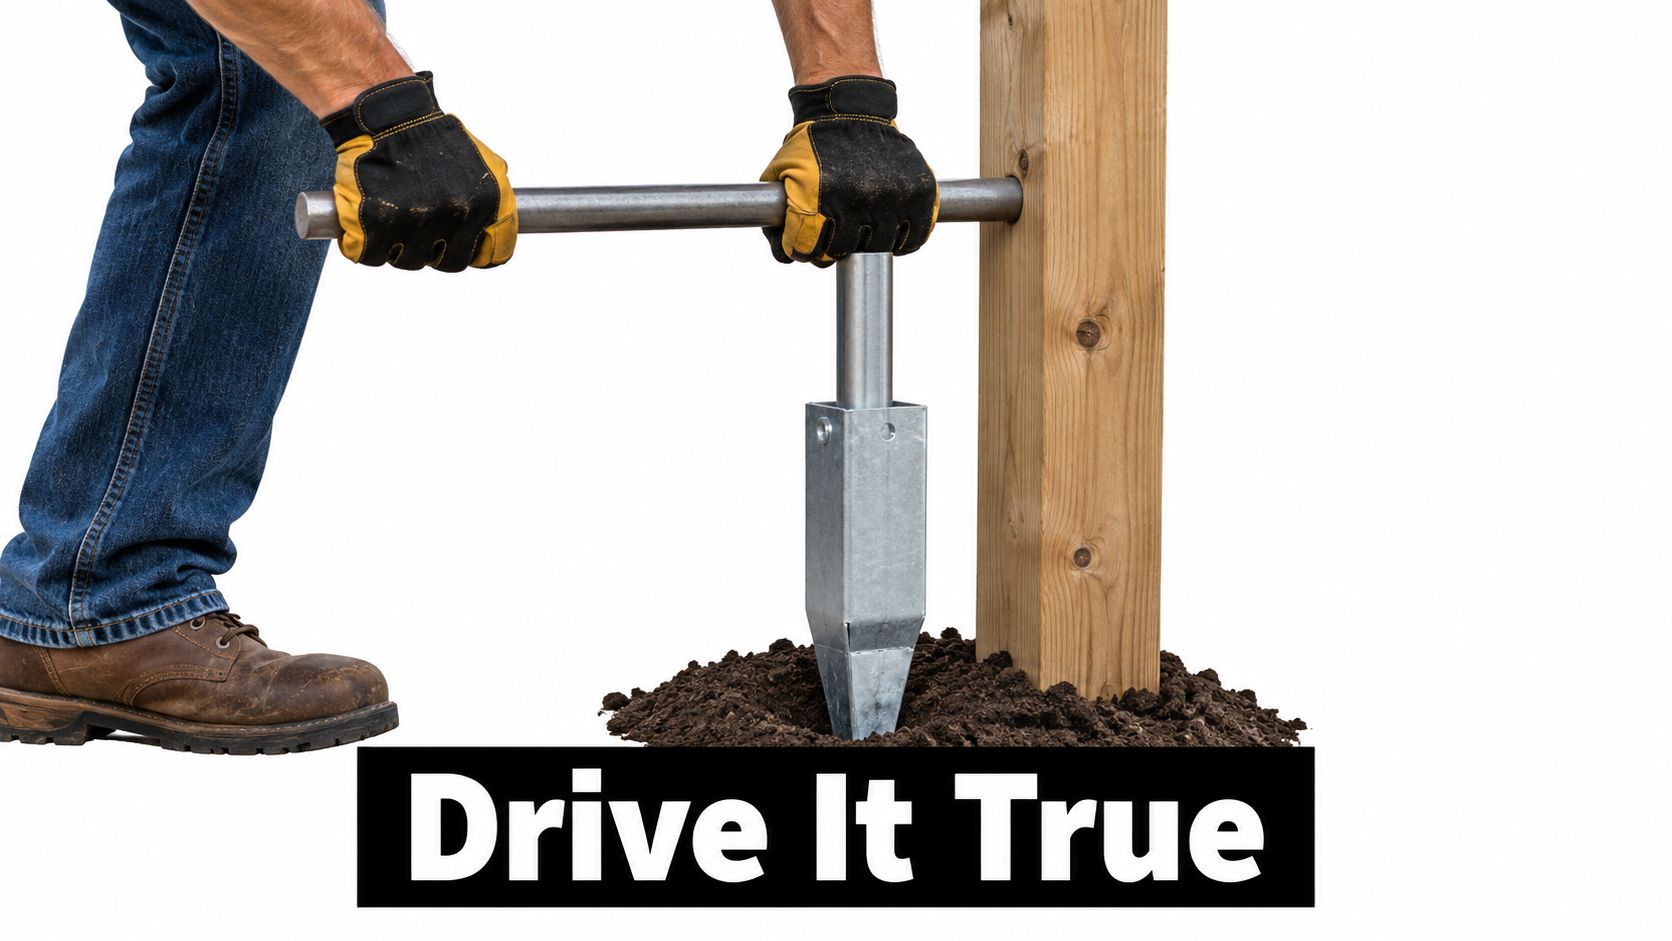
Drive through protection. Use a sacrificial wood block or a manufacturer-approved driver over the spike head. Direct blows on the collar can deform the socket and prevent the post from seating properly.
Read refusal correctly. Stop if the shaft buckles or if hard refusal suggests rock, buried concrete, or debris. Angling around an obstruction can leave the spike poorly aligned and can damage the steel.
Check two faces. Set a level against adjacent faces of the post, checking plumb in perpendicular directions. Correct alignment before fastening, not after rails and panels make movement difficult.
Fasten after alignment. Tighten set screws or install the specified lag bolts only once the post is straight and fully seated. Over-tightening can crush treated wood; under-tightening permits movement at the collar.
The spike should transfer lateral force into the soil while keeping the wood positioned above persistent moisture. It isn't proof of code compliance, and it doesn't compensate for weak soil. 4×4 anchor post options can help with fit and application selection, but the post size and intended load still need to match the hardware.
The driving method is only part of the job. Watch the finished grade around the collar, prevent water from ponding against the socket, and fit a cap over the exposed end grain. A suitable cap reduces direct water entry and also keeps the post top from checking as it weathers.
If the post won't remain plumb while you tighten the hardware, take it back out and correct the support. Rails can hide a crooked post during installation, but they won't eliminate the force that eventually pulls the anchor sideways.
Reinforcing High-Stress Fence Zones
Line posts and gate posts carry different loads. Intermediate posts mainly support the fence run, while corners, ends, and gates absorb direction changes, rail tension, latch impact, and wind force. A standard spike may work for a light-duty line post in competent soil, yet shift at a gate when repeated opening loads act through the gate's long arm.
Canadian government specifications recommend corner-post footings be 300 mm deeper than line-post footings, reinforcing the principle that post position should determine support depth. The Canadian construction specification also states that a mechanical device embedded in soil must resist the design loads for the site's soil or rock conditions and withstand frost heave.
| Post Zone | Primary Stress Factor | Recommended Support |
|---|---|---|
| Line post | Repeated panel wind pressure and ordinary lateral movement | A correctly fitted spike where local rules permit it and the soil is competent |
| End post | Tension from the fence run and termination forces | A deeper or more substantial support, assessed against soil capacity |
| Corner post | Directional change and concentrated rail loads | Concrete, helical support, or an engineered heavy-duty bracket where a spike lacks resistance |
| Gate post | Gate weight, latch impact, sagging torque, and repeated movement | A concrete footing or engineered support, often with a deeper 30-inch detail |
| Tall privacy post | Large wind-facing panel area and increased overturning force | Concrete footing or another designed support selected for the site |
Choosing the point to abandon the spike
Use a concrete footing when the local authority requires one, the soil is loose or saturated, or the post carries a high-load transition. A helical solution may suit restricted access, difficult excavation, or particular soil conditions, but it still must match the site loads and soil profile.
The wood treatment category matters here too. A heavier support does not make unsuitable treated wood compatible with the hardware or exposure. Check the post treatment, connector coating, fastener material, and manufacturer's compatibility requirements before installation. A mismatch can accelerate corrosion or damage around the connection.
Heavy-duty brackets can strengthen the connection between a post and its support, but no bracket creates bearing capacity in weak fill. The support system has three parts: hardware, wood, and ground. Failure in any one can pull the fence out of alignment.
Gates deserve their own support decision. Treating a gate post like an ordinary line post is how a straight fence ends up with a sagging, rubbing gate.
Managing Frost Heave and Long-Term Moisture
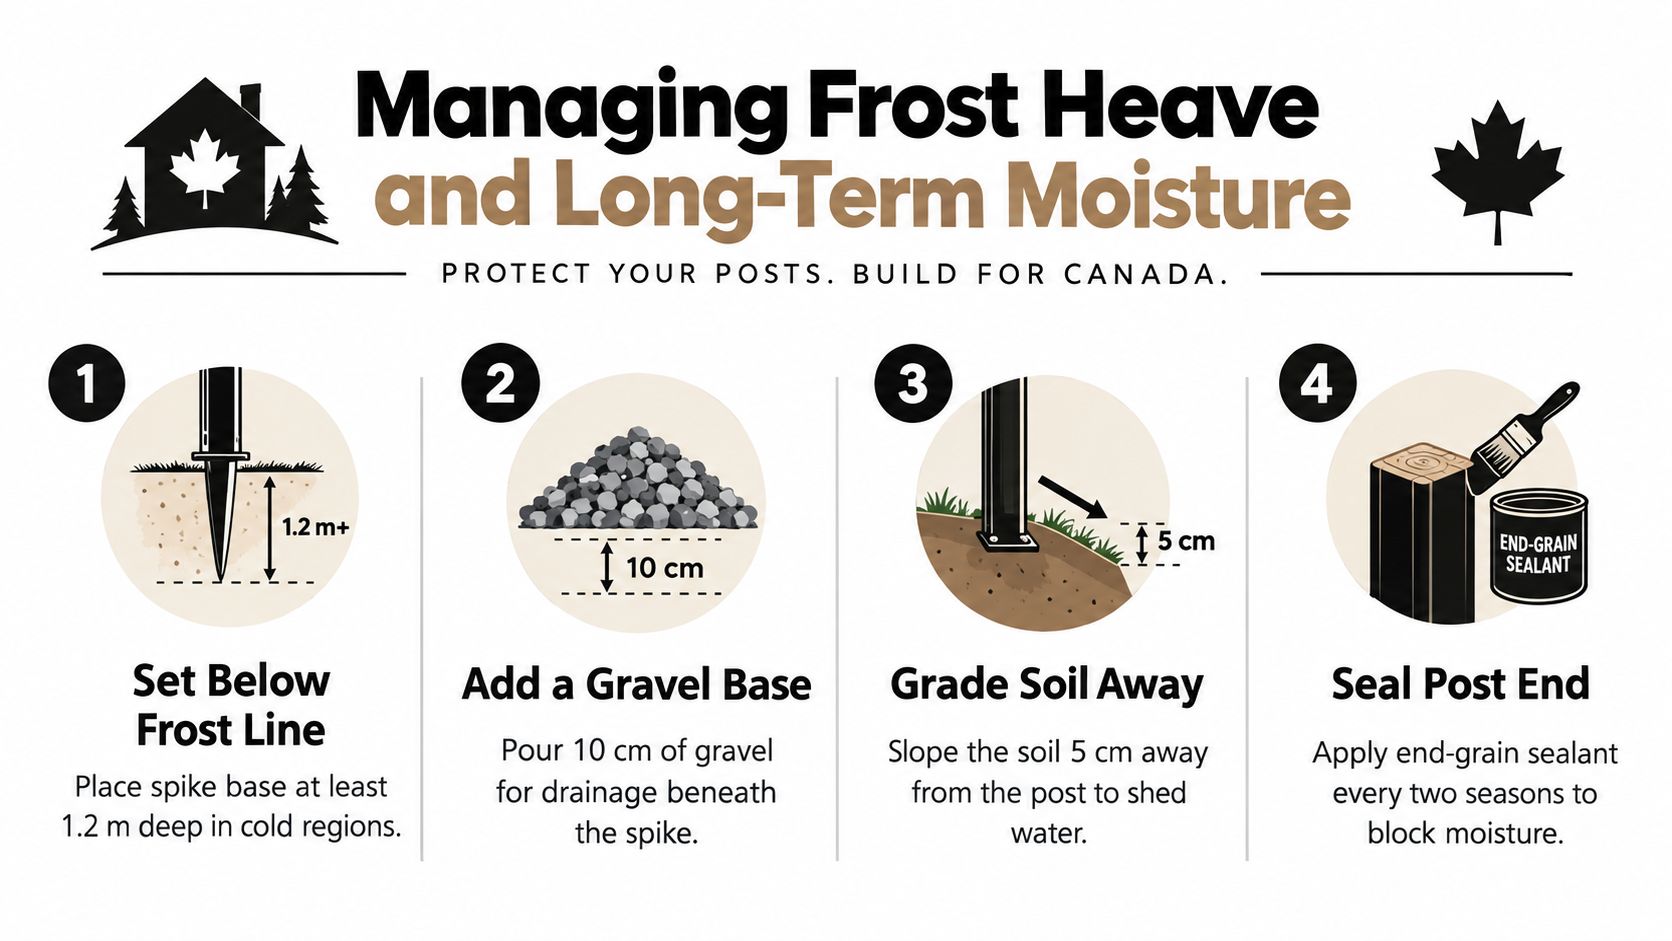
Canadian frost heave changes the ground around the anchor instead of just pushing the post straight upward. Water in the soil freezes, expands, and can grip the shaft or surrounding material. During thaw, the soil may settle unevenly, leaving the spike higher, looser, or tilted. Frost-prone clay, saturated soil, and poorly drained fill make this movement more likely.
A footing-style installation can also fail when the surrounding soil is unstable or unconsolidated. Canadian guidance warns that footing approaches are unsuitable in some unstable soil, unconsolidated fill, or areas with unusually severe frost movement. The decision isn't “spike versus concrete” in isolation. It depends on drainage, frost exposure, soil consistency, post loading, and the support detail approved for the site.
Keep water and landscaping out of the joint
Don't pile mulch, soil, leaf litter, or vegetation against the post. Wood Preservation Canada identifies these conditions as ground-contact hazards, even where a component appears raised off the ground. It also recommends ground-contact treatment where air circulation is blocked, where a component sits less than six inches above final grade on permeable supports, or where frequent wetting occurs. The above-ground versus ground-contact guidance explains why apparent clearance isn't enough.
Good drainage work may require more than changing the post hardware. If runoff repeatedly collects along the fence, a drainage specialist such as Prestonwood Commercial Landscape Services can help identify grading and water-management problems before they undermine the support.
Inspect the fence annually, particularly after winter:
- Check movement: Sight along the fence and test whether line, corner, and gate posts shift by hand.
- Examine the soil line: Look for erosion, standing water, exposed steel, or soil that has settled away from the shaft.
- Inspect the collar: Watch for rust bleed, coating loss, trapped debris, and gaps between the socket and wood.
- Check the wood: Look for splitting, soft areas, end-grain checking, and decay near the metal interface.
- Correct landscaping: Pull back mulch and soil so water can drain and air can reach the post.
Coastal and wet environments increase the importance of corrosion resistance and drainage. Variable drought, flooding, and heat conditions also make a one-time installation promise less credible. The practical standard is simple: keep the joint dry, inspect it, and replace a compromised support before movement spreads through the fence.
Finalizing the Project with Quality Hardware
The cleanest fence installations are usually decided before the posts arrive. A builder who checks soil, confirms local support requirements, chooses ground-contact-rated lumber, and matches fasteners to the treatment category has already avoided the most expensive part of the job, the teardown.
XTREME EDEALS INC. supplies fencing and deck hardware including ground spike post anchors for nominal 4×4 posts, compatible with actual post dimensions of approximately 3.5 by 3.5 inches. Its product range also includes 24-inch and 36-inch anchor lengths intended for light-duty applications such as fences and mailbox posts. Those options can be useful when the site, post load, and local requirements support a spike, but length alone won't correct weak soil or make a gate post equivalent to a designed footing.
Details that preserve the installation
Use the rest of the hardware as a connected system rather than collecting parts at random.
- Post caps: Protect exposed end grain from direct rainfall and offer a finished appearance. Pyramid, ball, and decorative styles suit different fence designs.
- Carriage and lag bolts: Select fasteners that tolerate the preservative treatment and the wet conditions around the post.
- Washers and barriers: Reduce concentrated crushing and help separate incompatible materials at the collar.
- Rails and brackets: Keep connections aligned so loads reach the post support rather than loosening a single fastener.
- Gate hardware: Hinges, latches, and inserts should be selected with the gate's weight and movement in mind.
A spike that fits the post but fails to suit the soil is a poor purchase. Treated lumber that meets the exposure category but sits in trapped water is also a poor installation. The finished result comes from matching the ground, treatment, metal, fasteners, and load rather than chasing the fastest individual step.
For a modest line fence, that process may produce a neat, efficient installation. For a gate, corner, privacy panel, or frost-sensitive site, the same process may tell you to abandon the spike and build a concrete or engineered support instead. That isn't overbuilding. It's recognising where the loads and ground conditions exceed what a light-duty anchor can reliably handle.
XTREME EDEALS INC. offers compatible ground spike anchors, post caps, treated-wood-compatible fasteners, brackets, washers, and other fencing hardware for projects where the support system has been properly selected. Visit XTREME EDEALS INC. to compare the hardware for your post size and finish the installation with components suited to the soil, wood treatment, and load.