
You've probably seen the failure already: a fence leans after a wet season, the soil line looks dark, and a screwdriver sinks into the post while the section above still appears sound. The usual explanation is “bad pressure-treated wood,” but the bigger problem is often a mismatch between the post's treatment category and its exposure, followed by unsealed cuts at the exact place where decay gets started.
Good wood post treatment is more than buying lumber with a green tint. It combines the right end-use rating, careful cutting, compatible field treatment, drainage, and hardware that keeps vulnerable wood away from standing moisture. California projects also add code, wildfire-interface, handling, and disposal considerations. The practical aim is simple: keep water from remaining at the ground line, and never assume factory treatment protects surfaces you create on site.
Why Wood Post Treatment Matters for Longevity
Outdoor posts fail where conditions change quickly. The ground line receives rain, irrigation, soil moisture, splashback, and repeated wet-dry cycling, while the buried section has little opportunity to dry. A post can look solid above grade and still have lost enough fibre at the base to make a gate sag or a fence panel move.
The lesson is visible in a California field durability study. Researchers installed 17 fence-post types in 1945. After 22 years, every untreated post except split incense-cedar heartwood and manzanita had rotted, while most treated posts remained sound and serviceable, as documented in the USDA Forest Service field durability study. That result isn't a promise of a particular service life for a modern post, but it shows why butt and ground-line protection deserve more attention than a quick coat on the visible face.
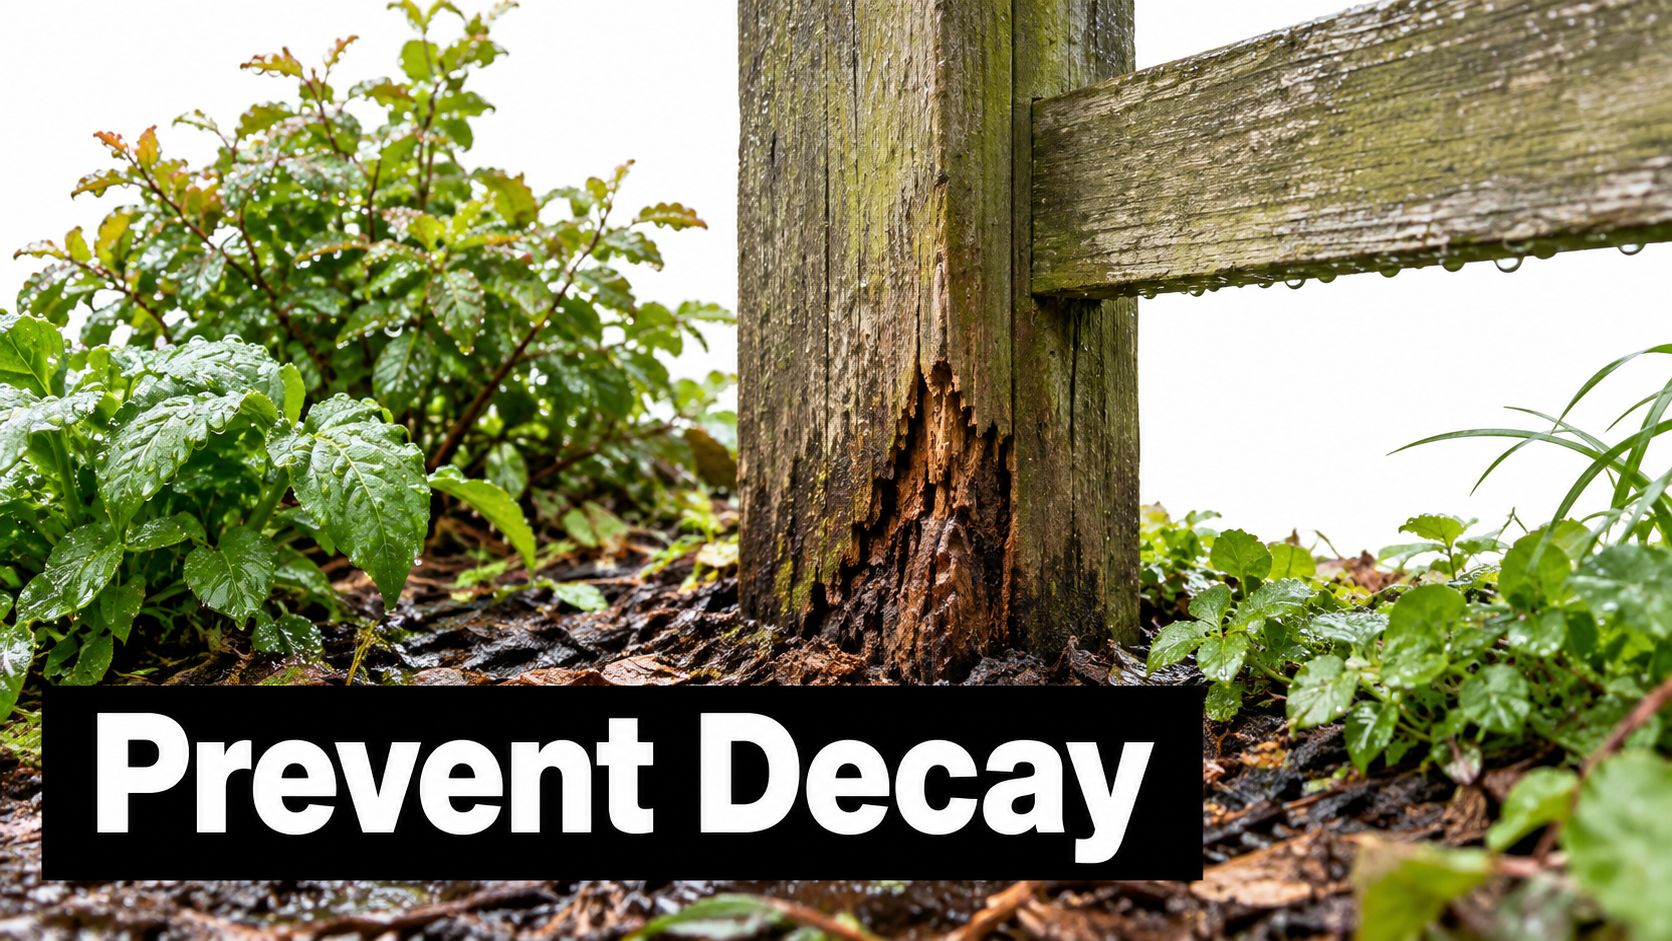
The ground line is the inspection point
A post normally fails through a combination of moisture, oxygen, fungi, and physical stress. Soil contact alone doesn't guarantee failure, but a wet interface that can't drain or dry gives decay a favourable environment. Concrete can create the same issue when it forms a cup around the post and directs water toward the wood.
Start with these checks before installation:
- Classify the exposure: Decide whether the post will be embedded in soil, enclosed by weather-exposed concrete, or mounted above a pier.
- Inspect the grain: Reject posts with severe end splits, deep checks, crushing, or obvious damage in the section that will sit at the ground line.
- Plan every penetration: Mark cuts, notches, and bolt holes before applying supplemental preservative.
- Design for drainage: Give water a route away from the base instead of relying on coating alone.
Practical rule: Treatment protects wood, but detailing controls how much water reaches it.
The factory process is only the starting point. Sawing a post exposes fresh end grain, and drilling for a bracket can open untreated interior wood. California requirements call for field cuts and penetrations in preservative-treated members to receive compatible supplemental treatment, so installation quality is part of the treatment system, not an optional finishing step.
Choosing the Right Preservative System
The first decision isn't brand. It's exposure classification. A post in soil needs a preservative system and retention level intended for soil contact. A beam held above grade needs the corresponding above-ground category. Using the wrong category because the lumber was convenient is one of the fastest ways to create a callback.
California guidance says posts embedded in soil, or concrete exposed to weather, must be naturally durable or preservative-treated for the intended soil-contact use under AWPA U1. Above-ground members require the appropriate above-ground treatment category, as outlined in California treated-wood and durability requirements. Read the permanent quality mark rather than trusting a general “pressure-treated” description. It should identify the treating manufacturer, preservative, minimum retention, intended end use, AWPA standard, and inspection agency.
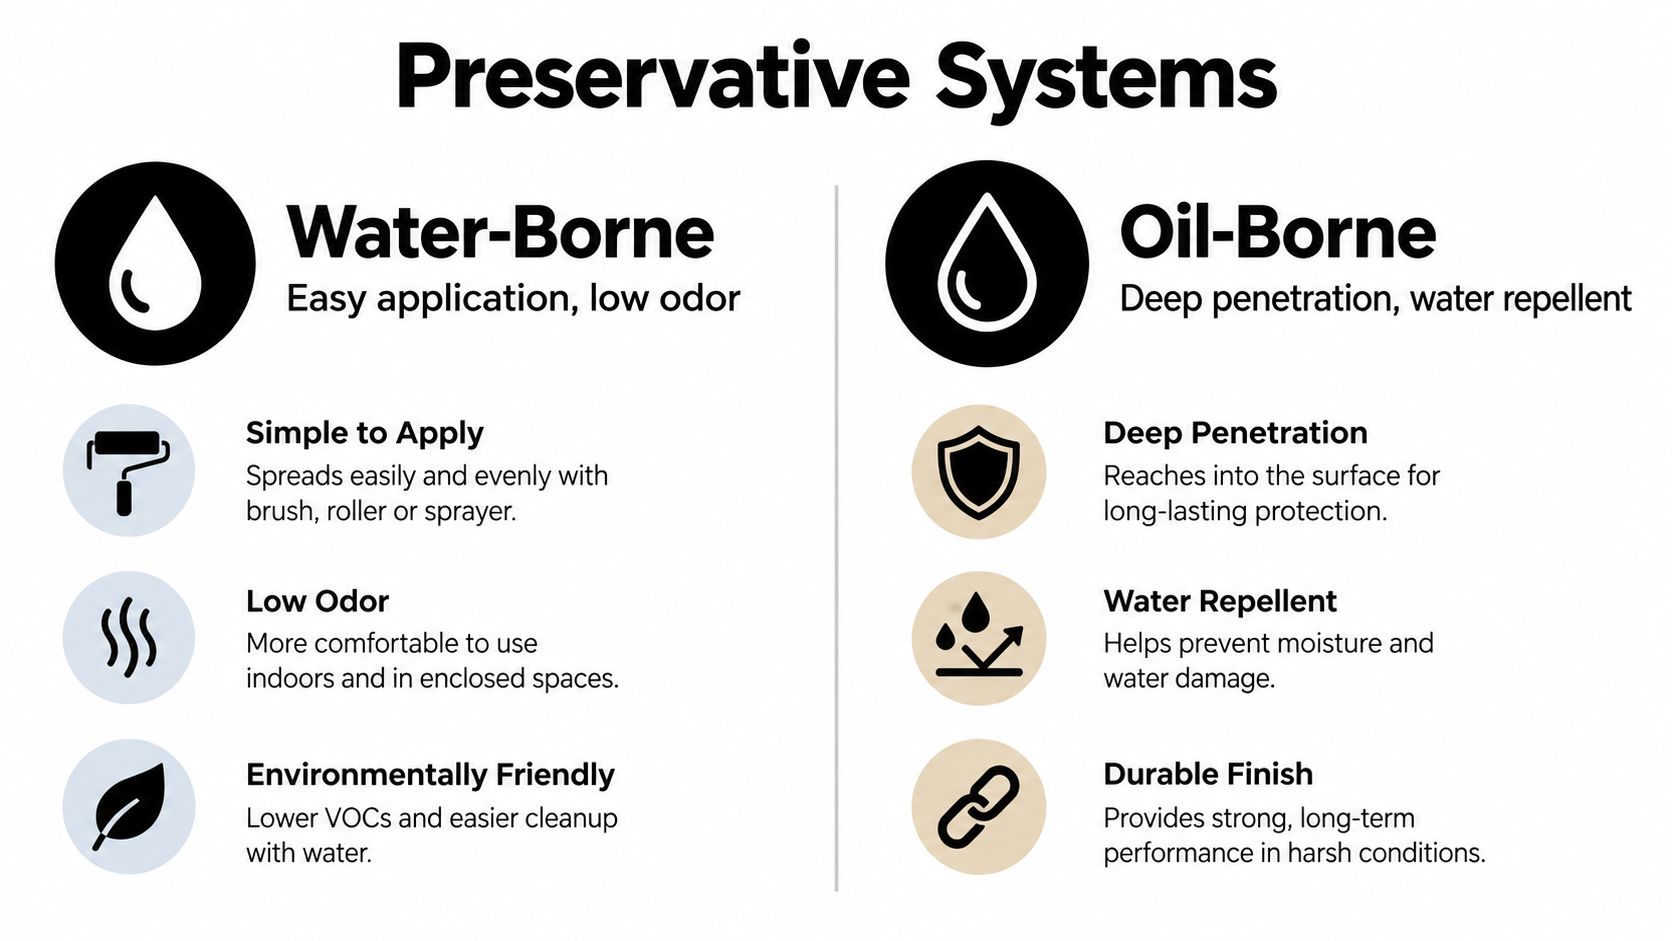
Water-borne and oil-borne choices
Canada's mature treating industry illustrates how outdoor wood preservation shifted toward residential applications. In 1999, Canada produced approximately 3.5 million cubic metres of treated wood at 66 treating plants. Water-borne preservatives represented roughly 83% of treated production, while oil-borne preservatives represented about 17%, according to the Canadian Wood Council's industry history.
Water-borne systems are common for residential posts and structural lumber because they can provide a specified treatment for an identified end use without the handling characteristics associated with heavier oil systems. ACQ and copper azole are important modern examples. They still require correct fasteners and compatible hardware, because copper-based preservatives can affect metal compatibility.
Oil-borne systems can offer useful water-repellent properties and penetration characteristics in suitable industrial or field-treatment applications. They aren't a licence to improvise with used oil, diesel, or an unlabelled product. Use only a preservative listed for the wood, exposure, and application method.
Canada's residential transition also matters when older material turns up. CCA-treated wood was voluntarily withdrawn from residential applications effective December 31, 2003. Existing CCA structures didn't need to be removed, and Health Canada didn't recommend removal of those installations. After the change, CCA generally remained for industrial products under registration requirements, with limited exceptions. A federal review reported 55 wood-preservation facilities operating nationally in 2011, with 30 still using CCA and 16 using it as their sole preservative. Industry data indicated that Canadian treaters moved approximately 80% of former CCA production to ACQ or copper azole systems, as described in the federal technical review.
For painting or staining after treatment, check the lumber's moisture condition and the coating manufacturer's requirements. A practical resource on compatibility and preparation is this guide to find the right paint for treated wood from I PAINT STUFF. For a plain-language explanation of the material itself, see what pressure-treated wood is.
Preparing and Treating Posts On-Site
Factory treatment doesn't follow your saw blade. The moment you cut a post, drill a bolt hole, or notch a shoulder, you create a surface that needs attention. Treat those areas before the post enters the hole, not after the fence is assembled and the cut is hidden behind concrete.
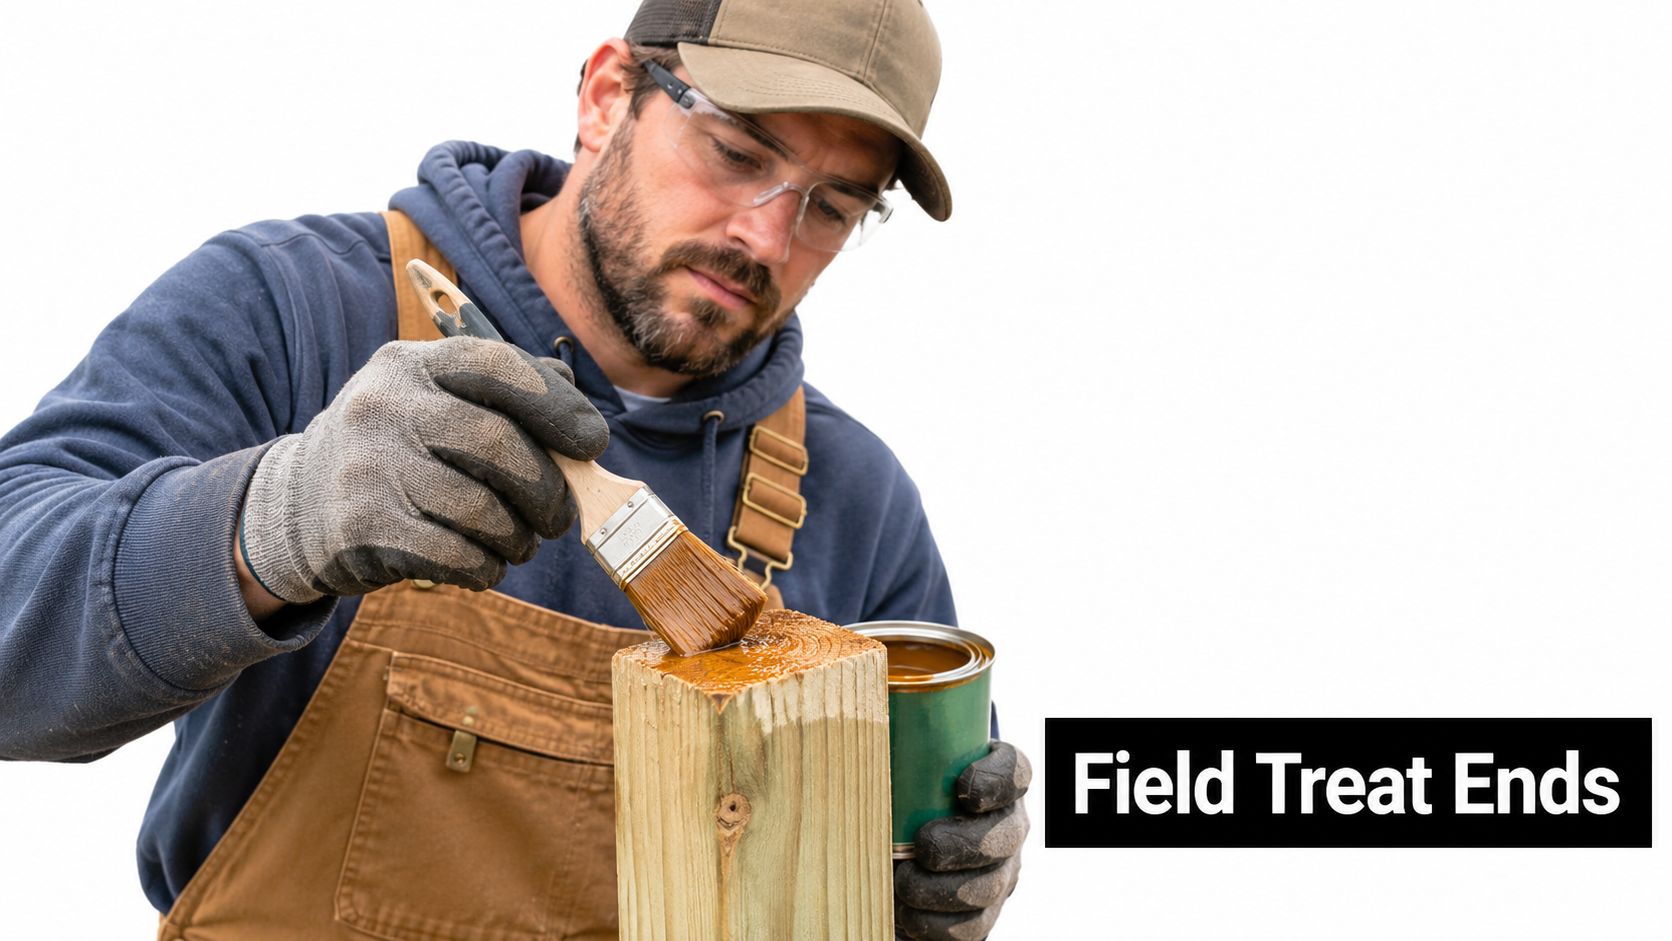
A reliable field-treatment sequence
Cut posts accurately first. Keep the cut square where the post will meet a base or connector, remove loose fibres, and inspect the end for splitting. Brush away sawdust so the preservative reaches the end grain rather than forming a film over debris.
The University of California Agriculture and Natural Resources notes that over-the-counter preservatives may be applied by spraying, brushing, or dipping, including on cut ends of pressure-treated lumber and untreated surfaces exposed by drilling. Its guidance on outdoor lumber selection is available through UC Agriculture and Natural Resources. In practice, brushing gives the most control around bolt holes and irregular notches, while dipping can suit removable posts when the product label permits it.
Use a product compatible with the original preservative and approved by its manufacturer. Follow the label for coverage, drying, ventilation, and recoat requirements. Don't substitute motor oil, household chemicals, or an improvised solvent. Keep wet product away from drains, wells, ponds, and planting beds, and collect contaminated rags according to the label.
After treating the cut surfaces, allow the post to reach the condition specified by the preservative manufacturer before enclosing it. A wet post trapped inside concrete, cladding, or a tight connector can stay damp long after the visible surface looks dry.
The installation process benefits from a deliberate check before setting each post:
- Cut and drill first.
- Remove dust and loose fibres.
- Apply the compatible supplemental preservative to every exposed area.
- Give the product the required time and conditions to dry.
- Recheck the ground-line zone before placing the post.
The short video below shows the type of application detail worth reviewing before starting work.
In-Ground versus Above-Ground Installation Methods
Direct burial is familiar and can be structurally effective, but it places the most vulnerable part of the post in a difficult environment. Soil holds moisture against the wood, concrete can trap water at the interface, and any mistake in treatment classification is buried where inspection becomes impossible.
Raised mounting changes the exposure. A metal post base or bracket can separate wood from soil and create a visible drainage gap. It won't compensate for an undersized post, weak anchorage, or poor structural design, but it can remove the constantly wet interface that causes so many failures. XTREME EDEALS post bases are one hardware option for projects designed around an above-ground connection.
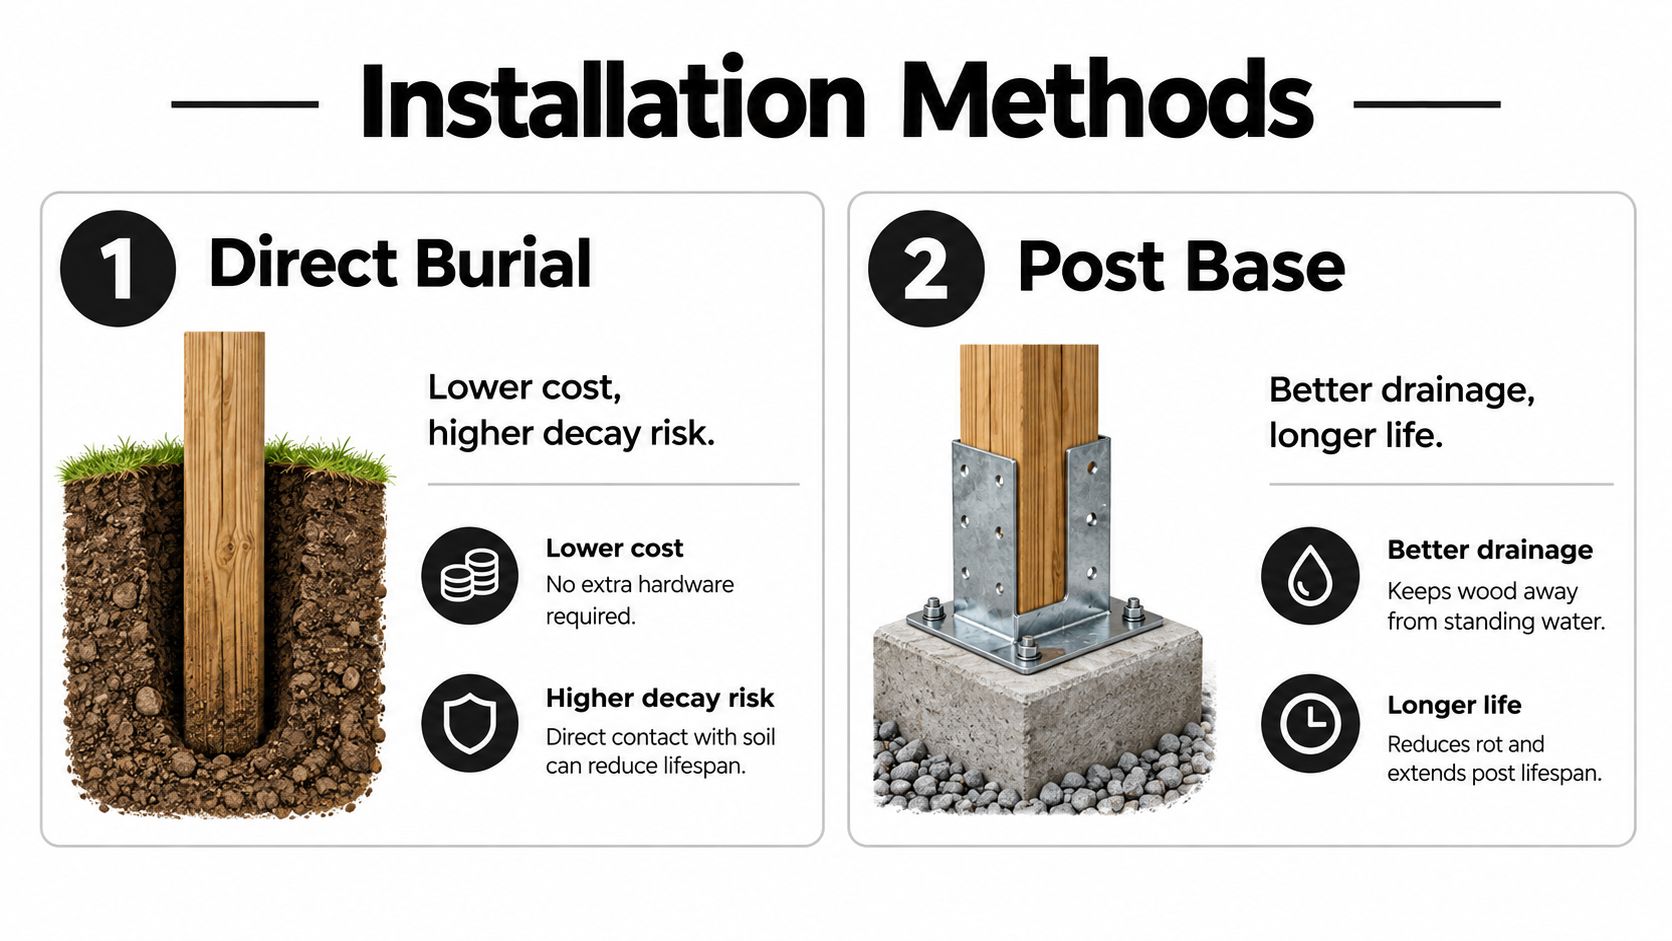
Direct burial requires disciplined drainage
If the design calls for burial, select a post marked for soil contact. Don't install an above-ground-rated member just because it has been pressure treated. Place the post so water can move away from the base, avoid creating a concrete collar that slopes toward the wood, and keep soil, mulch, and irrigation from remaining against the ground line.
Where concrete is used, the top surface should shed water away from the post. Where the design and soil conditions allow, a free-draining aggregate zone can reduce water retention, but it isn't a substitute for a suitable post or proper compaction. Always follow the project engineer's or local authority's requirements for depth, footing, and lateral resistance.
California code recognises a moisture-isolation alternative. A post can avoid preservative-treatment requirements when it's protected from weather and separated from a concrete pier or metal pedestal by an impervious moisture barrier, subject to the applicable code conditions. That option works only when the assembly keeps the wood dry. A bracket filled with debris or a base that holds water defeats the detail.
For installation sequencing and alignment, use this practical guide to install a fence post. Think about the entire assembly, including gates, splash zones, and animal access. For related deck detailing, guidance on protecting decks from animals can help identify damage and access issues that also affect exposed wood.
Raised bases are a design choice, not a coating
A post base is often the better solution for a deck, pergola, porch, or other assembly where the load path can be designed above grade. It improves inspection access and reduces direct soil contact, but the connector still needs appropriate anchors, corrosion resistance, edge distances, and capacity for the project. A decorative bracket isn't automatically a structural connection.
California's wildfire-interface rules add another decision. Preservative treatment resists decay, while fire-retardant treatment and noncombustible construction address ember and flame exposure. A rot-resistant wood post isn't automatically ember-resistant. Where a fence meets a house, check local amendments and WUI requirements, including the emerging focus on the first 0 to 5 feet around structures and restrictions on combustible fences and gates at the base of walls, as discussed in the California wood code provisions.
Safety, Tools, and Maintenance Schedule
Treated lumber deserves the same disciplined handling as any construction material. Wear gloves when handling freshly treated or field-treated wood, use eye protection during cutting and drilling, and control dust with suitable respiratory protection and work practices. Never burn treated offcuts, use them for food-contact surfaces, or scatter sawdust around a garden or waterway.
A sensible tool kit includes a tape measure, square, level, drill and bits, saw, post-hole tool or auger, clamps, brush, clean container, and the fasteners specified for the preservative system. Keep the product label on site. The label answers questions that a generic online tip can't, including whether dipping is allowed, how long the surface must dry, and how unused material must be stored.
Inspect before the post becomes a repair
Use a simple maintenance routine:
- At each seasonal inspection: Look for leaning, loose connections, standing water, soil piled against the post, open checks, and soft wood at the ground line.
- After severe weather: Check gates, brace connections, post bases, and areas where runoff has changed direction.
- When surfaces deteriorate: Recoat exposed above-ground wood only with a compatible product and only after preparation and drying meet the product requirements.
- Before repair: Probe suspicious areas carefully and open a small inspection area rather than assuming a coating has solved internal decay.
The top end deserves attention too. A sloped or capped top sheds rain better than a flat end-grain surface, while a properly selected post cap can add protection without trapping water. XTREME EDEALS INC. offers wood and metal post caps, post base brackets, fasteners, and related fencing and deck hardware. For coating-related options, review the protective coatings available for the relevant material and exposure.
California classifies treated-wood waste broadly, including fence posts, poles, pilings, lumber, and support timbers. The law provides a specific exemption for certain utility wood only when it meets regulatory conditions and goes to a composite-lined portion of an authorised municipal solid-waste landfill permitted to accept it, as set out in California's treated-wood waste requirements. Call the destination facility before loading a trailer. Don't burn posts or leave them for informal disposal.
Troubleshooting Common Post Failure Scenarios
A loose post isn't always a concrete problem. If the wood has softened at the ground line, adding more fasteners or packing soil around it only hides the failure. Remove enough soil to inspect the interface, test the wood above and below grade, and decide whether the remaining section can carry the load.
A post that rots at the base usually points to one of three causes: the wrong end-use category, trapped moisture, or exposed cuts that were never field treated. A post that splits may have dried unevenly, been over-fastened, or received a hole too close to an edge. Replace a post when decay reaches the load path or when the connection no longer transfers forces reliably. Reinforcement is appropriate only when sound wood remains and the repair has a clearly designed load path.
| Symptom | Likely cause | Practical response |
|---|---|---|
| Soft ground line | Moisture retention or wrong treatment category | Replace compromised wood, improve drainage, and correct the exposure classification |
| Leaning post | Failed base, soil movement, or inadequate anchorage | Expose the base, check the connection, and reset or replace as required |
| Splits around bolts | Oversized or poorly placed holes | Replace damaged hardware, provide proper edge distance, and field treat new penetrations |
| Small holes or frass | Possible insect activity | Investigate the signs of wood-destroying pests before coating over the evidence |
The most preventable failure remains misclassification. If a post is above-ground rated but buried, no amount of optimism changes its exposure. If a cut end is left raw, the factory stamp doesn't restore the protection removed by the saw.
XTREME EDEALS INC. supplies post bases, caps, fasteners, brackets, and other deck and fencing hardware that can support better drainage and protect exposed wood details. Visit XTREME EDEALS INC. to select hardware for your post connection, ground-line design, and finished project.