
You're usually at the same point when gate trouble starts. The fence run looks straight, the posts are in, and the last job left is the gate. That's where many solid DIY projects go sideways. A chain link gate doesn't forgive lazy measurements, weak hinges, or a post that's only slightly out of plumb.
When I look at failed installs, the pattern is almost always the same. The hardware was undersized, the gate posts moved, or both. The frame gets blamed, but the frame usually isn't the actual problem. A gate is a moving load hung off one side of an opening, so every small error gets amplified.
If you're installing chain link fence gate hardware and posts yourself, treat it like a structural job, not a finishing task. Get the opening right, choose the hardware for the weight and use of the gate, and don't rush alignment. That's what keeps the gate from sagging, binding, or refusing to latch a season later.
Planning Your Gate Installation Project
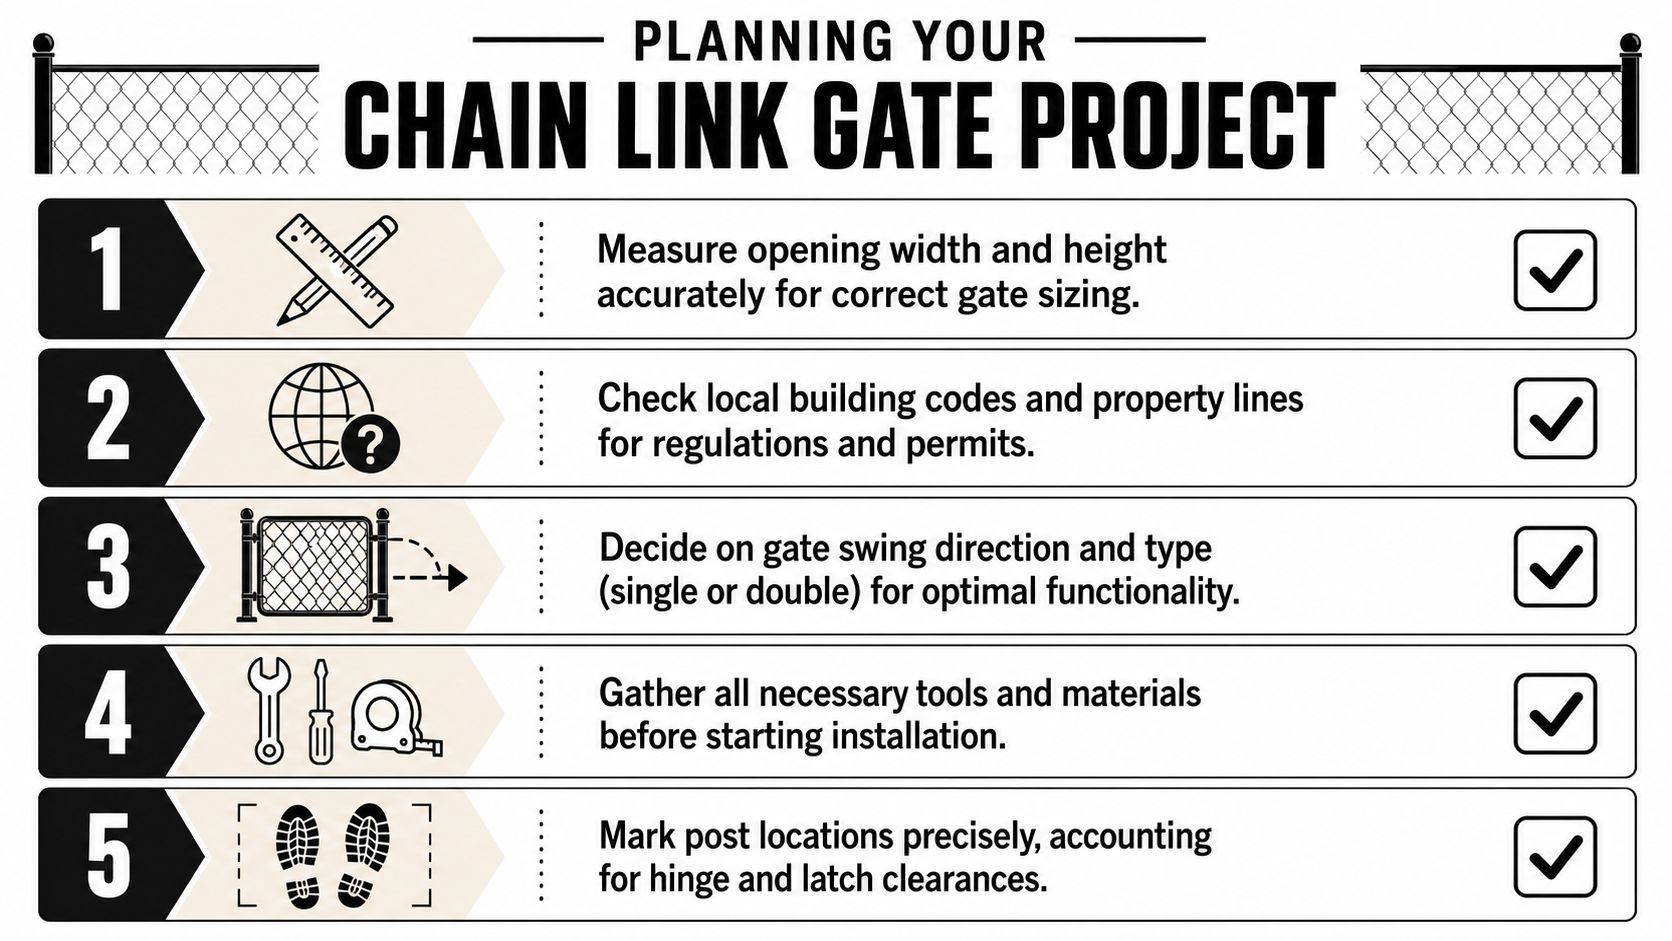
A nearly finished chain link fence can tempt you to rush the gate. Don't. Most of the frustration in installing chain link fence gate systems starts before a shovel hits the ground. It starts with choosing the wrong gate type, ordering hardware that doesn't match the load, or measuring from a layout line instead of the actual opening.
In California, planning also means checking local permit and code requirements before you build. Fence permits are governed through local code adoption under the California framework, and project costs are often shaped by local labour and permit jurisdiction. National industry data gives a useful baseline, with chain-link fence installation typically running about $8 to $40 per linear foot, with most homeowners spending roughly $1,298 to $3,578 overall, and pro installation commonly taking 24 to 72 hours, according to HomeAdvisor's chain-link fence cost guide. For a gate job in California, local review can still add time and inspection steps beyond those averages.
Measure the real opening, not the idea of it
The opening size drives everything that follows. If you're replacing a gate in an existing run, measure between the actual gate posts. If you're building new, decide the gate use first, then lay out the opening around that use.
Think about these questions before you buy anything:
- Pedestrian or equipment access: A narrow walk gate is fine for people, but it becomes annoying fast if you need to move bins, a mower, or materials through it.
- Single or double gate: A single gate is simpler and easier to keep aligned. A double gate gives wider access but adds another leaf and another point that can drift out of line.
- Swing path: Check grade, retaining edges, and nearby walls. A gate that clears on day one can drag once the soil shifts or debris builds up.
- Latch side clearance: Leave room for latch hardware and your hand. Tight clearances make a gate feel cheap and awkward even when it technically works.
Practical rule: The more often a gate gets used, the less tolerance it has for “close enough”.
Choose hardware before you choose convenience
A lot of DIYers buy the gate frame first and whatever hinges are available second. That's backwards. The hardware determines how well the gate carries its weight over time.
Industry references commonly place residential chain-link gates in the 3 to 6 foot width range, and professional installers often use heavy-duty carriage bolts around 3/8 inch diameter for hinge and latch support, as noted in this chain-link fencing guide. That matters because the gate isn't just an accessory. It's a structural part of the fence.
For planning, separate hardware into three categories:
| Hardware part | What works | What usually fails |
|---|---|---|
| Hinges | Heavy-duty strap and female hinge sets sized for the gate and post | Light hardware used on a wider or high-use gate |
| Latch | A latch with clean engagement and enough adjustment to meet the strike reliably | Cheap latches that need forcing to catch |
| Fasteners | Galvanised carriage bolts, washers, and nuts matched to outdoor use | Mixed hardware, undersized bolts, or reused bent fasteners |
If you want to compare access styles beyond basic chain link, it also helps to compare metal gate costs and options before you commit to a gate type.
Gather tools and mark the layout
Before starting, have the core tools on site:
- Tape measure and marker: For post spacing, hinge position, and latch height
- Level: For both post plumbing and gate alignment
- Post-hole digger or auger: For gate post holes
- Drill and socket set: For hardware and bolt tightening
- Temporary support blocks: To hold the gate at the right height during hanging
- String line: To keep the fence run and opening straight
Mark the hinge post and latch post locations carefully. Then recheck the swing direction. That simple pause saves a lot of rework.
Setting Gate Posts for Unshakeable Stability
A chain link gate can look square on day one and still start dragging a month later if the posts were set like ordinary fence posts. Gate sag usually starts in the ground. The hinge post takes repeated twisting load, and the latch post has to hold the opening width without creeping inward.
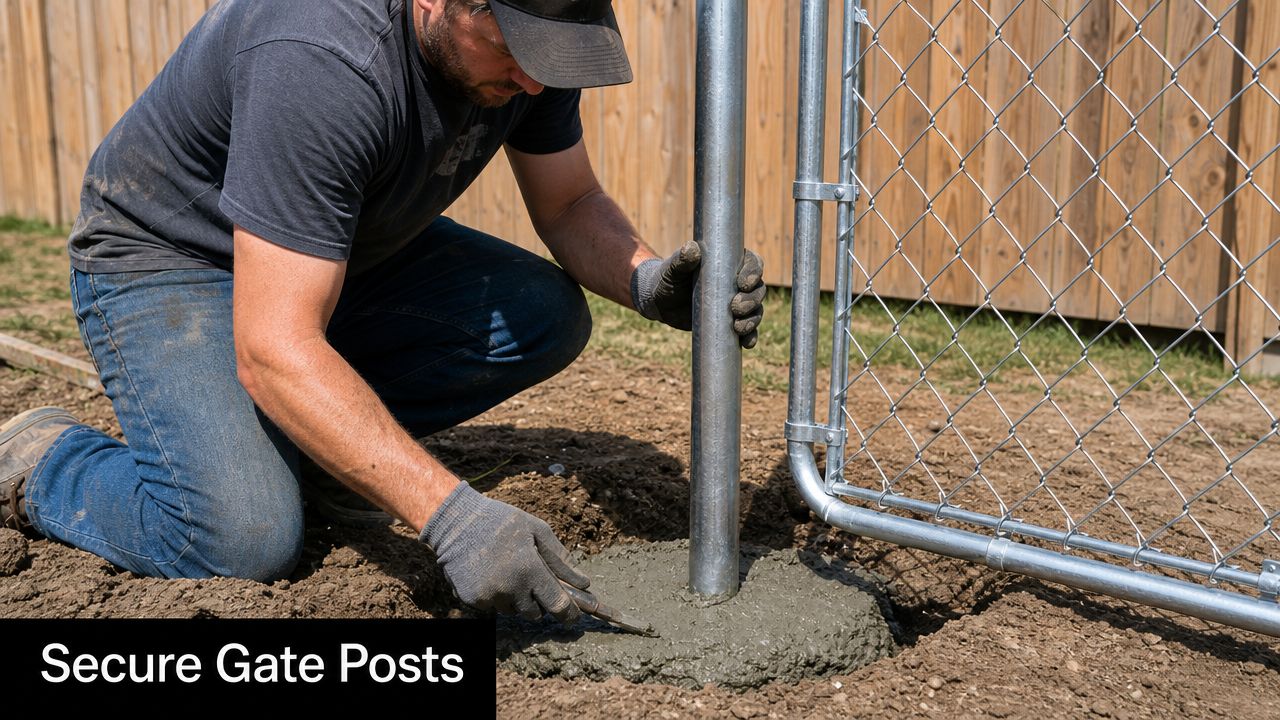
I treat gate posts as structural members. If they move, every hardware adjustment becomes temporary.
Set the opening for the hardware you plan to use
Before digging, confirm the actual gate width, hinge set, and latch assembly you plan to install. A common DIY mistake is setting posts to a nominal gate size and assuming the hinges will make up the difference. They will not. Hinge offset, latch take-up, and post diameter all affect the finished opening.
For that reason, measure from the gate frame and hardware combination, not from the label on the gate box. If you are reviewing the general process first, XTREME EDEALS has a useful guide on how to install fence post for a straight, properly braced fence run.
Three checks prevent most expensive errors:
- Measure the clear opening from installed hardware dimensions: This prevents a gate that binds at the hinge or barely reaches the latch.
- Check each post for plumb on two faces: A post can read plumb from the fence line and still lean into the opening.
- Keep the posts parallel: Two plumb posts can still rack the gate if they are twisted out of plane.
Build the opening around post strength, not just gate width
The widest mistake I see is pairing a heavy-use gate with posts and fittings that belong on a light fence run. A chain link gate works as a system. Post diameter, wall thickness, hinge size, carriage bolts, and latch style need to match the gate's weight and frequency of use.
A weak setup usually looks like this:
- Undersized terminal posts
- A wide gate or a gate that gets used several times a day
- Light hinges with limited adjustment
- Reused or undersized fasteners
- Posts left unbraced while the concrete cures
A better setup uses terminal posts sized for gate duty, galvanised carriage bolts and nuts that clamp tightly without distortion, and hinges selected for the post and frame size. This is also where hardware choice starts affecting long-term performance. If you already know the gate will serve a side yard, dog run, or service entrance, buy the heavier hinge and latch set now. That costs less than replacing a sagging gate later.
XTREME EDEALS INC. stocks chain link hardware including hinge sets, latch components, brace bands, and galvanised fasteners. That matters here because post stability and hardware selection are tied together. A rigid post with light-duty hinges still wears badly, and a strong hinge set mounted to a flexing post still sags.
A straight gate starts with posts that stay put under load.
Set post height carefully and brace before the concrete cures
Post height affects top rail alignment, hinge position, and ground clearance at the gate. For chain link layouts, terminal posts are typically set slightly higher than line posts. Hoover Fence explains standard height allowances for chain link posts in its chain link fence installation instructions. On a gate opening, those height differences need to be planned before concrete placement so the hardware lands where it should.
After setting the posts, brace them and leave them alone. Fresh concrete does not hold alignment by wishful thinking. A bumped post, loose soil, or a slight twist during cure is enough to change the latch gap and put side load on the hinges.
Later in the job, it helps to watch the full process in motion. This walkthrough is useful for seeing how installers handle gate openings and post alignment in the field.
Problems that show up after the concrete sets
Post errors rarely stay small. They show up as hardware problems, but the root cause is usually in the opening itself.
| Problem | What happens later |
|---|---|
| Post out of plumb | Gate swings open or closed on its own |
| Posts not parallel | Latch rubs, misses, or needs force to catch |
| Opening measured before hardware was confirmed | Gate frame does not sit cleanly between posts |
| Posts not braced during cure | Hinge side settles and the gate starts sagging |
Sloped ground and seasonal soil movement make all of this worse. A gate can tolerate minor adjustment in the hinges. It cannot overcome posts that were set in the wrong place or allowed to drift before the concrete hardened.
Installing Your Gate Hardware
Hardware installation is where a careful job starts to look professional. It's also where people create sag without realising it. They tighten everything too soon, use whatever bolts came in the bin, or mount a latch in the first place it seems to fit.
For chain link gate work, I'd rather see average framing with excellent hardware than a perfect frame hung on bargain fittings. The hinges and fasteners decide how that load transfers into the post.
Pick hardware for the gate's actual use
If the gate only opens a few times a week, standard-duty hardware may be enough. If it serves a side yard, rental property, dog run, or service access, use heavier hardware from the start. Frequent use exposes every weakness.
The key pieces are simple:
- Female hinges and male strap hinges: These carry the gate and determine adjustment range.
- Carriage bolts, washers, and nuts: These clamp the hinge and latch assemblies securely.
- Latch assembly: This needs to engage without forcing the gate out of alignment.
- Post caps and finishing hardware: These protect the opening and clean up the job.
XTREME EDEALS INC. carries chain link components including hinge and latch hardware, carriage bolts, brace bands, and related fittings through its chain link fence hardware collection. If you're selecting parts, Decorex Hardware hinge sets, latch components, and galvanised fasteners are the type of pieces worth matching carefully to the post and frame size.
Mount hinges with adjustment in mind
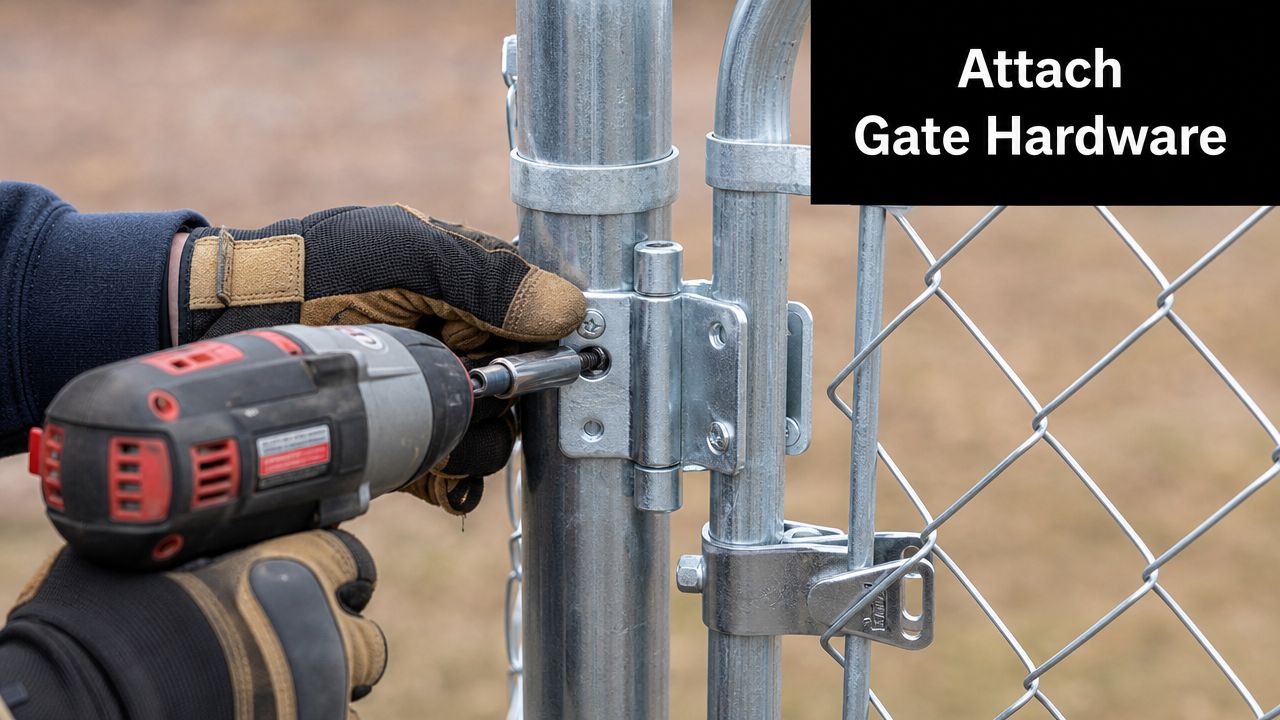
Don't mount hinges as if the first position will be the final position. Leave yourself room to fine-tune. The goal at this stage is controlled fit, not maximum tightness.
A practical sequence looks like this:
- Position the hinge components on the post and frame.
- Insert the carriage bolts with washers and nuts.
- Tighten enough to hold placement, but not so much that you lose adjustability.
- Confirm the hinge spacing supports the frame evenly.
- Check that the latch side still has the clearance you expected.
Heavy-duty carriage bolts matter. Undersized or poor-quality bolts let the assembly shift under use, and that shift often gets mistaken for hinge failure.
Cheap gate hardware rarely fails all at once. It loosens a little, then the gate starts dropping, then the latch stops meeting.
Place the latch so it closes naturally
The latch should meet the strike point without you having to lift, twist, or shove the gate. If you need to force it during install, it will only get worse later.
A good latch setup does three things:
- Meets squarely: The gate reaches the latch without dragging sideways
- Closes under normal hand pressure: No slamming needed
- Leaves room for small adjustments: Helpful after the gate settles into use
Fork latches are common on chain link gates because they're simple and visible. They work well when the gate arrives at the latch in a straight line. They work poorly when the gate is already fighting hinge alignment.
Don't mix light and heavy components
One common mistake is combining one heavy hinge with one lighter hinge, or pairing solid hinges with soft fasteners. Another is reusing old latch hardware because it “still works.” That usually creates slop in the system.
Keep the hardware set consistent. If the gate is getting heavy-duty hinges, use heavy-duty bolts and a latch that belongs on the same class of opening. A gate only works as well as the weakest part of its hardware stack.
Hanging and Aligning the Gate for a Perfect Swing
This is the part that exposes every earlier shortcut. You lift the gate into the opening, set it on the hinges, and within a few seconds you know whether the job was prepared properly or not.
A good install feels uneventful here. The gate settles onto the hardware, the gaps look close, and the latch side only needs small correction. A bad install fights you immediately. The frame looks twisted, the bottom gap changes from one side to the other, and the latch sits somewhere it can't realistically meet.
Start with support under the frame
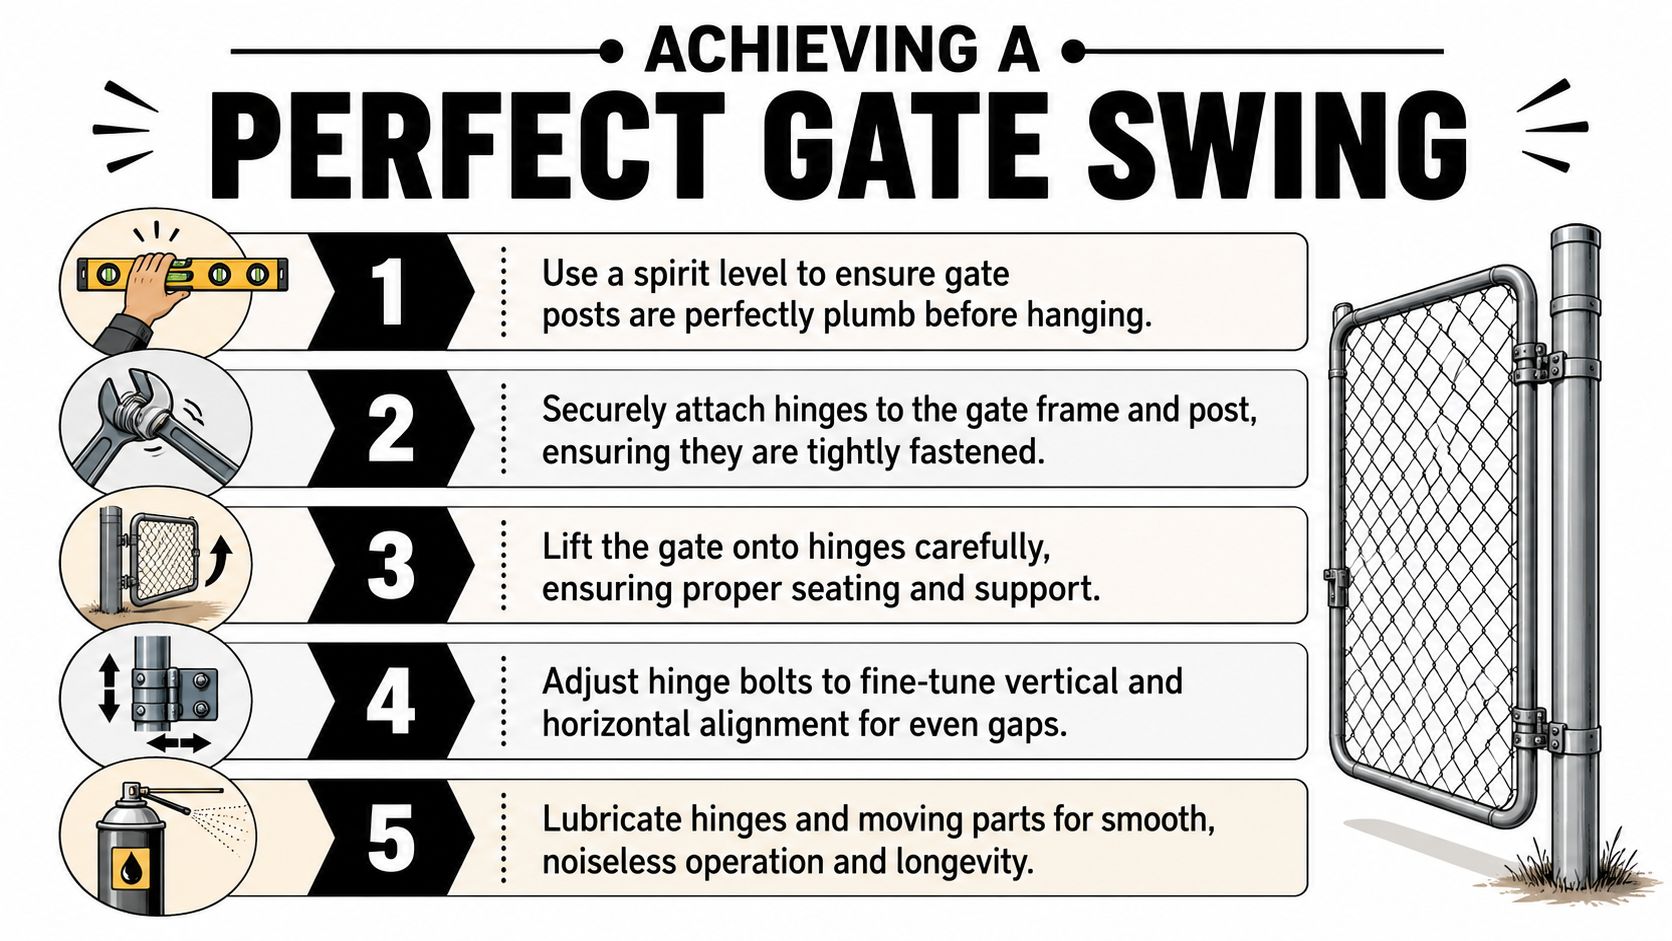
Standard installation practice is to hang the gate on blocks about 2 inches above grade, with the top hinge pin pointing down and the bottom hinge pin pointing up. The gate opening should be measured from the actual post-to-post spacing after posts are cured, not from the nominal layout, because even small deviations can stop the frame from seating properly, according to Lowe's chain-link fence installation guidance.
That hinge pin orientation matters more than many people think. It helps prevent the gate from being lifted off the hinges while still allowing proper assembly.
Make small adjustments, not big corrections
When I hang a chain link gate, I'm looking at three lines at once:
- the gap at the hinge side
- the gap at the latch side
- the bottom clearance across the swing path
If one of those is off, don't jump straight to the latch. Start at the hinges and work in small increments. A quarter-turn or a slight shift in hinge position can change the whole feel of the gate.
A sensible adjustment sequence is:
- Seat the gate on support blocks
- Attach the hinge hardware loosely enough to move
- Check swing without the latch engaged
- Level the frame by adjusting the hinge positions
- Tighten only after the gate swings freely
If you want a visual reference for that sequence, this guide on gate hinge installation is a useful companion.
The best gate alignment work doesn't look dramatic. It looks like patience.
Watch the latch side before final torque
A gate can swing nicely and still be wrong. The key test is whether it returns to the latch without dropping, rubbing, or needing a lift from your hand.
Here's what I check before final tightening:
| Check | What you want to see |
|---|---|
| Bottom clearance | Even visual gap with no obvious low corner |
| Latch meeting point | Clean contact without pushing the frame sideways |
| Swing path | No bind through the full arc |
| Hinge hardware | Tight only after movement is confirmed |
If the gate has a truss rod or adjustable bracing, use it for fine correction, not to hide a bad opening. Bracing can help tune a frame. It can't rescue posts that were measured or set poorly.
Know the signs of a future sag problem
Most gates don't fail the day they're installed. They fail gradually. The first clues are subtle:
- The latch starts meeting low
- The gate rubs only when fully open
- The bottom gap changes after rain or heat
- One hinge starts carrying more visible load than the other
When you catch those signs early, the fix is usually minor. When you ignore them, the hardware and post both start paying for it.
Final Adjustments and Long-Term Maintenance
Once the gate swings properly, finish the job like someone who expects to live with it. That means securing the mesh neatly to the frame, checking every fastener again, and protecting the posts from weather and water entry.
If your gate frame requires final fabric attachment, keep the mesh even and tensioned so it doesn't pull the frame out of square. Sloppy attachment won't just look rough. It can change how the gate feels when opening and closing.
Finish the install cleanly
Before calling the job done, work through these last checks:
- Tighten hardware in sequence: Hinge bolts first, then latch hardware, then any remaining frame fasteners
- Confirm latch action again: The gate should close naturally after all tightening is complete
- Inspect the swing path: Clear soil, stone, or debris that can create future drag
- Cap exposed posts: Post caps help keep water out and give the opening a finished look
Decorative and protective post caps are worth adding here. Pyramid and ball styles are common choices on metal posts because they keep the post top covered and make the gate opening look intentional instead of pieced together.
Maintain the gate before it complains
Chain link gates last when the owner treats them like moving hardware, not static fencing. Hinges loosen, posts shift slightly, and latches wear into their contact points.
A simple maintenance routine goes a long way:
- Check hinge bolts periodically: If anything loosens, the gate starts to teach itself bad alignment
- Lubricate moving parts: Hinges and latch contact points shouldn't run dry
- Watch for sag early: If the latch starts missing, correct it before the frame begins to twist under repeated use
- Inspect post movement: Look for signs of lean, heave, or looseness at the base
Where standard advice stops being enough
A major gap in many guides is gate-post engineering for wind, load, and slab-mounted installs. Standard how-to material often covers hinge alignment but stops short of explaining reinforcement for larger gates, wind exposure, or concrete-adjacent mounting conditions, as noted in this discussion of chain-link installation gaps. That matters because those are the situations where ordinary gate details stop being ordinary.
If you're dealing with a wider gate, a high-wind site, or a gate tied into masonry or a slab edge, don't guess. Those conditions change the loads on the posts and anchors. At that point, it's smarter to slow down, verify the structure, and build around the actual site conditions rather than forcing standard hardware into a non-standard opening.
Frequently Asked Questions About Chain Link Gates
Can I install a chain link gate on a slope
Yes, but the slope changes how the gate clears the ground. First decide whether the gate should follow the grade or swing with a more level bottom line. Then check the full swing path before fixing the hardware. On sloped ground, clearance problems usually show up at the bottom corner first.
Should I use standard or heavy-duty hardware
Use heavy-duty hardware if the gate is wider, used often, or exposed to rough handling. Standard hardware can work on a light pedestrian gate, but it gives you less margin for error. If you're deciding between the two, the safer choice is usually the heavier hinge and bolt set.
Can I add an automatic opener later
Sometimes, yes. But the gate must already swing freely by hand before automation is even considered. An opener won't fix poor alignment, weak posts, or a dragging gate. It will only stress those problems faster.
What's the most common reason a chain link gate sags
Post movement and poor hinge setup. People often blame the frame, but sag usually starts at the support points. If the hinge post shifts, or if the hinges were installed without proper alignment room, the latch side starts to drop.
How much ground clearance should I leave
Use the site conditions as your guide, but keep the clearance consistent across the opening. Too little clearance causes dragging. Too much leaves an awkward gap and can create containment issues for pets.
If you're sourcing parts for a gate build or repair, XTREME EDEALS INC. offers chain link hardware, fasteners, post caps, and related fencing accessories that can help you match hinges, latches, and bolts to the job instead of piecing the opening together with whatever happens to be on hand.