

You’re probably standing in the same spot most first-time deck builders do. You’ve measured the backyard twice, walked through RONA’s aisle of lumber and hardware, and started thinking the build itself is the hard part.
It isn’t.
For a Canadian deck, the hardest part is getting the decisions right before you dig, then building a foundation that won’t move when winter starts working on it. The rest is carpentry. Important carpentry, yes, but still fixable. A bad permit decision or a shallow footing can turn a good-looking deck into a seasonal headache.
That’s the main challenge behind rona building a deck. Big-box guides are helpful for getting started, but a deck in Canada has to answer to frost, drainage, local bylaw, and hardware choices that hold up through wet springs, hot summers, and freeze-thaw cycles.
Planning Your Deck and Navigating Canadian Codes
A lot of first-time builders start by pricing boards and picking a shape. In Canada, the smarter first move is checking what your municipality will allow on that lot, at that height, and in that soil. A deck can look simple from the yard and still trigger permit review, guard requirements, setbacks, frost-depth rules, and attachment details that change the whole build.
Start with use, then draw the plan around it. A back-door landing for two people gets planned differently than a family deck with stairs, storage below, and room for a grill, table, and snow shoveling path. Sketch the house wall, door locations, grade changes, downspouts, gas meter, and any overhead or buried services. Keep the sketch plain and readable. That is what helps when you call the building department.
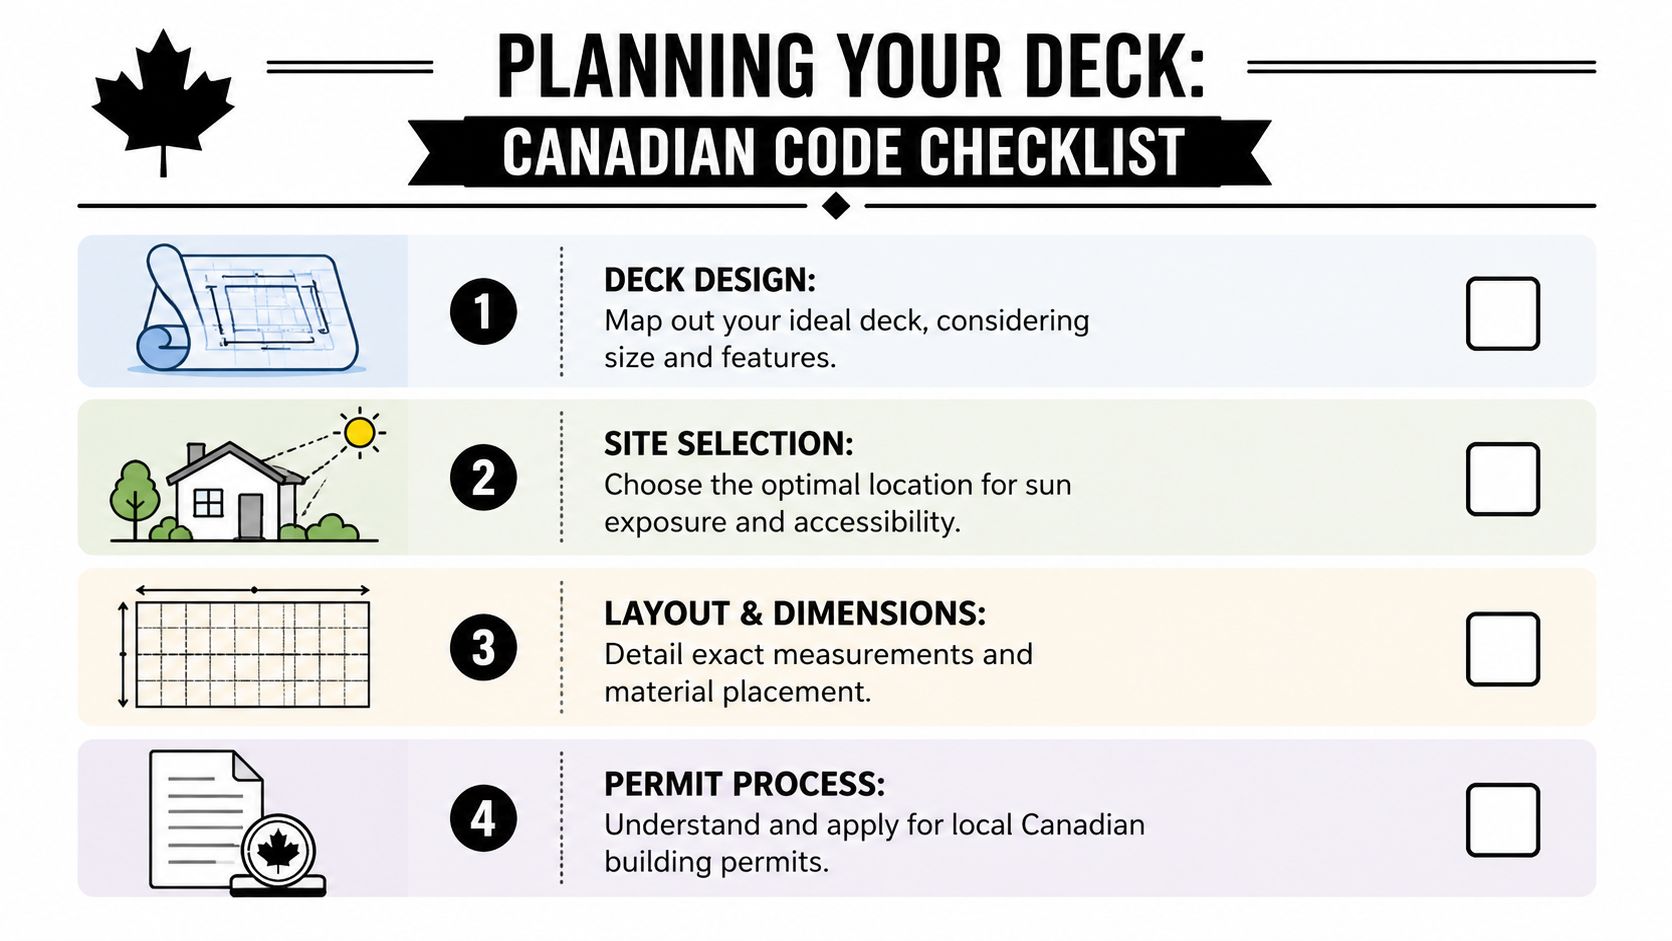
Start with code, then set the layout
Ontario builders run into trouble when they treat a deck like patio furniture with footings. It is a structure, and the rules start early. RONA’s deck package guidance points out that permit and plan requirements can apply once a deck reaches certain size or height thresholds. The exact trigger, footing depth, guard detail, and setback rules depend on your municipality and the edition of the code they are enforcing, so confirm those points before you buy lumber.
That call matters more in Canada because frost changes the job. Southern Ontario may be very different from Northern Ontario, the Prairies, or parts of Quebec and Atlantic Canada. One inspector may accept a detail that another wants revised because local soil, snow load, and bylaw wording are different. Handle that upfront and the rest of the build goes much smoother.
A good rule for DIYers is simple. If the deck is attached to the house, high enough to need guards, or large enough to become a real outdoor living area, ask the municipality what drawings and inspections they want.
Plan for winter, water, and maintenance
A Canadian deck has to work in April slush and January freeze, not just on a sunny July afternoon. That changes layout decisions.
Set stairs where people can use them without stepping into drifted snow or spring runoff. Keep barbecue zones away from door swings and main walking paths. Leave room to shovel, not just room to sit. If the deck meets the house, think about where meltwater will go and how you will keep leaves, ice, and debris from sitting against the ledger area.
Material choice starts here too. Pressure-treated framing is still the standard for most budget-conscious builds, but board selection depends on exposure. Composite cuts maintenance, though it can hold heat in full sun and usually costs more upfront. Cedar looks good and stays cooler underfoot, but it needs regular care and does not forgive poor fastener choices. In wet Canadian conditions, hardware quality often decides how long the deck stays tight and quiet.
Estimate like someone who has to build it twice if it goes wrong
Good planning includes a real takeoff. Count framing, decking, rails, stairs, trim, and connectors as separate groups. Do not lump hardware into one line called “screws and brackets.” That is how builders end up making a second trip for structural screws, post bases, or the right joist hanger nails.
RONA advises adding waste to the order for framing and decking, which is a sound habit on any deck build, especially once you factor in cuts, defects, and board selection during layout, as noted earlier in RONA’s deck planning guide. I also recommend writing the hardware list by connection type: ledger to house, beam to post, joist to beam, joist to ledger, railing posts, stairs, and decking. It keeps you honest.
For hardware, skip the bargain-bin connectors. In our climate, use hot-dip galvanized or stainless where exposure is severe, and match the fastener to the connector rating. For many DIY builds, XTREME EDEALS is worth a look for structural screws, connector packs, post bases, and exterior-rated fastening hardware that big-box shopping lists often gloss over. That is one of the trade-offs big guides miss. Cheap hardware saves a little on day one and costs much more once corrosion, staining, or loose framing starts.
If you want a cleaner way to organize quantities and revisions before ordering, a round-up of best construction estimating software can help compare tools for takeoffs, material lists, and change tracking.
A plain sketch, a confirmed permit path, and a hardware list tied to each connection will save more time than any fancy 3D plan.
Building a Rock-Solid Foundation and Frame
This is the part you can’t afford to fake. Crooked decking boards are annoying. A foundation that moves after the first winter is expensive, time-consuming, and often tied into the frame by then.
For Canadian conditions, start by treating the ground as part of the structure. Strip the organic layer, control drainage, and build below the frost zone your local authority expects. That’s the difference between a deck that stays put and one that starts twisting.

Prepare the site properly
RONA’s foundation method is a good baseline for a one-level deck. Excavate 4 inches of soil within the deck perimeter and dig 54-inch deep holes for concrete pillars so they sit below the typical 48-60 inch frost line in places like Ontario. For deck blocks, a 12-inch deep base of compacted gravel is essential. Their guide also notes that frost heave can shift improperly set foundations by 6-12 inches annually. That guidance appears in RONA’s deck foundation instructions.
That single point explains why so many DIY decks fail. The problem usually isn’t the beam or the joists. It’s the soil and footing below them.
Concrete piers versus deck blocks
Both systems have their place. The wrong choice comes from pretending they’re interchangeable.
| Foundation option | Where it works best | What to watch |
|---|---|---|
| Concrete piers | Permanent decks, attached decks, frost-prone yards | More labour up front, but better long-term confidence |
| Deck blocks on compacted base | Lower-risk freestanding layouts on suitable sites | Base prep has to be excellent or settlement starts |
| Screw piles | Difficult access, frost-prone areas, tighter timelines | Usually contractor-installed, but often worth pricing |
If I’m guiding a first-time builder on a main backyard deck, I favour a proper pier system unless the site and design clearly support another approach. It gives you a stronger reference point for the framing and fewer surprises later.
Set your foundation elevations before you start cutting framing stock. Correcting a bad height after the frame is built is slow work.
Frame from the house out
Once the supports are in, the frame needs to go together like a system, not a stack of boards. The ledger, beam line, joists, and blocking all depend on one another staying square and level.
A disciplined framing sequence helps:
- Ledger first: Attach it only after you’ve confirmed the wall condition, flashing strategy, and fastening method are appropriate.
- Beam and post alignment: Establish a clean string line and stick to it.
- Joist layout: Mark every position before lifting joists into place.
- Blocking: Install it where the design needs stiffness, post support, or edge support.
- Hardware check: Tighten, fasten, and recheck before decking hides your mistakes.
Quality connectors are no longer optional. Use proper post bases, joist hangers, structural screws or approved fasteners, and the right washers and anchors for the foundation type. Cheap connectors with weak coating don’t age well outdoors, especially around pressure-treated lumber and repeated wet-dry cycles.
Hardware that holds up
There’s a trade-off here. Some builders still try to save money by mixing random brackets, leftover screws, and undersized bolts. It feels cheaper on day one, but it usually creates movement, squeaks, staining, or corrosion later.
For a dependable frame, use purpose-made hardware in each connection point:
- Post base brackets keep wood off concrete and help manage moisture exposure at the bottom of posts.
- Joist hangers support joist ends where bearing is limited or notched framing isn’t appropriate.
- Carriage bolts and lag bolts suit specific structural connections where the design calls for them.
- Anchors and washers matter just as much as the bracket itself.
A good frame should look almost boring when you’re done. Straight beam line. Consistent joist crowns. Tight connector fit. No improvised shims jammed into critical spots.
Check three things before decking starts
Before a single deck board goes down, stop and inspect the frame like someone else built it.
- Is it level where it should be level?
- Is it square enough that your decking won’t start drifting by the third row?
- Are all structural connectors installed with the correct fasteners, not whatever was in the pouch?
That short pause prevents a lot of ugly fixes later.
Installing Decking Boards and Railings
Here, the project starts looking like a deck instead of a frame. Nevertheless, first impressions can mislead you. Nice-looking decking can still be installed badly, and bad fastening choices usually don’t show up until a wet season or two later.
The main decisions here are board material, fastening method, edge detail, and railing style. If you make those choices on purpose, the build looks cleaner and lasts longer.
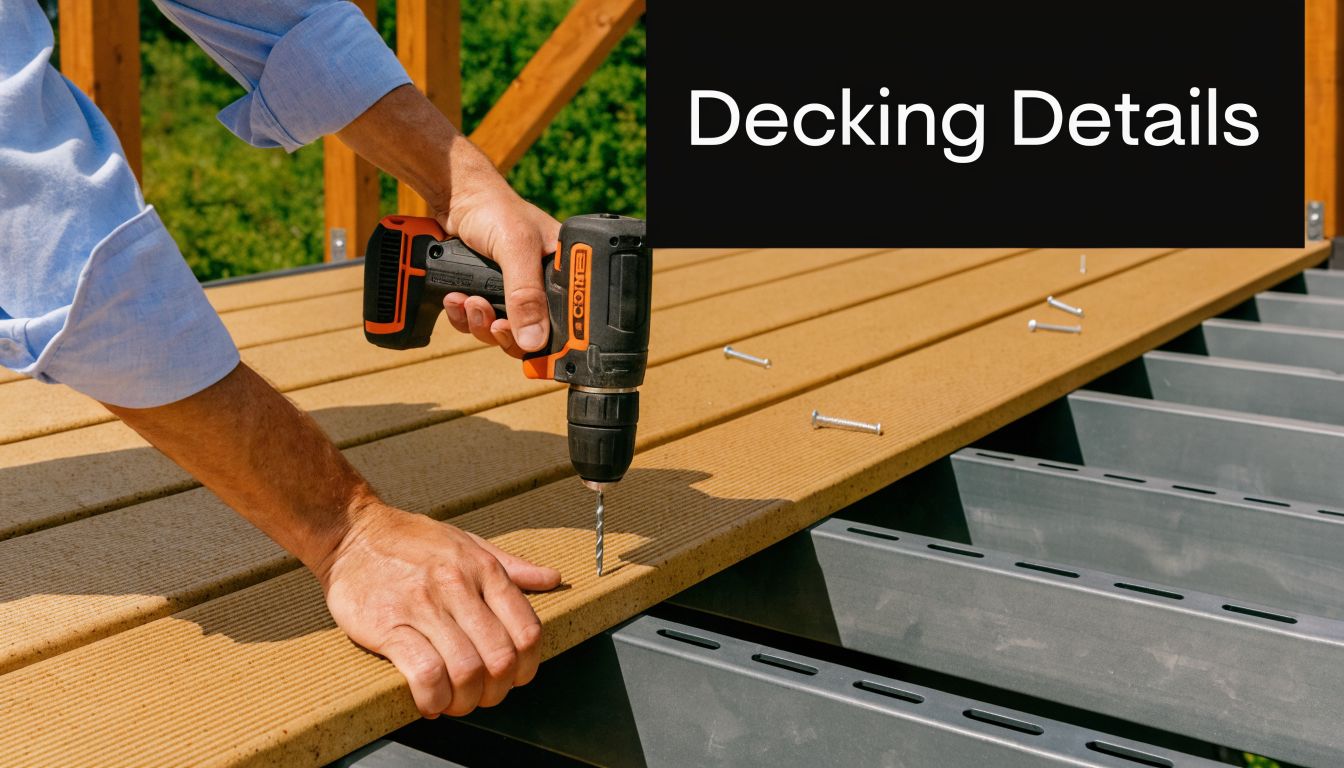
Face screws versus hidden fasteners
There’s a clear trade-off between speed and finish quality. Traditional face-screwed decking is familiar, easy to repair, and works well when done carefully with the right screw and placement. Hidden fastener systems give you a cleaner surface and, in many cases, better board behaviour.
The trend toward composite accessories has grown. One cited source notes a 25% increase in demand for composite decking accessories, and also states that a 2025 CMHC study found a 35% failure rate for traditional face-screwed decks compared to those with hidden systems, with aluminum post bases cutting corrosion by 60% in coastal regions. Those claims appear in the cited video source, Dr Decks on decking trends and hardware.
If you’re building in a wet Canadian climate, hidden fasteners deserve a serious look. They don’t just change appearance. They can reduce the common mess of cracked faces, raised screw heads, and water collecting around fastener penetrations.
Match the fastener to the decking
Not all deck screws belong in all deck boards. That’s where many DIY builds start going downhill.
Use this comparison as a practical guide:
| Decking type | Better fastening choice | Why it works |
|---|---|---|
| Pressure-treated wood | Coated deck screws rated for treated lumber | Good corrosion resistance and solid holding power |
| Cedar | Higher-grade corrosion-resistant screw, often with cleaner head profile | Reduces staining and looks better on visible surfaces |
| Composite | Manufacturer-approved hidden fastener or compatible screw system | Controls mushrooming and keeps the surface cleaner |
A screw that works in one product can perform poorly in another. Composite especially punishes sloppy installation. Wrong screws can leave bulges, ragged edges, or uneven board faces.
Don’t buy screws last. Choose the fastening system when you choose the decking.
Keep the board run clean
Start from your most visible edge or from the side that gives you the best control over the final rip. Check the first few rows constantly. If the layout starts drifting early, the whole surface shows it.
Watch for these details while you install:
- Consistent gaps: Wood movement and drainage both depend on proper spacing.
- Crown and colour sorting: Natural boards look better when you sort them before fastening.
- Butt joints: Land them cleanly and support them properly.
- Picture framing or breaker boards: Use them when they solve a layout problem, not just because they look trendy.
Railings deserve the same discipline. A loose guard can ruin an otherwise solid deck. Set your railing posts from the structure, not just through surface boards, and make sure the top rail line looks intentional when viewed from the yard and from inside the house.
A clean modern railing often comes down to the infill. Metal balusters are a strong choice when you want a lower-maintenance look than painted wood spindles. They stay straighter, they don’t ask for constant scraping and repainting, and they suit both pressure-treated and composite builds.
Here’s a useful visual if you want to study installation flow and sequencing before you start on your own surface boards and rails.
What works best in practice
If you want the shortest path to a good-looking result, keep the combinations simple:
- Pressure-treated frame with wood decking: Cost-conscious, straightforward, and easy to repair.
- Pressure-treated frame with composite decking: Less routine upkeep on the walking surface.
- Wood posts with metal balusters: Traditional structure, cleaner finished look.
- Aluminum post bases in harsher exposure zones: Smart protection where moisture and corrosion are bigger concerns.
What doesn’t work is mixing premium surface materials with bargain-bin fasteners and weak railing details. That combination usually looks acceptable for one season, then starts telling on itself.
Choosing Hardware and Finishing Touches
The deck is standing. It feels solid. The surface is down. This is the stage where a build either starts looking complete or keeps that unfinished jobsite look for another year.
The difference usually comes from small choices. Post caps. Base trim. Clean fastener lines. A finish coat chosen for the wood you used, not whatever happened to be on sale.

The details people notice first
A plain pressure-treated deck can look much better with the right finishing hardware. A set of pyramid post caps, ball caps, or decorative caps gives the railing line a finished top edge and helps protect end grain from weather exposure. On projects with evening use, solar post caps can add function without the hassle of running low-voltage wiring through every post.
I’ve seen simple backyard decks change character just by upgrading the railing details. Swap rough cut post tops for clean caps, add a tidy fascia line, and suddenly the deck feels planned instead of merely assembled.
Finishes that suit the material
The finish has to match the decking. That sounds obvious, but plenty of bad stain jobs start with a product chosen for the wrong wood or applied before the lumber is ready.
A sensible finishing plan usually includes:
- Cleaning first: Get dirt, mill glaze, and construction residue off the surface.
- Choosing the right product: Transparent, semi-transparent, or more opaque finishes all age differently.
- Respecting weather: Finish products need proper drying conditions.
- Maintaining on schedule: Light upkeep beats stripping a failed finish later.
For wood decks, the goal is protection and easier maintenance, not a plastic-looking shell. For composite, the goal is usually simpler. Keep it clean, avoid damage, and follow the board maker’s care guidance.
The nicest finishing touch is the one that also protects the deck. Decorative hardware earns its keep when it improves both appearance and durability.
Hardware worth upgrading
If the budget allows one last round of better choices, put it into the pieces people touch and the parts most exposed to weather:
| Upgrade area | Why it matters |
|---|---|
| Post caps | Protect exposed post tops and sharpen the look |
| Post bases | Reduce moisture problems at critical contact points |
| Balusters and connectors | Improve appearance and reduce upkeep |
| Exterior-rated screws and bolts | Keep the finished deck from staining, loosening, or corroding |
That final pass is where the deck stops looking like a weekend project and starts looking like part of the property.
Common Deck Building Mistakes to Avoid
A deck can look good on the day you finish it and still be headed for trouble by the first Canadian winter. The failures I see most often are not fancy engineering problems. They are basic decisions made too casually, especially around attachment, foundations, layout, and hardware.
The pattern is predictable. A builder treats the deck like outdoor carpentry instead of exposed structure. Then frost moves a footing, water gets behind the ledger, fasteners start staining, and the small shortcuts show up all at once.
Mistake one: treating the ledger like an afterthought
The ledger is one of the highest-risk parts of the build because it has to do two jobs at the same time. It has to carry load, and it has to keep water out of the house assembly.
If the wall is brick veneer, older siding over unknown framing, or anything with questionable condition, stop and verify the attachment method before you fasten a single bolt. In many cases, a free-standing deck is the safer call. That costs a bit more in posts and beams, but it avoids tying a heavy exterior structure into a weak or poorly flashed wall.
On attached decks, proper flashing and the right structural fasteners matter just as much as the ledger board itself. A bad ledger connection can loosen under load and feed water into the rim area for years before anyone sees the damage.
Mistake two: underestimating site and soil conditions
Plenty of first decks are built square and level in July, then twisted by spring.
In Canada, frost heave is the jobsite reality many big-box guides skim past. Shallow footings, loose bearing, and posts set without enough regard for drainage can move enough to rack stairs, open railing joints, and throw the whole frame out of level. Local code sets the baseline, but smart builders also pay attention to the actual site. Clay, poor drainage, and heavy snow areas all change the risk.
As noted earlier in the planning stage, using a professional estimating method helps avoid wasted trips and mid-project substitutions. The bigger mistake here is broader than quantity. It is assuming the site will behave the same way from one yard to the next.
Mistake three: skimping on connectors and fasteners
Good lumber will not save bad hardware.
I see this constantly on DIY builds. Interior screws get used outside. Joist hangers are installed with whatever fastener is in the pouch. Galvanized connectors get mixed with hardware that does not belong with treated wood. The deck stands for now, but the trouble starts early.
A durable build usually comes down to a few disciplined choices:
- Match the connector to the joint: Use the right hanger, tie, or post base for that exact location.
- Use exterior-rated structural fasteners: Ledger screws, connector screws, and hot-dip galvanized or stainless hardware all have their place.
- Follow the fastening pattern: Half-nailed hardware is not installed hardware.
- Protect the wet spots: Posts, stair connections, railing attachments, and beam seats deserve extra attention.
For Canadian pressure-treated lumber, I usually steer builders toward hot-dip galvanized or stainless options, not the cheapest plated hardware on the shelf. If you want better durability than the usual big-box grab bag, XTREME EDEALS is worth a look for post bases, structural connectors, and exterior-rated fasteners that are well-suited to the job.
Cheap hardware saves a little at checkout and creates expensive repairs later.
Mistake four: hiding poor framing under nice decking
Deck boards do not fix a frame. They expose it.
If joists wander, the beam line is off, or the outside edge is not square, the finish work gets harder with every row. Gaps start changing. Picture framing looks uneven. Railing posts fight the layout. Stairs need odd corrections that should never have been necessary.
Check the frame before decking starts. Measure diagonals. Sight your joists. Confirm crown direction. Make sure blocking and post locations still work with the railing plan. An hour spent correcting framing now is a lot cheaper than pulling boards later.
Mistake five: leaving inspections, rails, or weatherproofing for later
This one catches capable DIYers because the deck already feels finished.
But if the permit requires an inspection, get it done at the proper stage. If guards are required by code, install them before regular use. If cut ends, post tops, and exposed penetrations need protection, finish them while the tools are out and the details are fresh.
The same goes for stairs. A sturdy platform with rushed stairs is still an unsafe deck.
The cleanest builds are usually the ones finished in full. No temporary railings. No exposed cuts waiting for next month. No loose hardware left for "one more weekend." That discipline is what separates a deck that lasts from one that starts aging hard after its first freeze-thaw cycle.
Frequently Asked Questions for Deck Builders
How long does a DIY deck build usually take?
That depends on design, access, weather, and whether permits are already in hand. A simple ground-level platform moves much faster than an attached deck with stairs and railings. Most delays come from planning gaps, inspection timing, material runs, and foundation work that takes longer than expected.
The best approach is to schedule the project in phases. Planning and approval first. Foundation and framing next. Decking and railing after that. Finishing details last.
What’s the best low-maintenance decking choice for Canadian weather?
If low maintenance is the main goal, many homeowners lean toward composite decking and metal railing components. Wood still has advantages. It’s easier to modify, easier to repair in many cases, and often costs less up front. The trade-off is routine upkeep.
The right answer usually comes down to how much maintenance you’re willing to do, how exposed the deck is to sun and moisture, and whether you care more about natural wood character or a more uniform finished look.
Can I build a deck in stages to spread out the cost?
Yes, if you plan for that from the start. The key is building the structure so the finished phase doesn’t force you to undo earlier work. That means finalising the footprint, post locations, beam sizing, and railing strategy before phase one begins.
A common phased approach is frame first, decking second, railings and trim third. Just don’t postpone any work that affects safety or weather protection.
Should I choose deck blocks or concrete piers?
Choose based on the design, site, and what your local authority accepts. For a more permanent attached deck, many builders feel more comfortable with piers. For some simpler freestanding layouts, deck blocks may be acceptable if the base prep is done properly and the site suits them.
This is one of those decisions where local conditions matter more than online opinions.
What hardware is worth paying more for?
Pay more for the parts that affect structure, moisture exposure, and long-term appearance. That usually means post bases, joist hangers, deck screws, structural bolts, anchors, and railing hardware. Decorative upgrades such as post caps also pull more weight than people expect because they improve both protection and finish.
How do I avoid a deck that looks homemade?
Keep the lines straight, don’t improvise your connector choices, and pay attention to the last ten percent of the project. Clean cuts, consistent spacing, matching hardware finishes, tidy fascia, and finished post tops do more for appearance than expensive materials installed carelessly.
A modest deck with disciplined workmanship almost always looks better than a larger deck built in a rush.
What should I buy before the first workday starts?
Have your full plan, your approved permit if required, your layout tools, excavation tools, framing lumber, structural connectors, foundation materials, deck fasteners, and safety gear on site. Also make sure you have a realistic shopping list for the smaller items people forget, such as washers, anchors, extra blades, bits, and layout string.
That preparation is what makes the build feel manageable.
If you’re ready to move from planning to purchasing, XTREME EDEALS INC. is a solid place to source the hardware that finishes a deck properly. Their catalogue covers the parts DIYers and contractors need, including post caps, balusters, joist hangers, post base brackets, deck screws, carriage and lag bolts, nails, washers, and anchors, with options suited to both small backyard builds and larger projects.