
A lot of gate jobs start the same way. The frame is built, the post is set, the latch is on the bench, and the gate is still leaning against a fence because the hinge choice hasn't been sorted out. That's where most trouble begins. A gate rarely fails because the wood looks wrong. It fails because the hinge size, hinge type, or post fastening was wrong from the start.
Good gate hinge installation is mechanical work first and finish work second. The hinge is the bearing point between the gate and the post or wall, so it has to suit the gate's size, weight, swing, and the material you're fastening into. Get that right and the gate swings cleanly. Get it wrong and you spend your time fighting sag, twist, rubbing, and latch misalignment.
Choosing Your Hinges and Gathering Tools
A gate can look well built on the bench and still fail early if the hinge does not match the post. I see this most often when the same hardware gets used on a 6×6 wood post and a thin-wall steel post as if they hold fasteners the same way. They do not. Choose the hinge with the gate weight, swing, and post material in mind before you drill the first hole.
Pick the hinge for the job
For residential gates, three hinge styles cover most installs. The right choice depends as much on the post as it does on the gate.
| Gate Hinge Selection Guide | |||
|---|---|---|---|
| Hinge Type | Best For | Load Capacity | Installation Notes |
| Strap hinge | Wide wooden gates, heavier driveway or side-yard gates | Varies by product and gate build | Spreads the load across more of the gate face. A common field rule is to use a hinge long enough to cover roughly one-third of the gate width, which helps limit sag on wood-framed gates. |
| T-hinge | Lighter timber gates, garden gates, simple shed-style openings | Varies by product and fastener choice | Quick to fit on surface-mounted gates. Best on lighter gates where short hinge leaves and smaller fasteners are still adequate. |
| Adjustable pivot hinge | Gates that need tune-up room after hanging | Varies by hardware design | Useful for heavier gates, tight latch clearances, or openings where seasonal movement is likely. Check first that the post can take the mounting method. |
Strap hinges are usually the safer pick for wider timber gates because the long leaf spreads the load over more wood. On wood posts, they are straightforward to bolt through or fasten with structural screws if the hinge holes allow it. On metal posts, they need more planning. Some models work with welded tabs, some with through-bolted brackets, and some are a poor fit unless the post was designed for gate hardware from the start.
T-hinges save time on light garden and utility gates, but they are easy to misuse. I would not hang a heavy privacy gate on light T-hinges just because the screw pattern lines up. Short leaves and small screws concentrate too much force near the hinge edge, especially if the gate gets slammed.
Adjustable hinges cost more, but they solve real problems. They make sense on heavier gates, composite infill gates, and jobs where the latch gap needs to stay tight. They are especially useful when the post material is less forgiving. A wood post can sometimes be corrected with different fasteners or minor repositioning. A metal post usually gives you fewer second chances.
If you are still comparing gate styles, Silverfox Enterprises custom gates show why hinge selection should follow gate size, material, and security use, not just appearance.
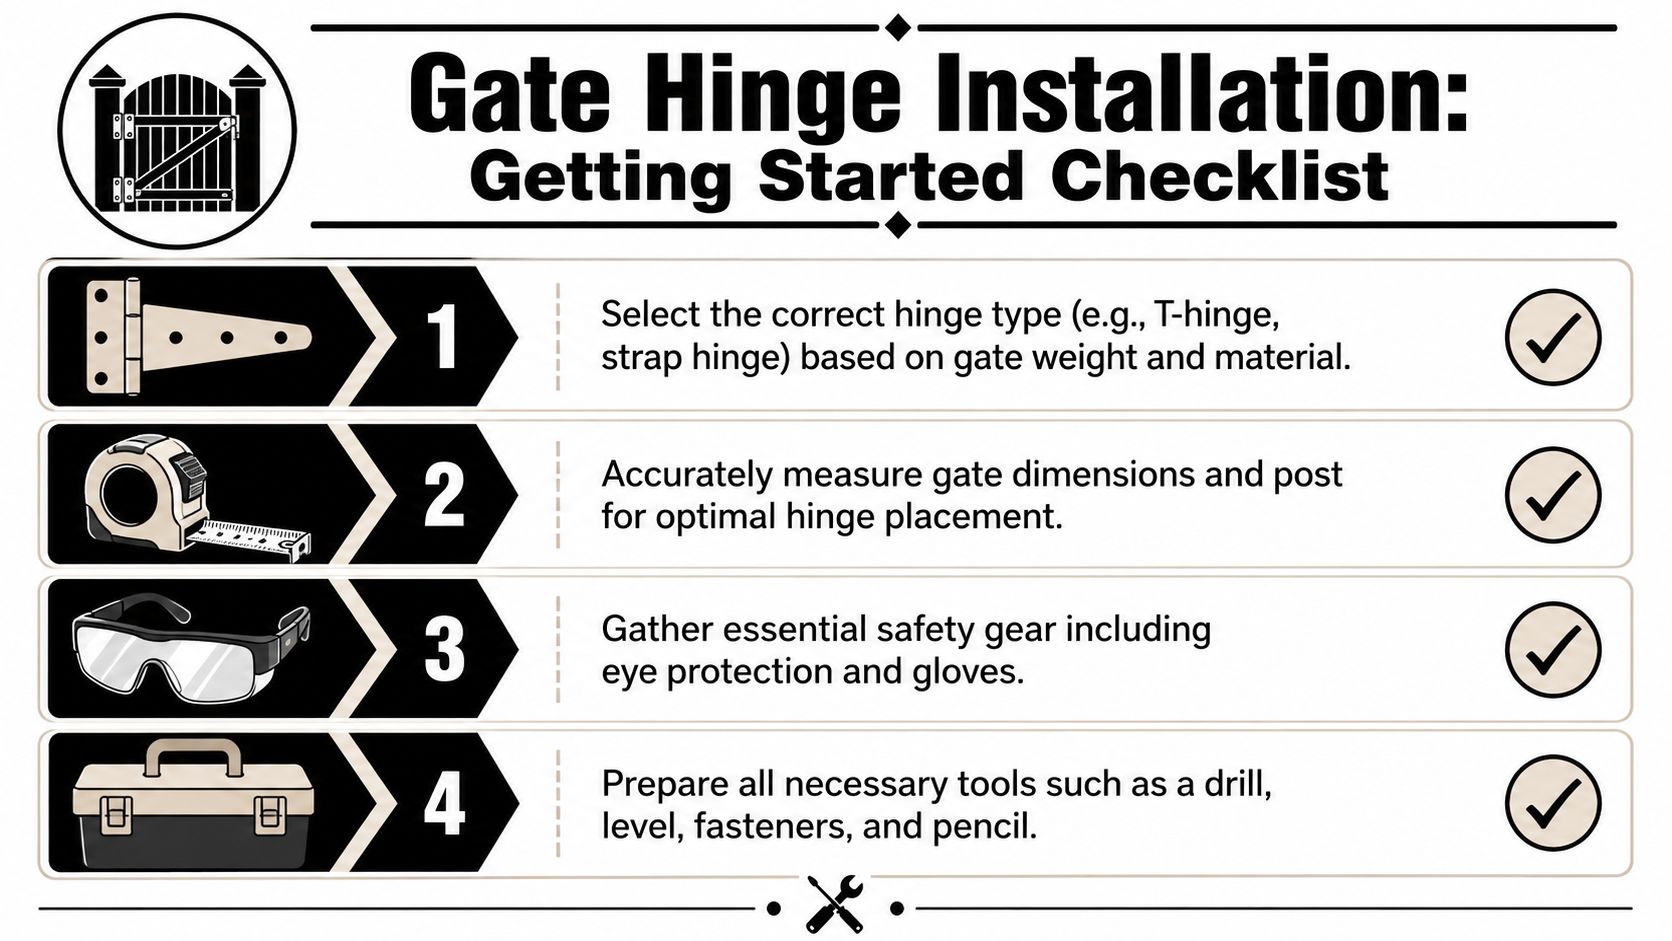
Gather tools before the gate leaves the ground
Tool choice changes with the post material. That is one of the generic-guide mistakes that causes stripped holes, loose hinges, and callbacks.
For wood-post installs, set out a tape, pencil, square, level, drill-driver, pilot bits, impact-rated driver bits, clamps or support blocks, and the actual fasteners you plan to use. For heavier gates, add spade bits or auger bits if you are through-bolting, plus washers and lock nuts.
For metal-post installs, add quality metal bits, cutting fluid, a center punch, and the correct fastening hardware for the hinge system. That may be machine bolts with washers and nuts, rivet nuts, self-drilling structural fasteners rated for steel, or hardware that matches welded-on hinge plates. Regular wood screws are useless here.
Keep the safety gear simple and ready. Gloves, eye protection, and solid shims or blocks matter more than another fancy bit set.
- Measuring tools: Tape measure, pencil or marker, square, and level.
- Drilling and fastening tools: Drill/driver, pilot bits, driver bits, and metal bits if the post is steel or aluminum.
- Support gear: Gloves, eye protection, clamps, and support blocks or shims to hold the gate at working height.
- Fasteners and hardware: Lag screws, structural wood screws, carriage bolts, washers, nuts, machine bolts, or steel-post anchors matched to the hinge and post.
Buy the hinge first. Then buy the fastener that matches the hinge hole size, the gate weight, and the post material.
If you are comparing hinge kits, latches, bolts, and other fence and gate hardware, check hole sizes and mounting methods before you order. That saves a lot of frustration once the gate is standing in the opening.
Precise Measuring and Layout for a Sag-Proof Gate
A gate usually starts sagging on installation day, not years later. The common failure is simple. Hinge locations get marked from the bench, the post gets treated like it is perfectly straight, and the gate ends up carrying weight on a twisted hinge line.
Set the gate in the opening before you mark anything. Support it at finished height with blocks or shims, then look at the opening as a system: gate, post, grade, and latch point. That matters even more if you are hanging to a steel post, because steel gives you less forgiveness than wood once holes are drilled.
Check these clearances while the gate is standing where it will work:
- Bottom clearance: Leave enough room for seasonal movement, gravel, snow, or leaf buildup.
- Latch-side gap: Keep it even enough for the latch to line up without pulling the gate over.
- Hinge-side gap: Tight enough to look clean, wide enough that the hinge barrel and fasteners do not bind.
- Swing path: Watch for post caps, masonry, siding, stairs, and rising ground.
Then check plumb. If the gate wants to swing open or closed by itself, verify the post and your support blocks before blaming the hinges.
Mark from the real opening, then transfer carefully
Mark hinge positions on the gate while it is supported in the opening. After that, transfer those marks to the post. The top and bottom hinge must share the same vertical line, or the gate will rack and bind even if the frame was built square.
On wood posts, also check the face for crown, twist, or a proud knot near a fastener location. A 6×6 timber that looks straight from a distance can still push one hinge leaf out of plane. On metal posts, confirm you have a flat mounting surface or a welded tab that keeps both hinges in line. Generic gate guides often skip that difference, but it is one of the main reasons steel-post installs bind after a clean-looking layout.
For strap hinges, size the hinge to the gate instead of picking by appearance. A longer strap spreads the load better across the gate frame and does a better job resisting sag on wider timber gates. On small garden gates, a short decorative hinge may hold at first and still let the latch side drop later.
Field checks that prevent rework
These are the layout checks that save the most callbacks:
- Support the gate in its true operating position, with the final bottom gap already set.
- Mark each hinge location clearly so the top and bottom hardware do not get swapped.
- Check the post face with a level or straightedge before drilling. Wood can bow. Metal can be out of plumb or have a welded seam that throws off the hinge leaf.
- Confirm where the fasteners will land inside the post or hinge plate. This matters on steel tube posts and on wood posts with splits or checks.
- Open the gate path by hand before drilling anything. Slopes and nearby walls cause trouble fast.
One more trade-off is worth making early. If the post material or gate weight puts you on the edge between light-duty and adjustable hardware, choose the adjustable hinge. That gives you correction room later, especially on steel posts where relocating holes is a nuisance.
For commercial openings and heavier security gates, Wilcox Door Service Inc. expertise shows why accurate hinge layout matters so much. Once a heavy gate is hung even slightly out of plane, every adjustment gets harder and the hardware wears faster.
Installing Common Gate Hinges Step by Step
Careful preparation makes all the difference. The basic sequence stays consistent across most wooden gate jobs. Dry-fit, pre-mark, drill pilot holes smaller than the fastener core, then hang the gate temporarily with only two screws per hinge before final tightening. That staged method is recommended in wooden gate hinge installation guidance because it gives you room to correct plumb, swing clearance, and spacing before the full load is locked in.
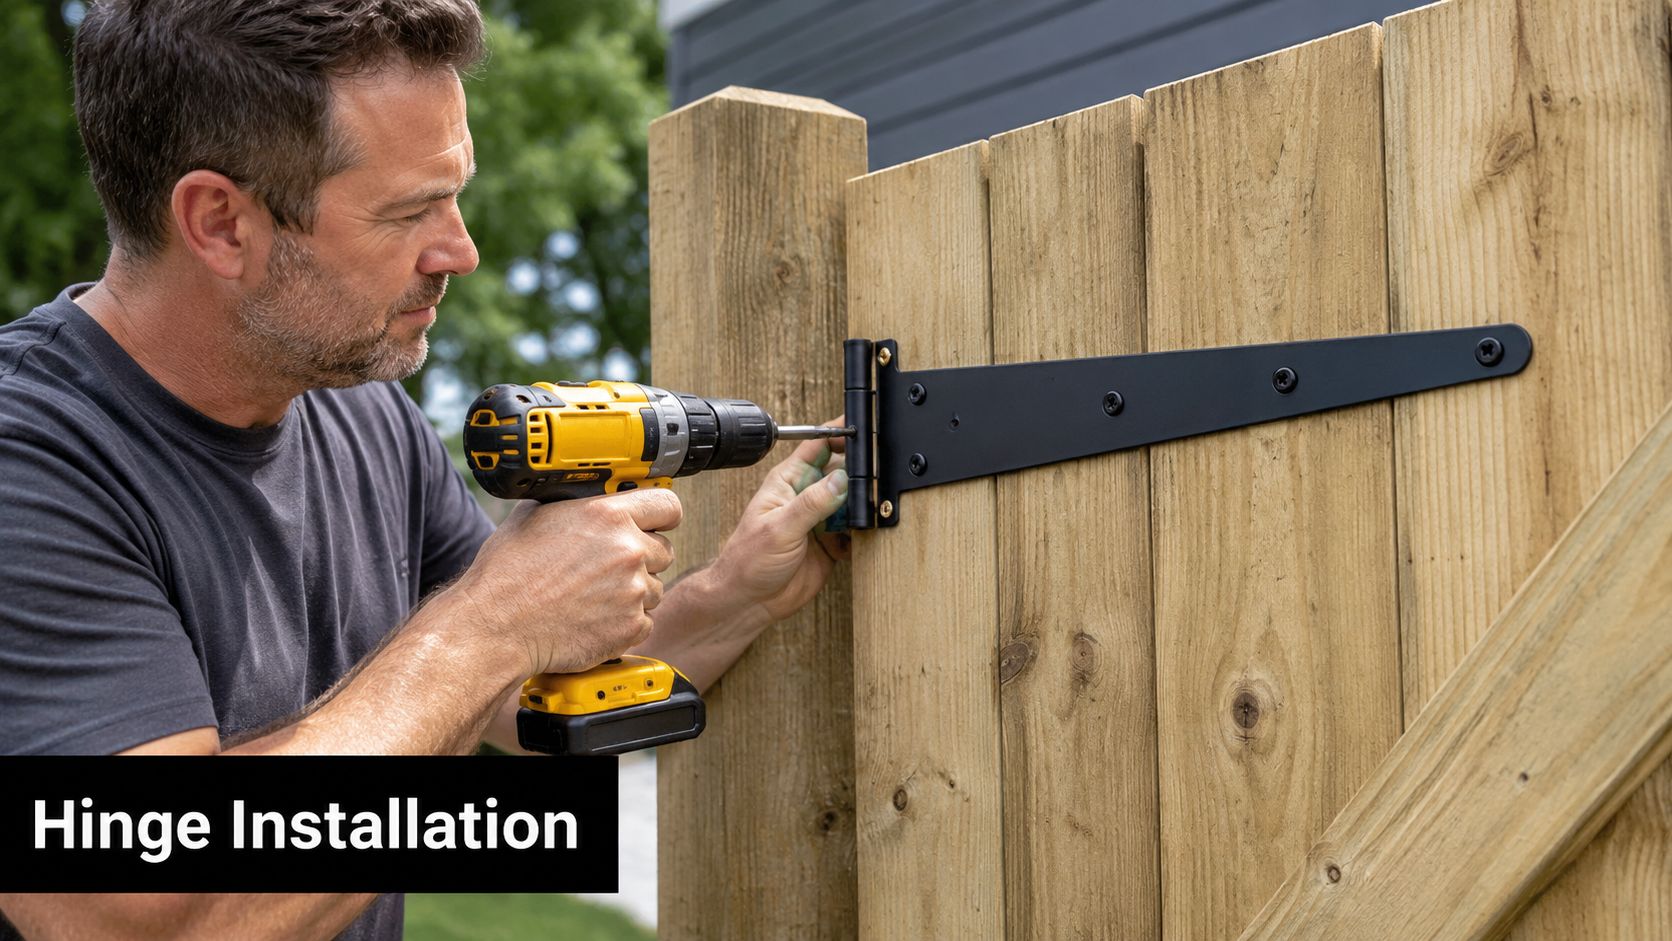
Installing strap and T-hinges
These are the most common hinges on timber garden and side-yard gates. The long leaf usually mounts to the gate face, and the shorter leaf or pivot side mounts to the post.
Follow this sequence:
- Position the gate on support blocks in the opening.
- Clamp or hold the hinge on the gate where you marked it.
- Mark all holes, then drill pilot holes smaller than the fastener core.
- Fix each hinge to the gate first with only a couple of screws.
- Bring the gate to the post and secure each hinge with two screws on the post side.
- Test the swing and check the gaps.
- Add the remaining fasteners only after the gate moves correctly.
Use heavier fasteners on heavier timber gates. On a broad framed gate, surface screws alone can be a weak point if the hinge and post connection are undersized. If the hinge allows it, through-bolting the gate stile gives a much stronger hold than relying only on short screws.
Installing butt hinges
Butt hinges suit smaller gates or jobs where you want a cleaner, less visible look. They can be surface-mounted, but many builders prefer a shallow mortise when they want the leaf to sit flush.
The trade-off is simple. A surface mount is faster. A mortised butt hinge looks tidier and can reduce hinge-side proudness, but it demands cleaner layout and careful chisel or router work.
For a surface-mounted butt hinge:
- Mark carefully: Keep the hinge barrels aligned on one straight vertical line.
- Pilot every hole: Butt hinge screws strip fast when forced into hard timber without a pilot.
- Dry-fit first: Two screws per hinge are enough to test the swing before committing.
For a mortised butt hinge, cut only as deep as needed for the leaf thickness. Too deep and you pull the gate too tight to the post. Too shallow and the hinge binds.
Installing adjustable hinges
Adjustable hinges earn their keep on gates that need fine control after hanging. That includes gates with tight latch gaps, gates likely to move with seasonal moisture, and taller privacy gates.
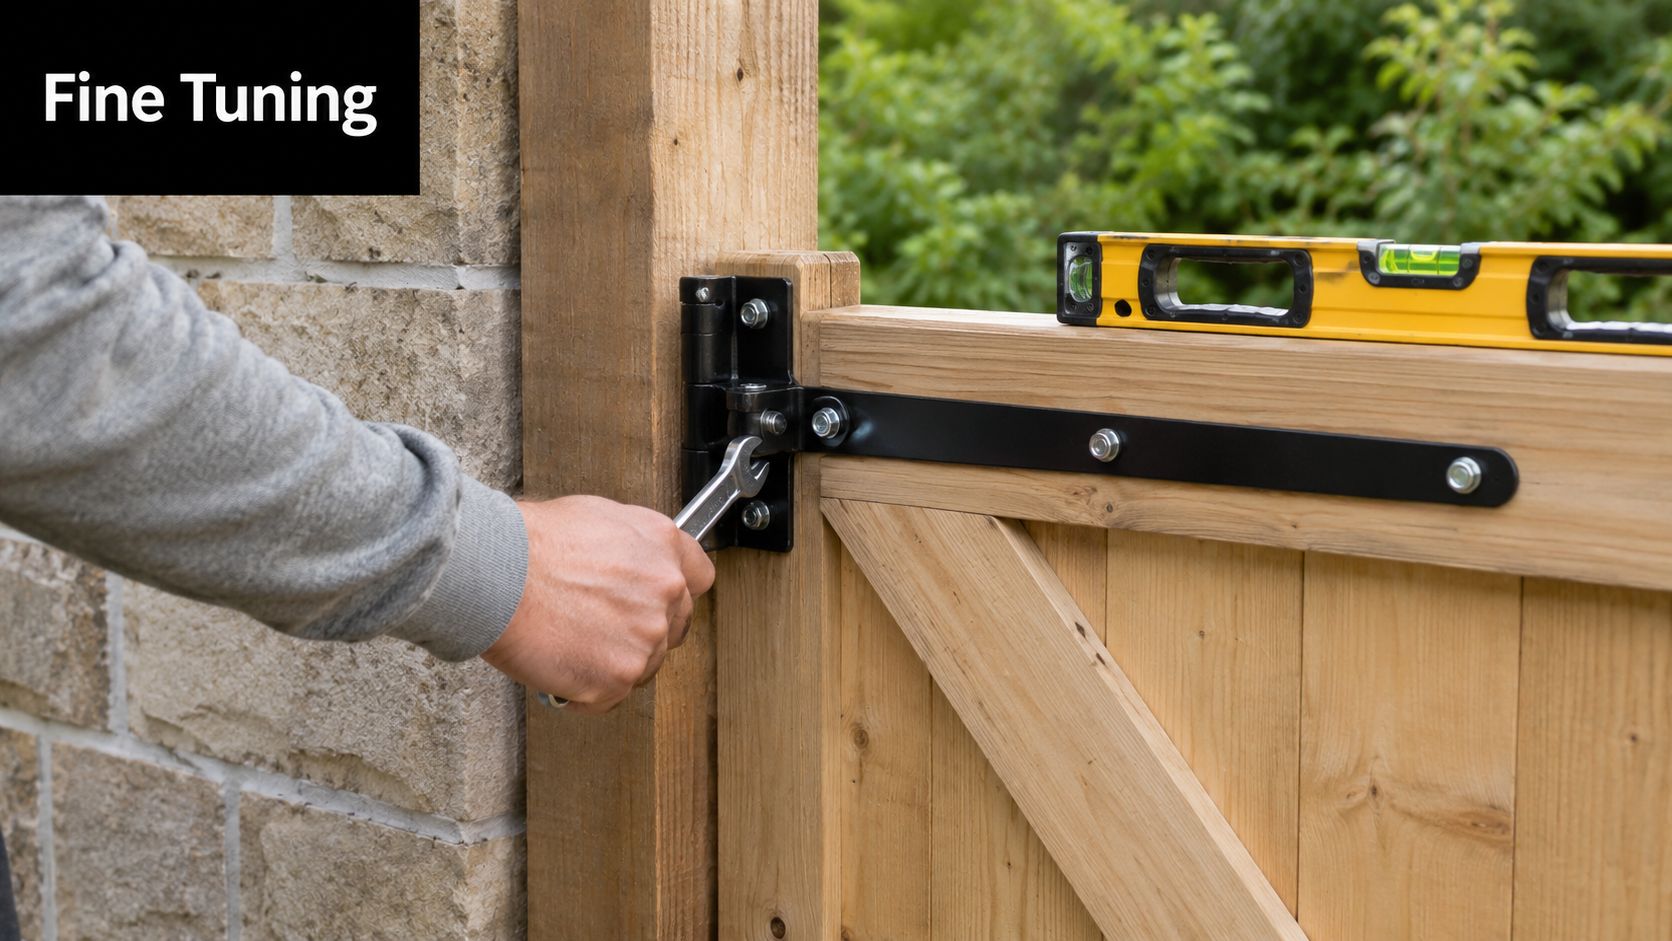
Mount the post-side bracket square and secure first. Then attach the gate-side hardware while the gate is supported at the correct height. Don't use the adjustment feature to compensate for sloppy initial layout. Use it for final tuning.
A lot of installers miss that point. Adjustment should refine the fit, not rescue a bad install.
If you want a look at how commercial and security openings handle hinge and hardware demands, Wilcox Door Service Inc. expertise is a useful reference because those applications leave very little room for hinge slop.
Here's a helpful visual before final tightening and tuning:
What doesn't work
Some mistakes show up over and over:
- Oversized pilot holes: The screw bites poorly and the hinge starts creeping under load.
- Over-tightening into soft wood: The fastener crushes fibres instead of holding them.
- Fully fastening too early: If the gate is out even slightly, you end up backing out screws and chewing up the holes.
- Using light hinges on a broad timber gate: The hardware may mount fine but the gate will tell on you later.
Leave yourself adjustment room. A gate that looks square on the ground can still need correction once it's hanging under its own weight.
Securely Anchoring Hinges to Wood and Metal Posts
The same hinge behaves very differently depending on what it's fixed to. A wood-post install and a metal-post install shouldn't be approached with the same fasteners or the same assumptions.
Wood posts
Wood gives you more forgiving fastening, but it can also hide weak holding power if the timber is soft, weathered, or split. On standard timber posts, lag screws are common for hinge mounting. For heavier gates, through-bolting with carriage bolts, washers, and nuts gives a stronger, more dependable connection.
If the post has any checking near the hinge zone, don't just drive bigger lags and hope for the best. Move the hinge position if needed, or through-bolt to transfer the load through the post.
Metal posts
Metal posts need a different strategy. A wood lag screw won't do the job in steel or aluminium tubing. On square tube, self-tapping or through-bolted hardware is usually the practical route, depending on the post wall and hinge design. On round posts, through-bolting needs extra care so you don't deform the tube when tightening.
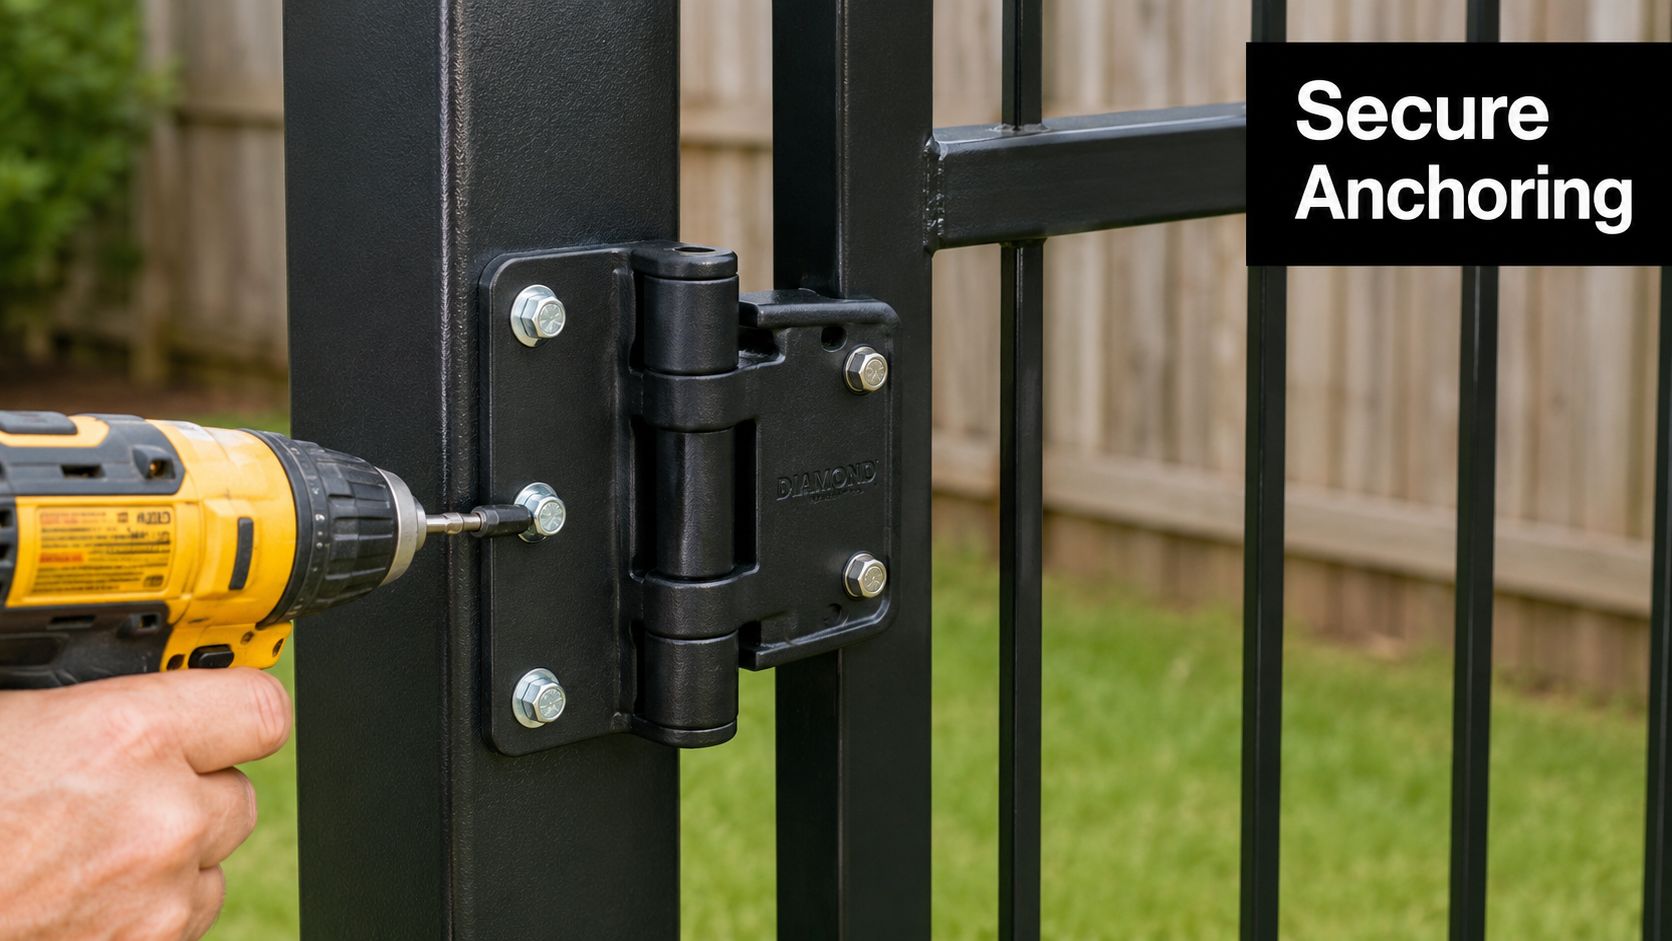
A simple comparison helps:
- Wood post: Easier to drill and shim, better for lag screws, still benefits from through-bolts on heavier gates.
- Square metal post: Cleaner for bracketed hinges, often suited to metal fasteners or bolts.
- Round metal post: Harder to index and drill cleanly, often needs careful bracket fit and crush-free bolting.
Post stability matters as much as hinge fastening. If the post itself can move, the hinge alignment won't stay put. That's especially relevant on gates fixed near slabs and footings, so post anchoring methods are worth reviewing when the base connection is part of the problem.
Fine-Tuning Adjustments and Fixing Common Problems
A gate can be properly installed and still need tuning once it carries its own weight. That's normal. What matters is knowing whether the problem is hinge adjustment, post movement, or layout error.
Fixing sag, rub, and bad latch alignment
If you used adjustable hinges, start there. Raise or shift the gate in small increments until the latch-side gap is even and the latch engages without lifting or pushing the frame.
For fixed hinges, identify the underlying cause before improvising. A slight rub at the bottom corner may come from the top hinge loosening, the post face being out, or the gate frame settling. Tightening loose hardware helps. So does re-setting one hinge position if the original alignment was marginal.
Uneven ground changes the hinge geometry
Sloped sites catch a lot of people out because standard hinge instructions assume a level swing path. In reality, a gate may need the bottom hinge set farther out or the hinge geometry adjusted so it can swing uphill without dragging, as shown in guidance on gates over sloped ground.
That's one of the biggest reasons I prefer adjustable hardware on awkward sites. With adjustable gate hinges, you have room to correct after seeing the actual swing under site conditions instead of guessing it all from a bench layout.
On a sloped opening, don't force a standard hinge layout onto a non-standard site.
If the gate binds only near full swing, check the terrain first. If it binds right away, re-check hinge alignment.
Long-Term Gate Hinge Maintenance and Safety
A good installation doesn't stay good by accident. Hinges carry load every time the gate moves, and outdoor hardware deals with moisture, dirt, seasonal movement, and repeated impact at the latch. A few minutes of upkeep prevents a lot of avoidable repairs.
What to inspect regularly
Keep the maintenance simple and repeatable:
- Check fasteners: Tighten any hinge screws, bolts, or nuts that have backed off.
- Watch the gaps: If the latch-side gap changes, find out why before the hinge holes wear.
- Lubricate moving parts: Use a suitable lubricant on hinge pivots where the hardware design allows it.
- Look for corrosion or wear: Surface rust, worn holes, or bent leaves usually show up before total failure.
For pool gates and safety-critical openings, this inspection matters even more. National Check Your Pool Gate Month emphasises that owners should inspect latches and hinges, and that only a few minutes are needed to confirm the gate remains in working order, according to pool gate safety guidance. If a self-closing gate doesn't close cleanly because the hinges have shifted or worn, the whole safety function is compromised.
Why maintenance beats repair
Most hinge failures don't happen all at once. A screw loosens. The gate settles. The latch starts needing a push. Then the bottom corner drags. That's the time to act, not after the hinge side has wallowed out and the post connection is damaged.
Treat hinge maintenance as part of owning the gate, not as an optional extra. It protects the fit, the hardware, and on some properties, the safety function too.
If you're sourcing hinges, latch hardware, bolts, anchors, or gate kits for a new build or a repair, XTREME EDEALS INC. carries fencing and gate hardware that lets you match the hinge style to the gate and the post material instead of making do with a one-size-fits-all setup.